In this article, we will describe how to configure basic SLA rules for Incident requests. SLA will work the following way: there will be 2 rules - Reaction Time (while request is unassigned), and Resolve Time (after request is assigned). Each rule will have several time limits depending on level of service of the customer. Level of service will be automatically calculated form the related partner's data.
We will start from the configuration of the SLA Rule Types. These are the global types that can be used for grouping SLA Rules.
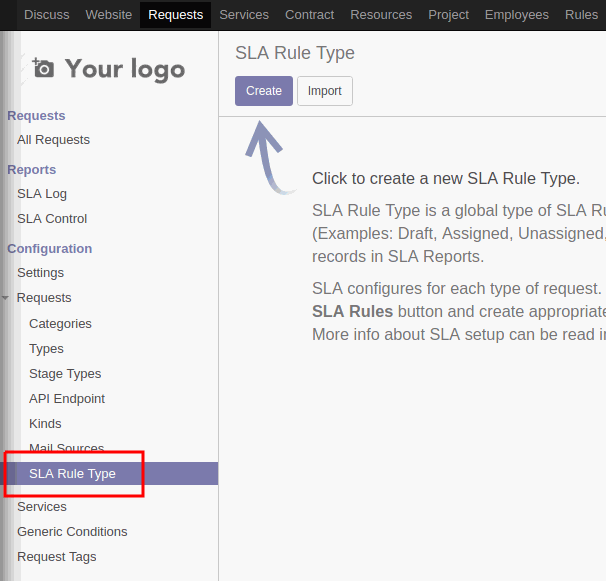
Select the SLA Rule Type from the request configurations menu. Click Create to create a new rule.
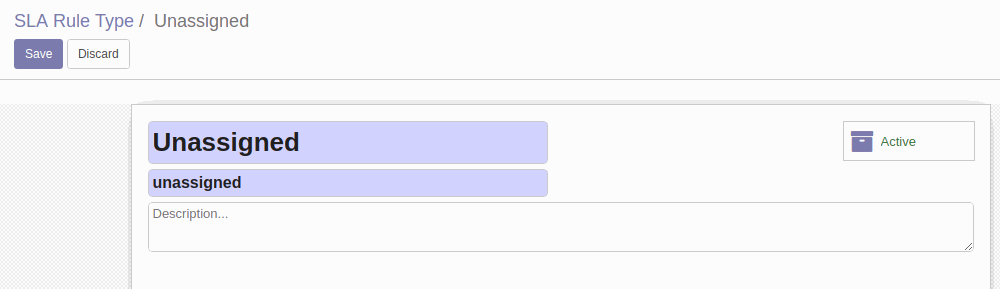
Let's create Assigned and Unassigned SLA rule types. The Name is the only required field for SLA Rule Type.
Now we can set up Incident type of request. We will describe only the configurations related to SLA. For more detailed request type configuration, read the Documentation, or see our previous articles.
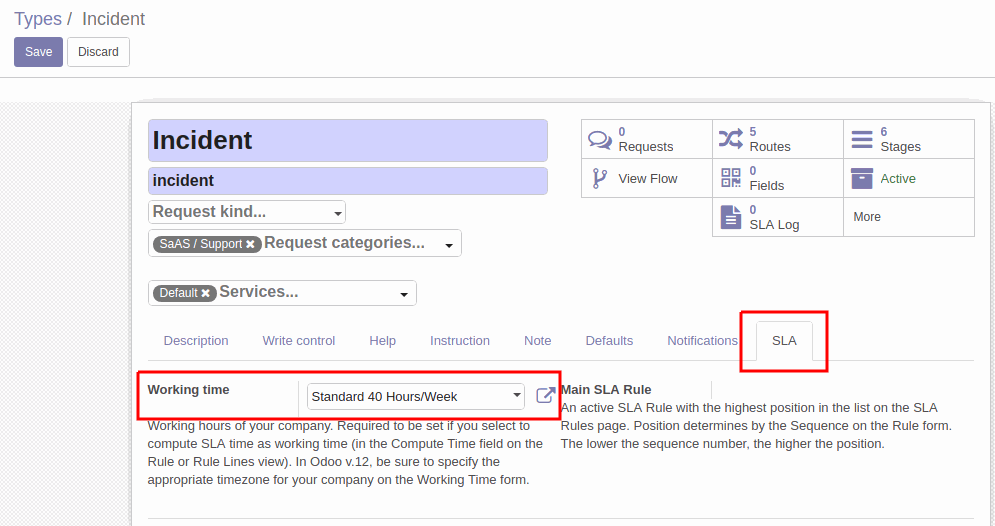
Before creating SLA rules, we need to set up the working time of our company on the SLA tab. It is required if we will use Working time to calculate the time for SLA.
Open the Incident type of request in the edit mode. On the SLA tab, specify the Working time of your company. We can select existing presets or create a new one.
Now we can create SLA Rules. Click SLA Rules on the form.
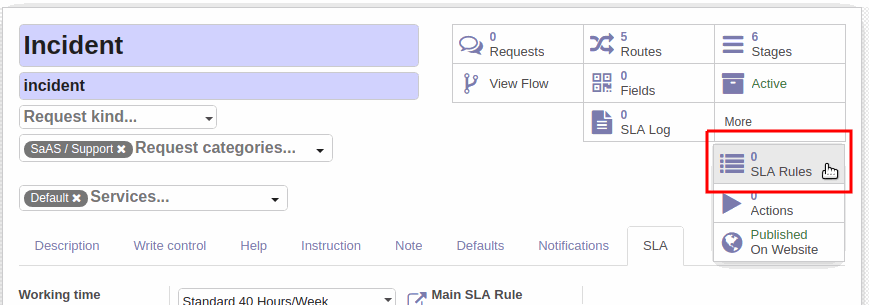
Click Create to create a new SLA Rule.
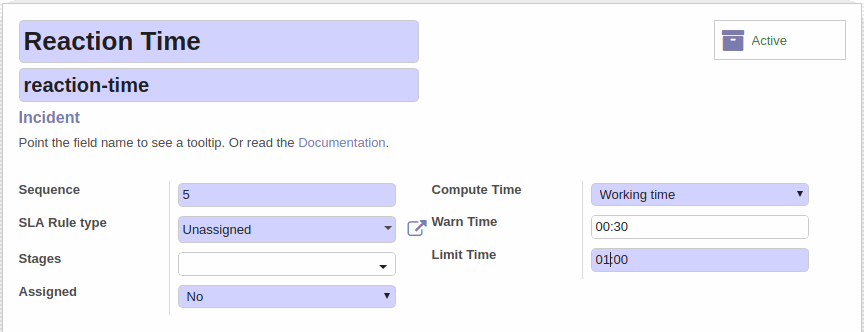
The first rule we create is Reaction Time. It will be active until the request is assigned. On the SLA Rule form, we make the following configurations:
Enter the SLA Rule Name.
Specify the SLA Rule Type. We select the previously created Unassigned.
We don't need to specify certain stages on which this rule will be active. We can only select No in the Assigned field. This makes the current rule active regardless of the stage, it will only depend on whether the request is assigned.
For the main rule we select the Working time to compute SLA time.
Warning Time of the main rule will be 30 min. Limit time is set to 1 hour.
We also add SLA Rule Lines into the main rule. This allows the rule to use different time limits depending on conditions. And we do not need to create additional SLA rules.
We want our technical staff to respond more quickly to customer requests with Gold and Silver levels of service. We add lines with the appropriate Service Level. Let's set the Warning time and Limit time 15 and 30 min, respectively. The Gold service level will provide 24/7 support (Compute time: Absolute time). The Silver - only working hours (Compute time: Working time).

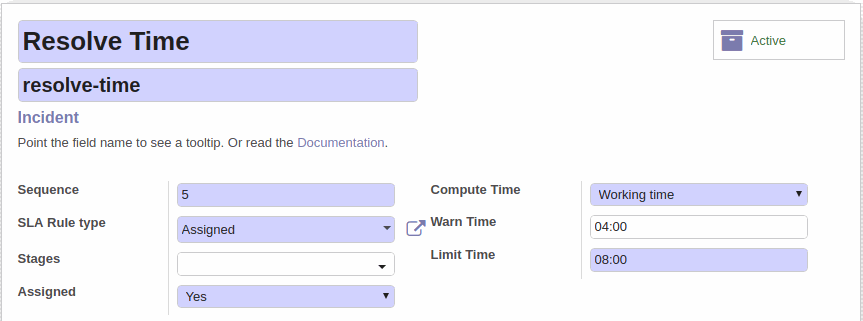
The second SLA Rule we create is Resolve Time. It determines the time for resolving the request after its assignment.
SLA rule will have the following configuration:
SLA Rule type: Assigned.
Assigned: Yes. This will make this rule active all the time when the request is assigned.
Time warnings and limits are shown on the following screenshot.

To check the configured SLA, we will create an Incident request. We select the related partner with Silver level of service (we can specify the default Service Level on the parter's form). After submitting the request, we can see the SLA data on the SLA tab of the request form.
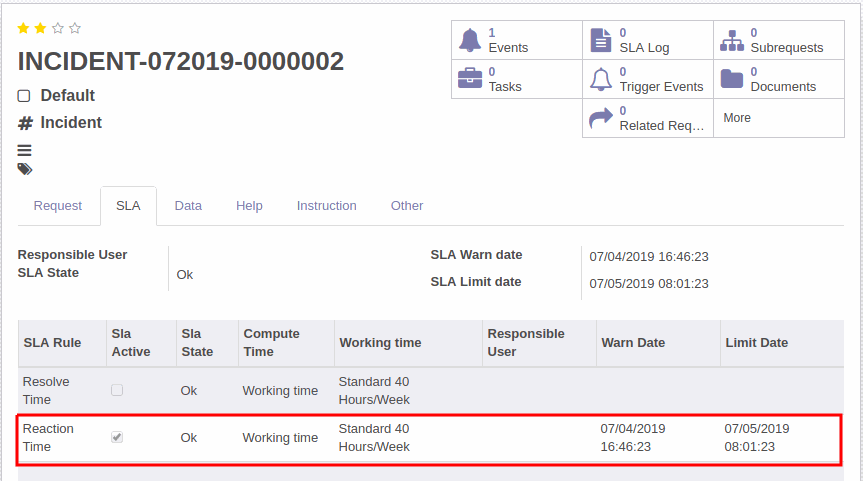
An active rule is highlighted with a check mark. If we click on the rule, we will see a detailed info on this rule.
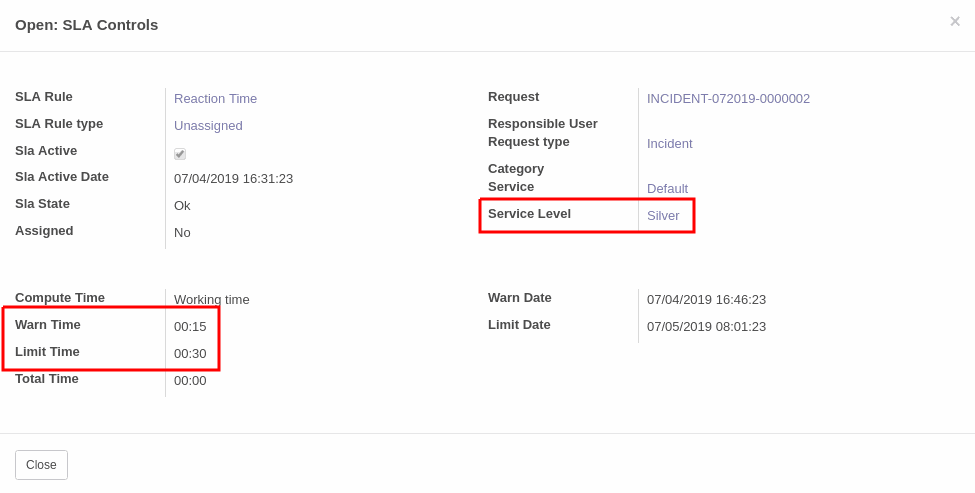
As we can see, the the rule is acting according to the Silver level of service. If there is no service level specified for the partner, SLA Rule will use time limits of the main rule.