Generic Request Field Module
Generic Request Field is a module of the Generic Request application developed by the Center of Research & Development company. The module extends overall functionality of the application by allowing additional information fields to be configured for specific request types.
Overview of the Generic Request Field module
After installing the Generic Request Field module you can configure additional fields when creating or editing the request types.
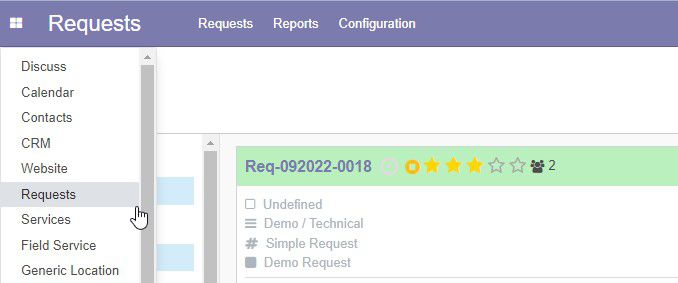
Click Requests on the left dashboard menu.

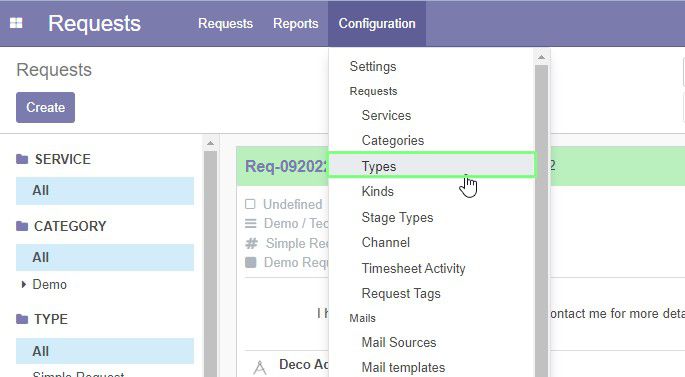
Under the Configuration menu click Types.

The page of request types opens.
Click Create to create a new type.

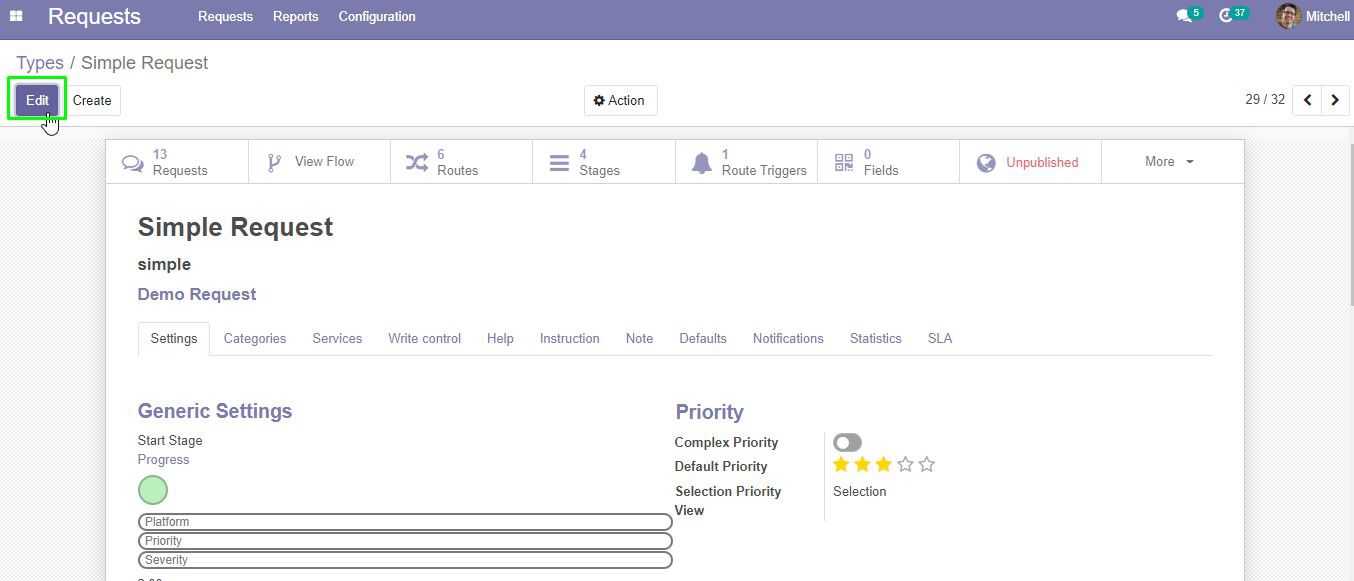
To edit select the desired request type from the list. The form opens. Click Edit.

After installing the Generic Request Field module a new Fields tab will appear in the form of request type.

Here, you can add or edit the new fields.
Additional fields contain the following items:
| Item | Description |
|---|---|
| Name | name of the new field |
| Code | new field code |
| Mandatory | check the box if this field is required to fill |
| Default | field value by default |
| Active | check this box to display this field when creating a request |
To add a new field do the following:
- Click Fields tab > Create. The new field with the name of the new field activates.
- Enter the name of the field.
- If the field is required, select the checkbox in the Mandatory column.
- Enter the category to bound this field with the type of the request.
- Enter the default field value if necessary.
- Choose the possition where you want the custom fields to be: before request text or after.

The filled field will look similar to this:

To add another item, click Create and repeat steps 2-6 of the previous section.
To remove an item click 
Now, when you creating a request you will be able to fill in additional fields.
Under the Requests menu click Requests.

Click Create.

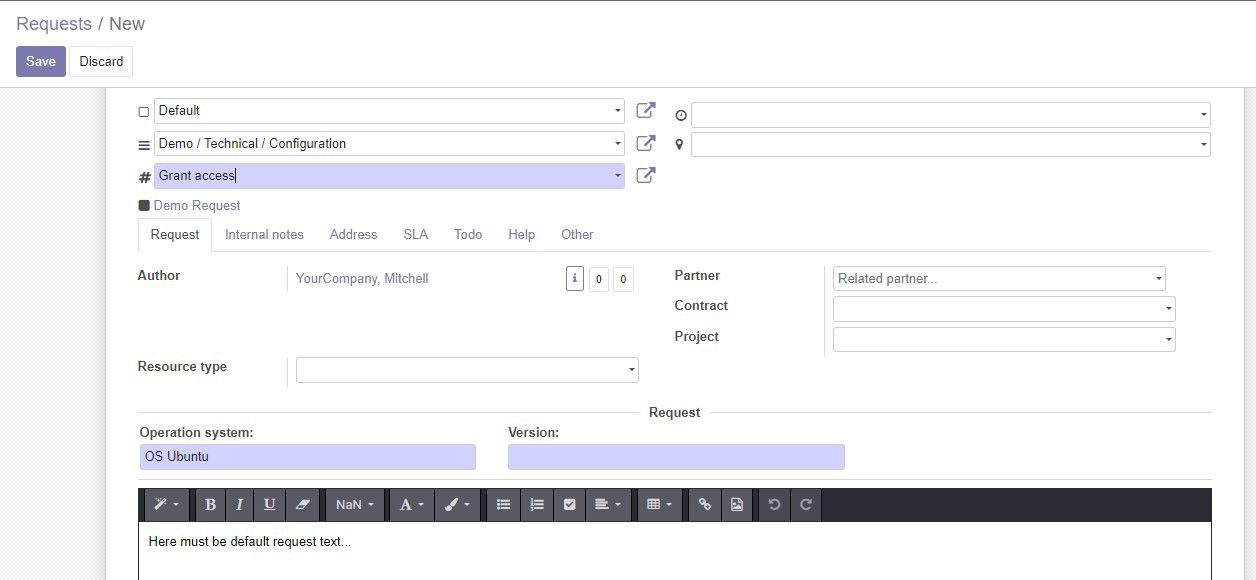
The form for creating new request opens.
1. Choose the category.
2. Click the Type drop-down menu and select the newly created type from the list.
3. The created fields will appear before the text box or after according to your configrations.

Here you can fill in the new fields you have created. You can edit the values by clicking in the corresponding field, or leave the default value.