Configure The Request Numbering Sequence
You can customize the numbering sequence for each type of request. This sequence will be used to generate request names for the current request type.
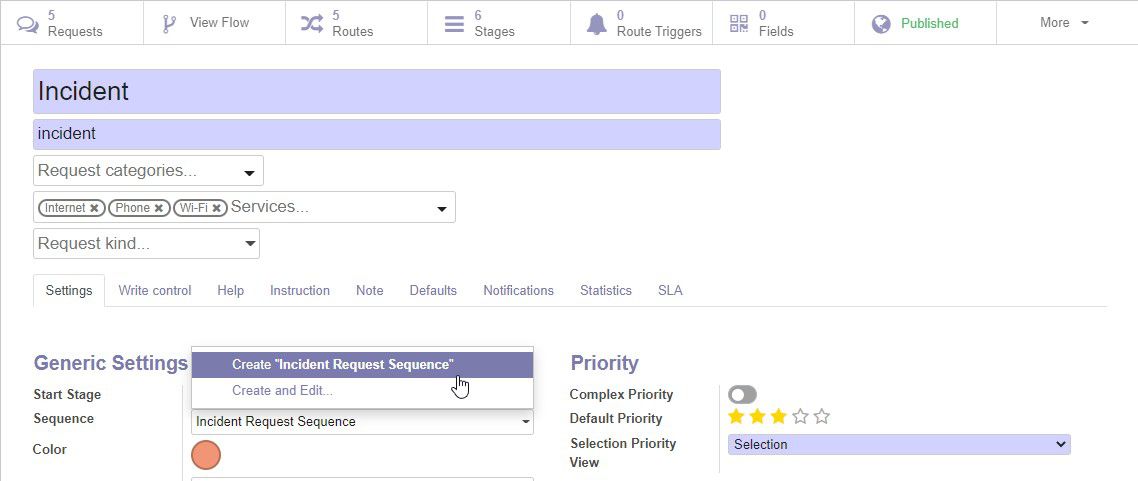
You can get to the sequence configuration page by clicking Sequence on the request type form and start typing the name of the sequence. After filling in the name of the sequence click Create and Edit.
You can also configure the sequences from the technical menu. To do this, you need to activate the developer mode.
Do the following steps:
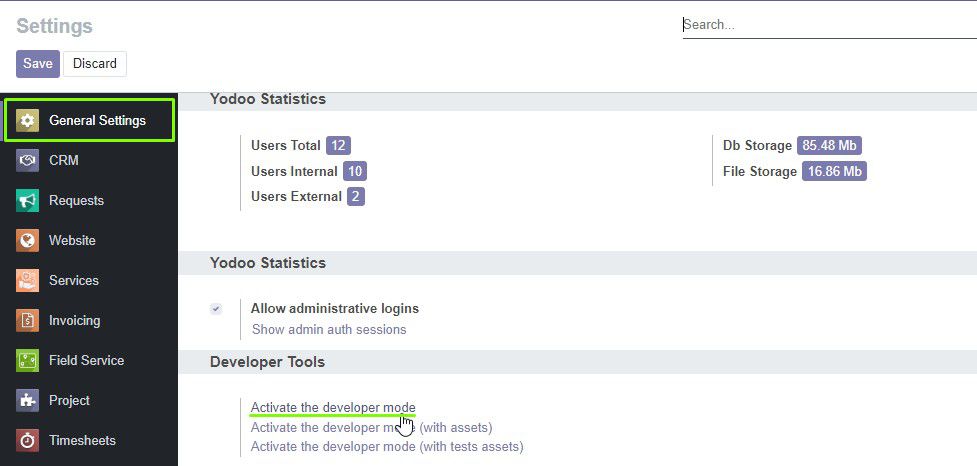
1. Click Settings.
2. Scroll down and click Activate the developer mode.
Now click the Technical menu, scroll down to the Sequences & Identifiers group and select Sequences.

On the sequences page, click Create to create a new sequence.

The form for creating the sequence opens. Fill in the form as shown in the following instructions.
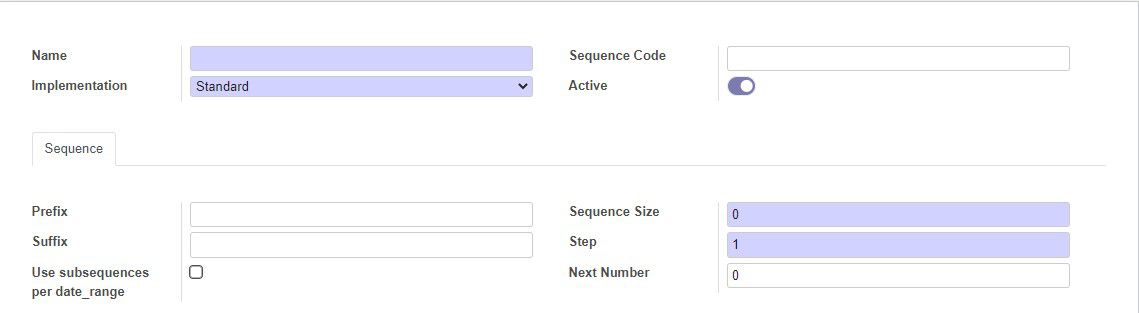
1. Enter the sequence name.
2. If necessary, enter the code (technical name) of the sequence.
3. Select the implementation:
- Standard - standard implementation
- No gap - this implementation works slower but forbids any gap in the sequence (while they are possible in the standard implementation)
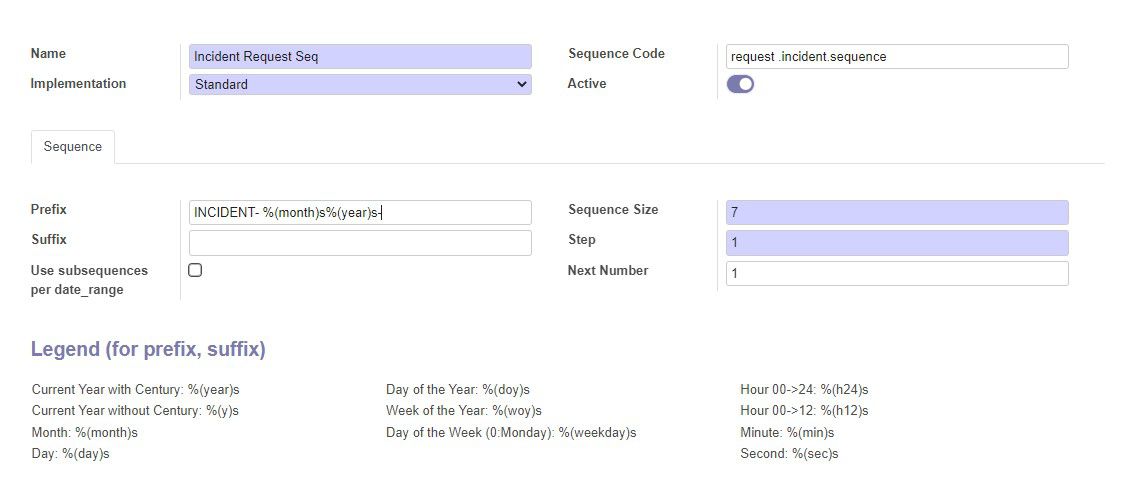
4. Below, on the Sequence tab, specify the Prefix for the sequence. The prefix will be added at the beginning of the sequence. Here you can use the wildcard characters (like string formatting in Python). You can see the format description at the bottom of the form.

5. For example, if you want every request to name like INCIDENT-month-year-request number, you need to enter the following prefix:
INCIDENT-%(month)s%(year)s-
6. Select the sequence Suffix. Suffix will be added at the end of the sequence. You can also use wildcard characters as described above.
7. Enter the Sequence Size. It defines the number of digits in the sequence number. If the sequence number does not match the size of the sequence, the zeros to the left of the number will be automatically added to match the required padding size (for example, the sequence size is set to "3" and the request number is "5", the sequence number will be displayed as "005").
8. In the Step field, enter the number by which the sequence will be increased when creating the next request.
9. In the Next Number field, you can enter the number of sequence for the next request. The count for the further requests will be continued from this number.
10. If you select the Use subsequences per date_range check box, additional fields appears. Here you can specify the dates when the subsequences of the current sequence will be used. You can also enter a sequence number for the next request that will be created within a specified period of time.

11. Save the sequence.
When you create or edit a request type, you are able to select the default sequence or one of the created sequences.