Website Service Desk
Website Service Desk is an application that provides website user interface for Service Desk. It integrates with the Generic Request application and allows the users to create, submit and monitor execution of the requests through the website interface.
Generic Request is a module designed to be the single channel for submitting all the events that occur in daily routine.
The system administrator sets up and configures software.
When the incident occurs, the request manager logs in, opens the request and assigns certain actions required to complete the request. At the same time, constant feedback is maintained with the user to ensure the best possible result.
In this guide you can read the following:
Once You Are Logged In
You need to be authorized on the portal in order to use the Generic Request (Website Service Desk) application.
Once logged in, your Home Page opens. In the menu on the upper-right corner, you will see the available pages for your account.

- By clicking Home, you will be returned to the Home Page.
- The Contact us page contains contact information.
- By clicking Service Desk, you will go to the service desk page where you can submit requests (order services) and monitor their execution.
- In the menu with your user name (in this case user1), click My Account to view details of your account and to change user profile settings; or press Logout to exit the system.
Submitting the Request
To submit the request, click Service Desk. A requests page opens.
To create a new request, click Create request on the right at top.

The page for creating requests opens.
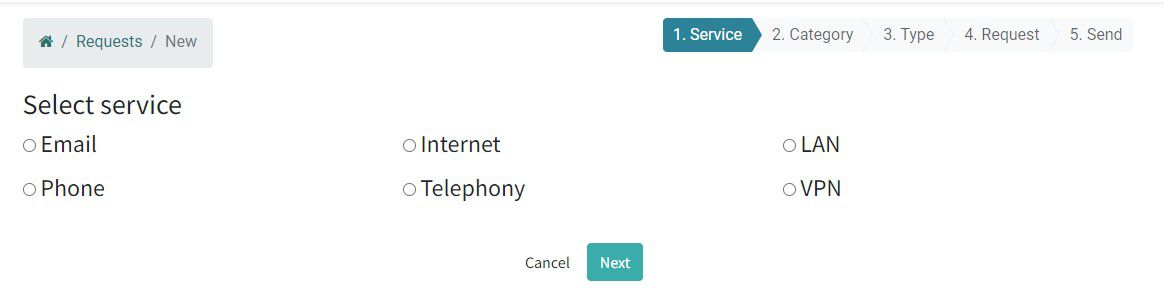
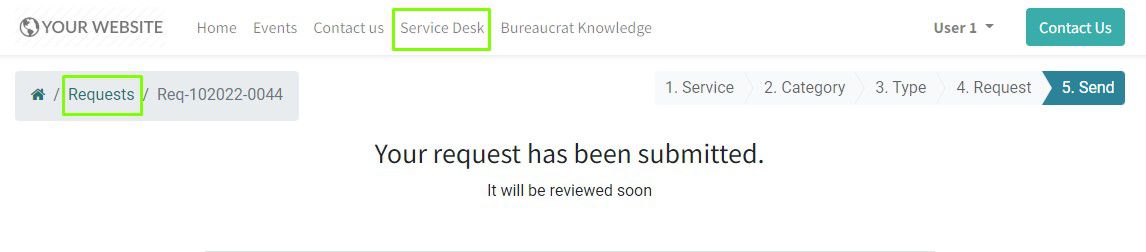
The top right is a navigation bar that shows the steps needed to create and submit a request. The current stage is highlighted in blue.

You can go to the next or previous steps using the Next and Back (Cancel) buttons at the bottom of the page.

The available services, types, and categories of requests are configured by the administrator to best suit your company needs.
Depending on the selected service, category or type of request can be set automatically (you will skip steps of selecting category or type of request from the menu). For example, if you select the Email service and click Next, you will go to the request description stage and the category and type of the request will be automatically set (category - Setup, type - Request for Service).
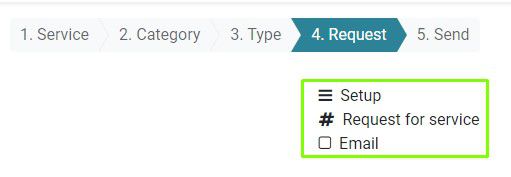
You can see service, category and type of request by the appropriate icons:
 - the text next to this icon shows request service
 - shows request category
 - shows request type
You can see this information by pointing icon with the mouse.
To create a request, select the service, as well as the category and type, if necessary.
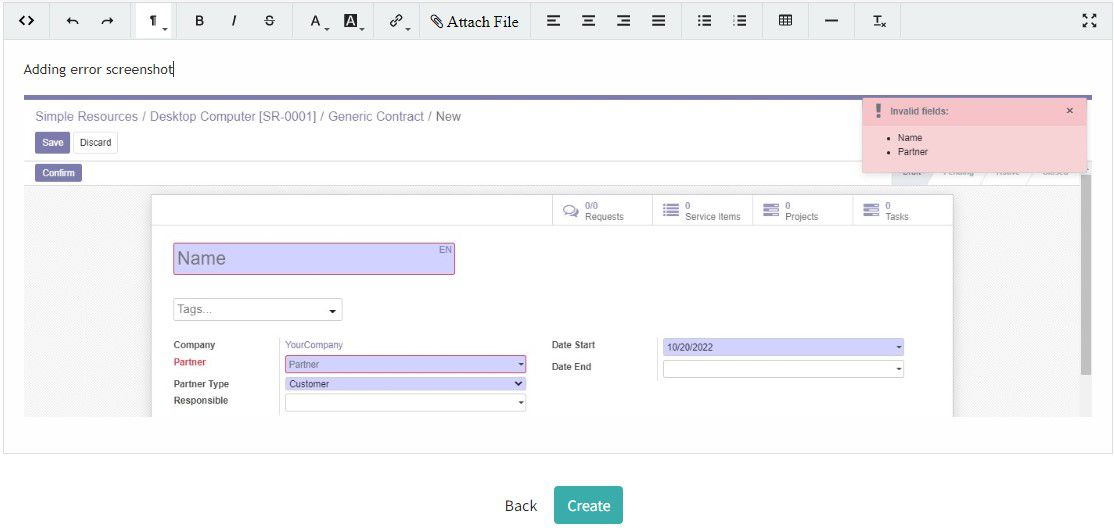
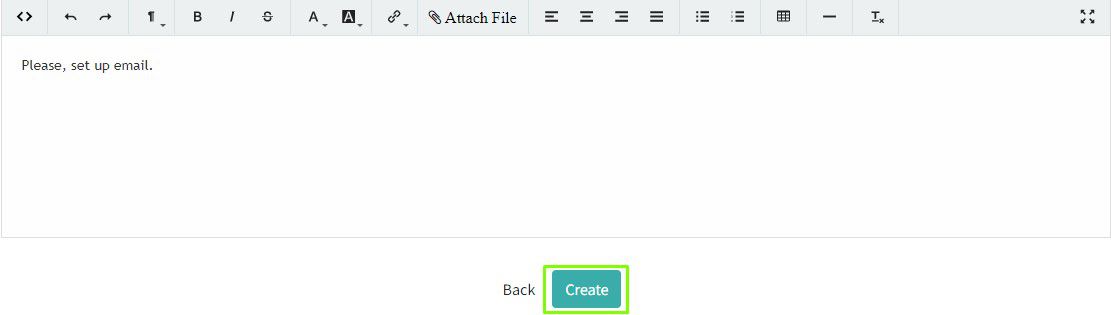
On the Request stage of creating the request, a text box will open. Here, describe your request and provide all the necessary information. At the top of the text box, the dashboard of the embedded text editor is located, you can use it to arrange request text.
You can add an image to the request. To do this, click the Attach File icon on the control panel.

Next, choose Upload File. Click Choose File and enter the path to the file on your computer. You can add a description. Click Confirm.
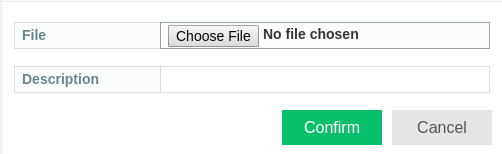
If you select Insert Image, you will be able to specify the URL of the image.
You can immediately add screenshot of the error:
- click Print Screen (in the Windows OS the image will be automatically added to the clipboard; in other OS you may need to click add to clipboard manually)
- activate the text box by clicking and then press Ctrl+V, the image will be added
At this stage of submitting request, you can also select tags for your request. Tag selection is not required.
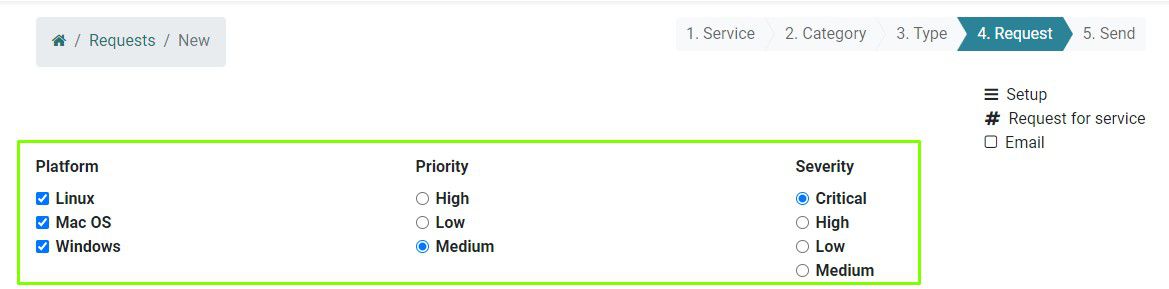
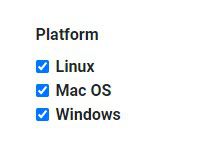
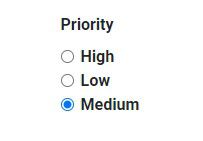
Tags may vary by their category. Depending on the category settings, you can use multiple tags of this category at one time or only one for one object. This can be seen visually by the form of check box:
- square shape - you can use multiple tags of this category at once
- round shape - only one tag of this category can be used for request
Fill in additional request fields. Depending on the request type settings, additional fields may be available to fill in.
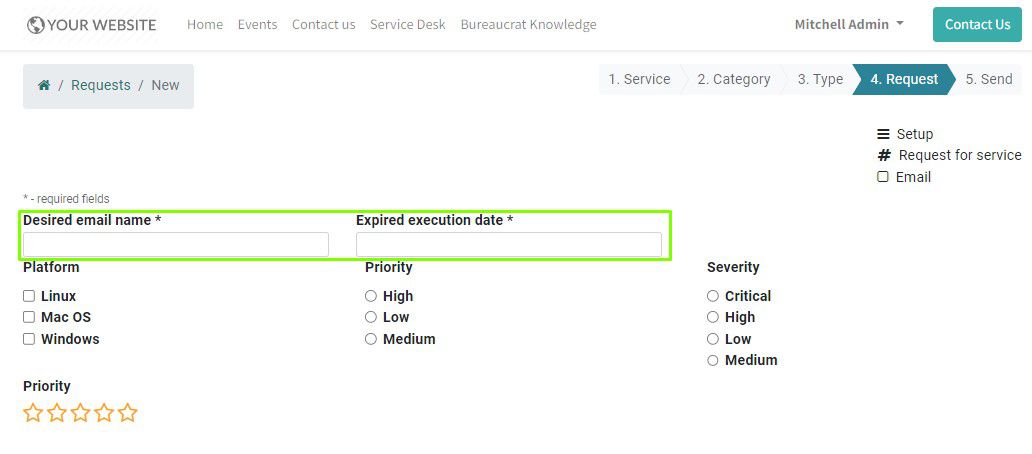
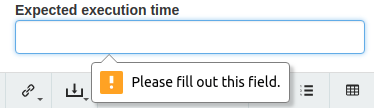
This fields may be required or not, depending on request type settings. If you do not fill in the required field, when you try to create a request, you will see the corresponding message.
After filling out the required information, submit your request.
At this stage, the Next button will change to Create.
Click Create to create and submit the request.
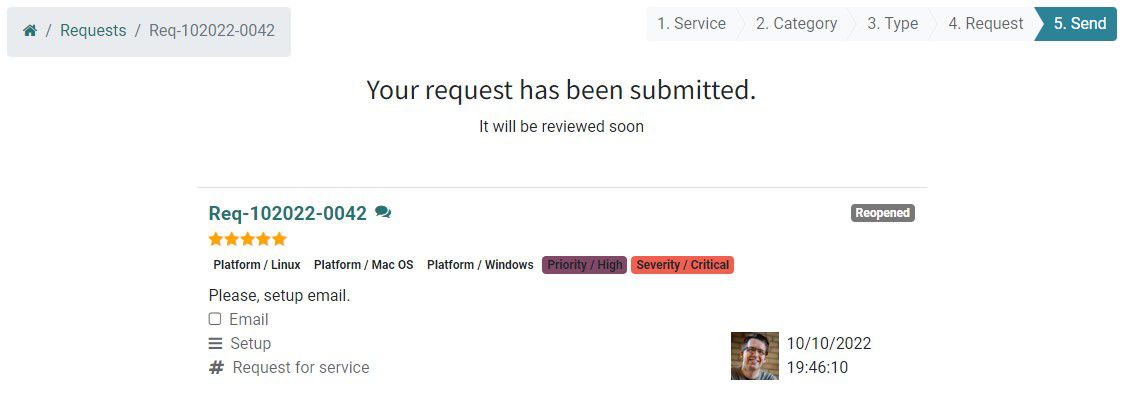
The request will be created and will be assigned its own ID. You will receive a notification about this.
Request Overview
After submitting the request, request manager receives the notification. He reviews the request and assigns the responsible person and the actions to be performed at this stage of the request. Different responsible persons can be assigned to each stage of the request execution. The assigned person, in his (her) turn, also receives the notification of the assignment , plans and performs the necessary actions for this request stage. After performing the planned actions, the operator moves the request to the next stage. Thus, the request moves along the route until it is fulfilled (or rejected) and closed.
To review requests, click Service Desk in the main menu or click Requests.
You will go to the service desk page. Here you will see all requests created.
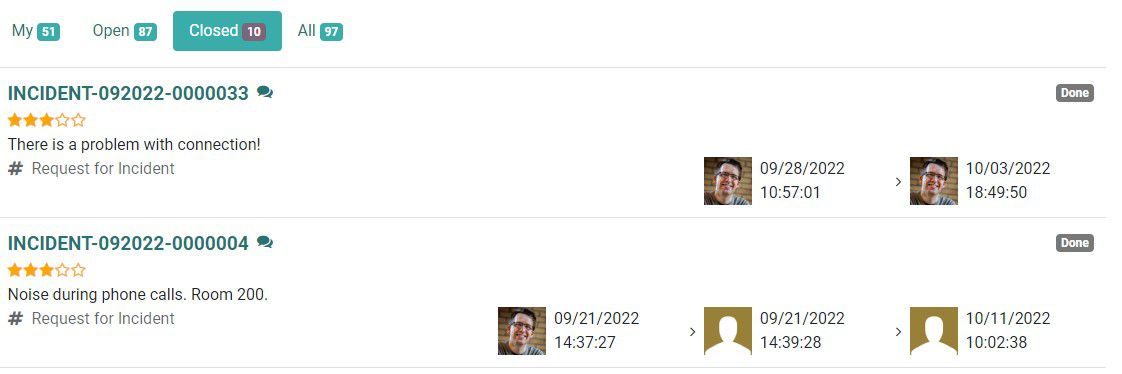
You can group requests according to certain characteristics by clicking the appropriate filters below the search box. The number near each button shows the number of requests for this group.

- My - will show all open requests created by you.
- Open - will display all open requests.
- Closed - will show all closed requests.
- All - will display all the queries available to you for viewing.
To view requests, you can use search box at the top of the page.

You can search requests by ID or by type (enter the first three letters of the request ID).
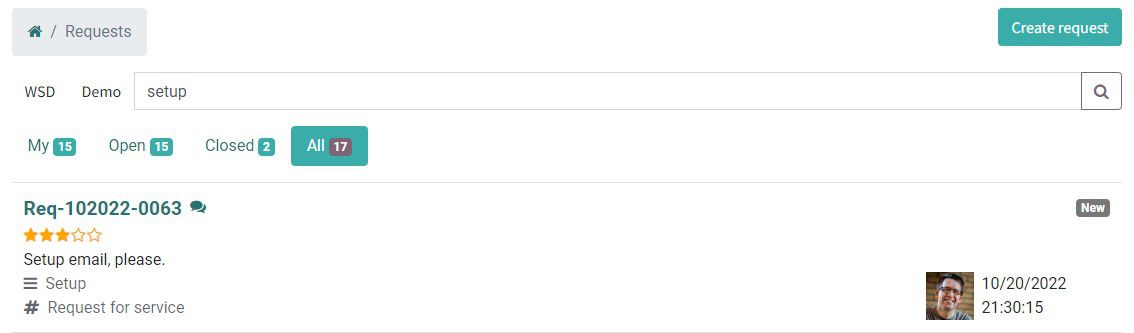
When viewing requests on the page, you can see the following information:
- The request ID is displayed in the upper left corner.
- Under the ID you can see tags. Below - the request text, as well as the service, category and type of the request.
- In the upper right corner you can see the current stage of the request.
- Under the request stage, the date of creating and assigning responsible persons (if they were assigned) is shown.

Click the request ID to view the detail. The request page opens.
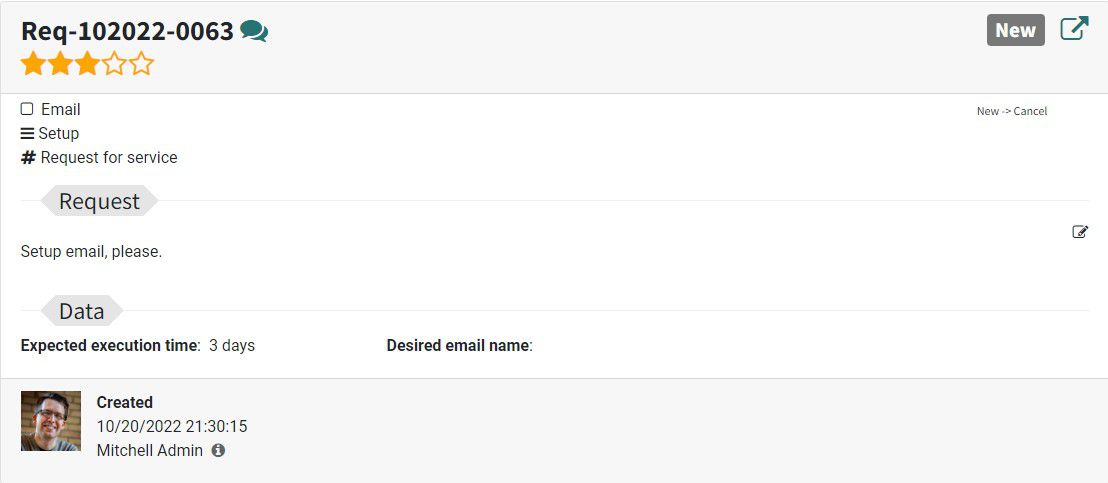
Here, you can see all available information on the request and chat with the persons that are responsible for the execution of your request.
Under the request you can see the information on the request creation (date and user), as well as the information on assigning responsible persons.

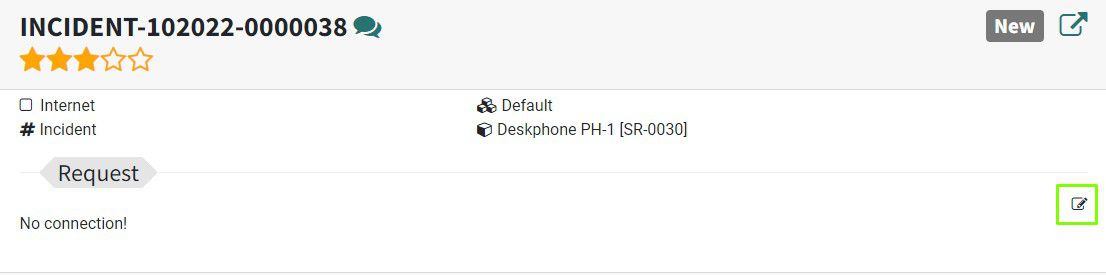
If the request is at the initial stage, you can edit the request text by clicking the corresponding icon to the right.
To the right of the request ID, you can see the arrow (appears when the request was closed) and conversations icons.

If you click the arrow icon, you will go below to the section where you can read the feedback that the operator wrote when closing the request.
When you click on the conversation icon, you will move below to the chat section.
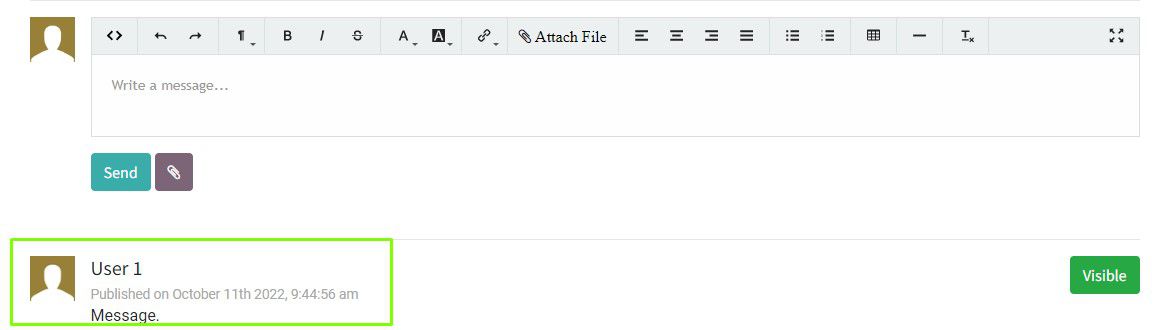
To chat with the persons responsible for solving your request, scroll down to the text box. Here, enter the massage and click Send.

You can see all massages at the bottom of the page.
After the request is fulfilled, its stage will be changed to Done. After this, the request can be closed.

Enter the request page by clicking the request ID.
For some types of requests (such as an incident request), the closure must be agreed with the user who submitted the request.
On the right, under the request stage, you will see possible options to proceed your request.

If the request has been fulfilled, you can click Accept. The request will be automatically closed.

If you click Reopen, the request will be reopened again.

In some cases user can close the request at other stages by himself, this depends on administrator configurations.
