Generic Assignment Policy
Generic Assignment Policy is a technical addon developed by the Center of Research & Development company. It allows you to create custom user assignment policies and rules by which this assignments will take place.
To use this module you need to have the Generic Condition addon installed.
In this instruction you can read the following:
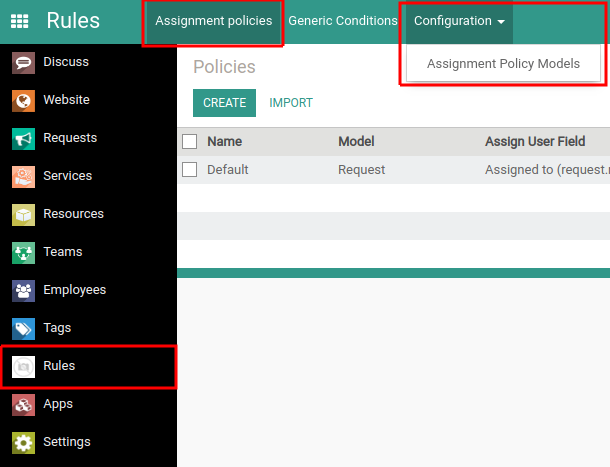
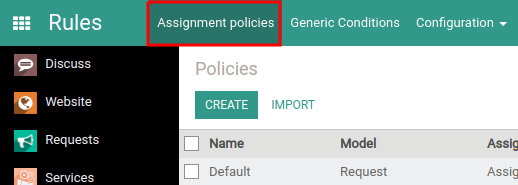
You can see the Generic Assignment Policy settings on the Rules page.
Policy Models
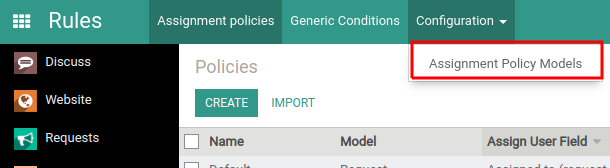
Assignment policies are linked to a certain model. To configure policy models click Configuration -> Assignment Policy Models.
The Policy Models page opens.
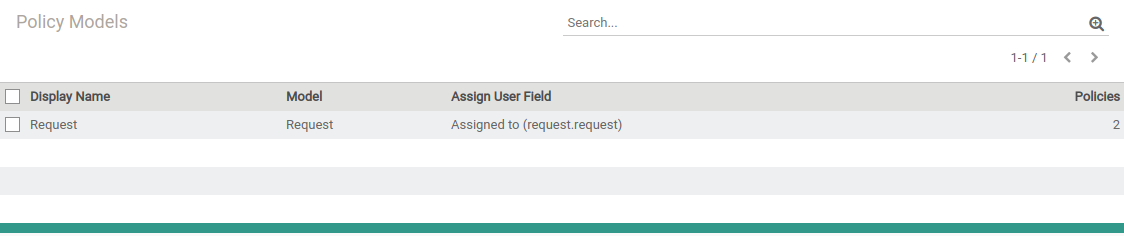
Here, you can create and configure assignment policy models.
Note
At the current development stage, assignment policies linked to the Request model. In the future, they can be customized for different models as needed.
Assignment Policies
To create and configure assignment policies, click Assignment policies.
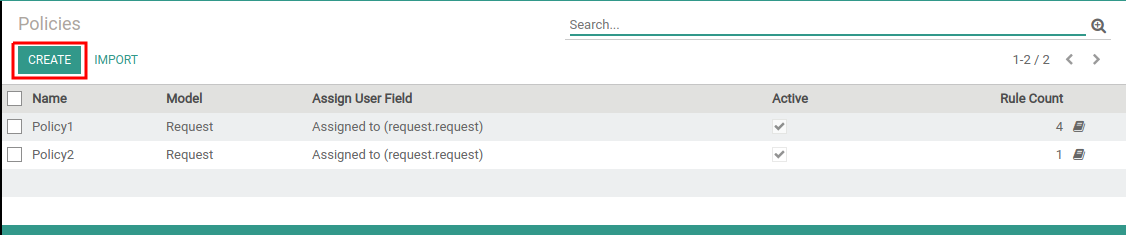
The Policies page opens. To create a new policy, click Create on the left at top.
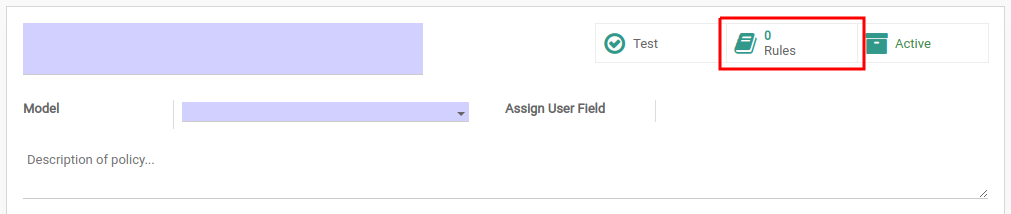
A form opens.
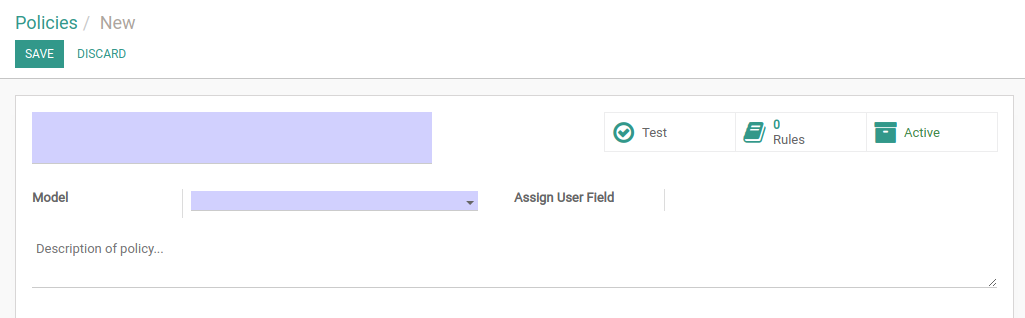
Fill in the form fields:
- Enter the policy name in the upper field.
- Next to the Model field, select the necessary model.
- Click the Description of policy and provide additional information.
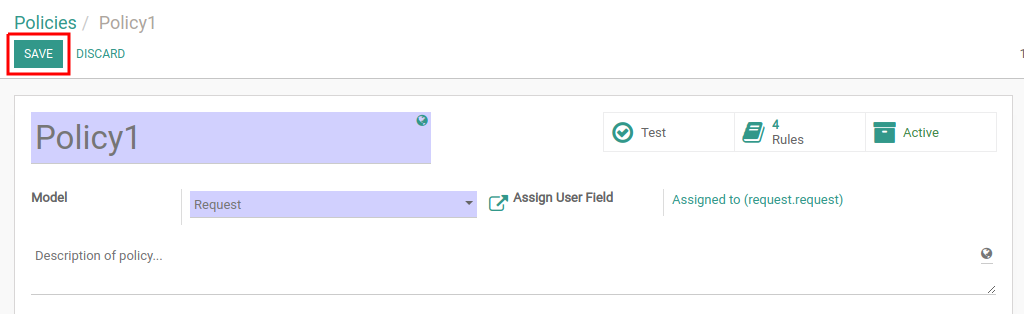
- The Assign User Field will be automatically filled depending on the selected model.
- Click Save on the left above the form.
For the proper functioning of the policy, it is necessary to determine the rules by which the assignments will be performed.
Assignment Policy Rules
On the Policy form, click Rules on the right at the top.
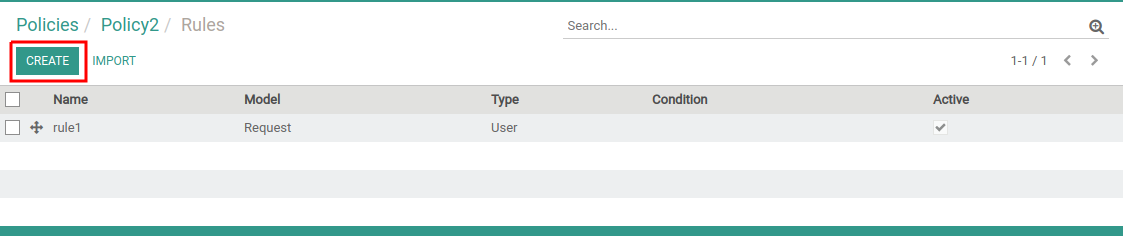
The page opens where you can create, edit and delete assignment rules for this policy.
To create a new rule, click Create on the left at the top.
The form for creating a new rule opens.
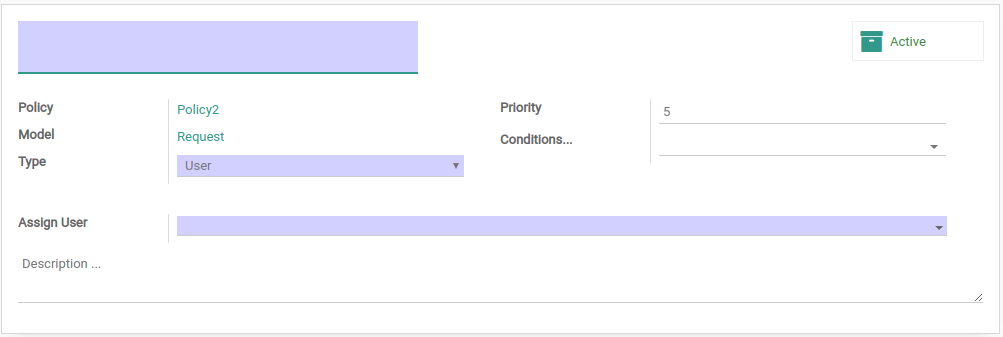
On the form:
- Specify the rule name in the upper field.
- If necessary, enter the priority in the Priority field. When checking conditions of the triggering, the first will be selected rules with the highest priority (lower digit).
- If necessary, in the Conditions field, select the conditions under which this assignment will take place.
- You can add a description in the Description field.
- Next to the Type field, select the type of the rule.
Depending on the selected type, there will be various options for further customizing the rule:
If you select the Python expression type: you can describe the rule in the Python programming language.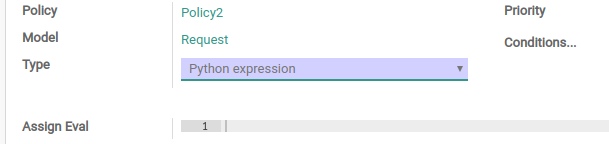
If you select the User type: below, you will be able to select the user to be assigned.
The User field type: you can assign the user that is written in the specified field.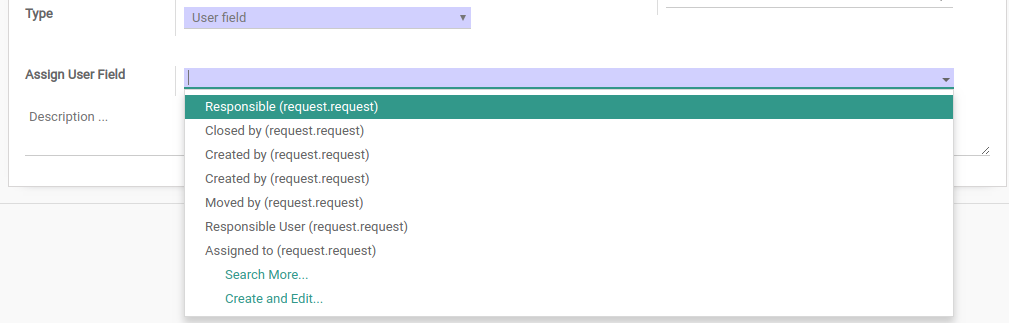
The Policy rule type: you can select another policy on which the assignment will take place.
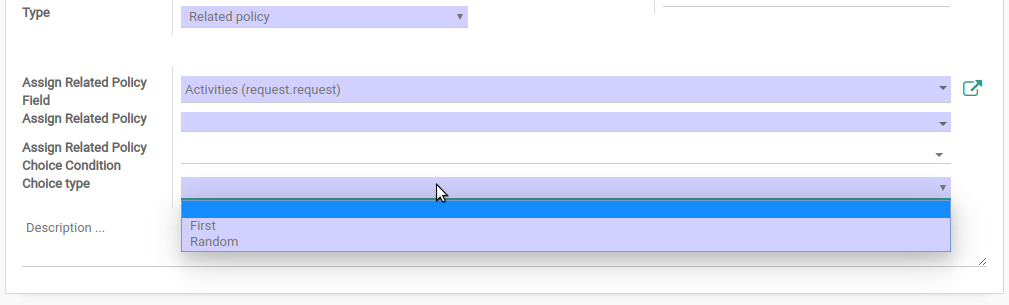
The Related policy type: - in the Assign Related Policy Field, select the field indicating the record for which the related policy will be executed;
- in the Assign Related Policy field, select the policy that will be performed;
- in the Assign Related Policy Choice Condition field, specify the condition to perform policy;
- if the field you have selected in the Assign Related Policy Field contains several entries (field type one2many, many2many), you need to specify to which record the policy will be performed. To do this, in the Choice type field, select one of the types - First (the first record will be selected) or Random (the record will be randomly selected).
- Click Save on the left above the form.
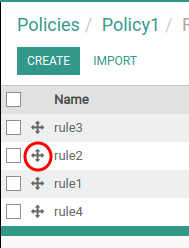
You can see the created rules on the Rules page. They are displayed according to their priority.
You can change the rules location by clicking and dragging the crosshairs icon.
When changing the rules locations, the rules will automatically change their priority.
Assignment Policy Testing
Note
This section is for developers, because programming skills are required for testing assignment policies.
You can test the execution of the configured assignment policy.
To do this, in the policy form, click Test.

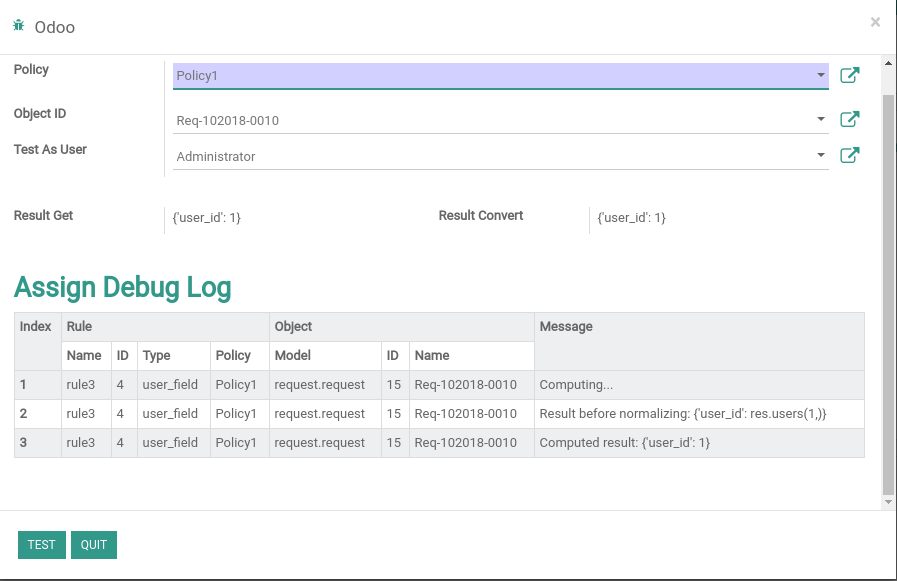
The window for policy testing opens.
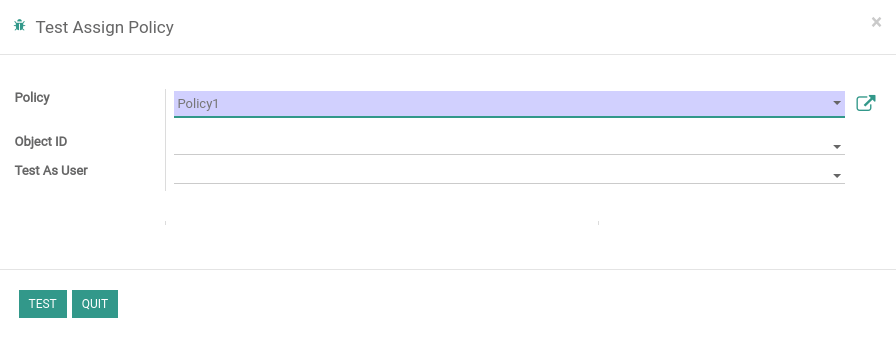
Next:
- In the Policy field, select the policy you want to test.
- In the Object ID field, select the object on which to test the policy.
- In the Test As User select the user from which to test.
- Click Test.
After testing, you will see the result (you will see returned value if the conditions of the assignment rule were met). At the bottom of the window, you can see the debug log, which shows the details for each step of the check.