Generic Request SLA Module
In this instruction you can read the following:
Generic Request SLA Module Review
Configuring SLA in Request Types
Generic Request SLA Module Review
Generic Request SLA is a module of the Generic Request application developed by the Center of Research & Development company. The module allows you to use a Service Level Agreement when dealing with requests. It allows you to set time for each stage of the requests, monitor the execution of requests, make log records for each request, etc.
To use the Generic Request SLA module, install the following applications and modules:
- Generic Request
- Generic Request SLA: Log
You can enable or disable the use of this module in the settings. To do this, take the following steps:
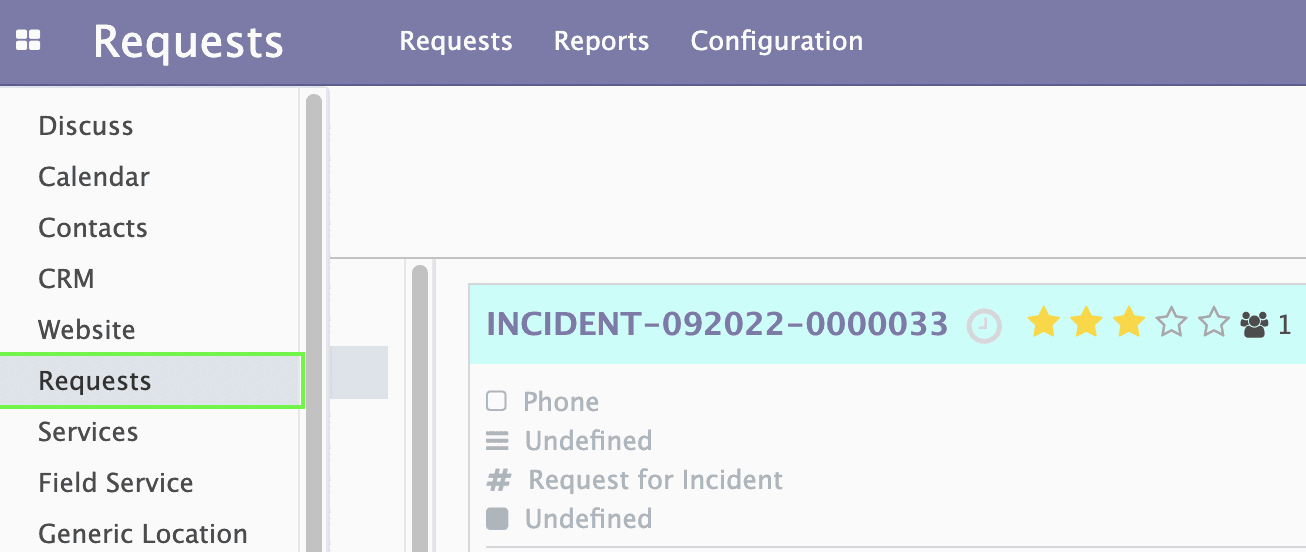
- Click Requests on the left dashboard menu.
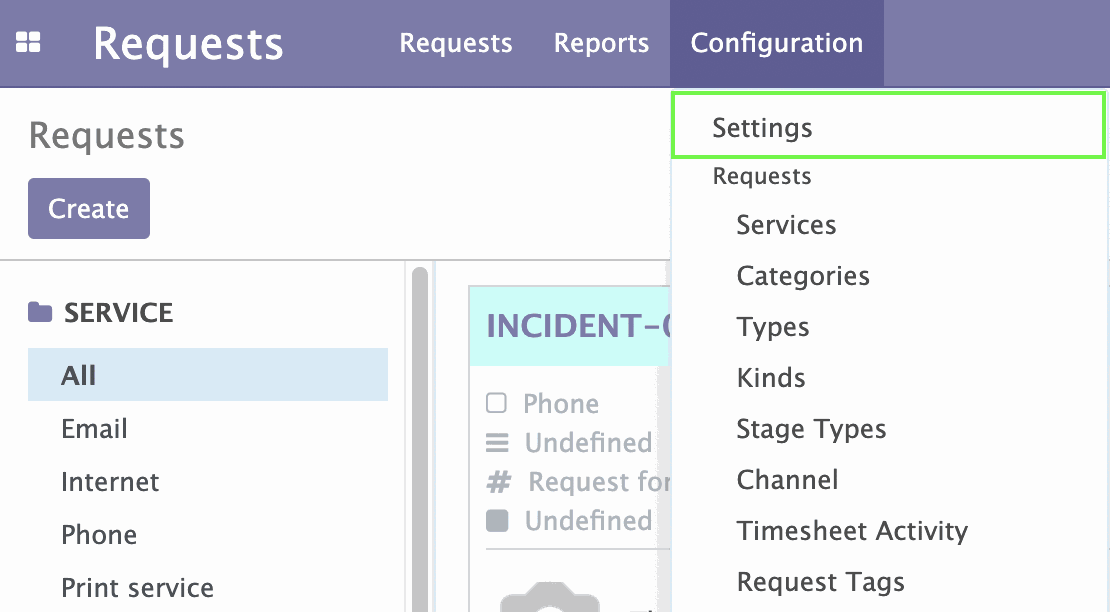
- Under the Configuration menu click Settings.
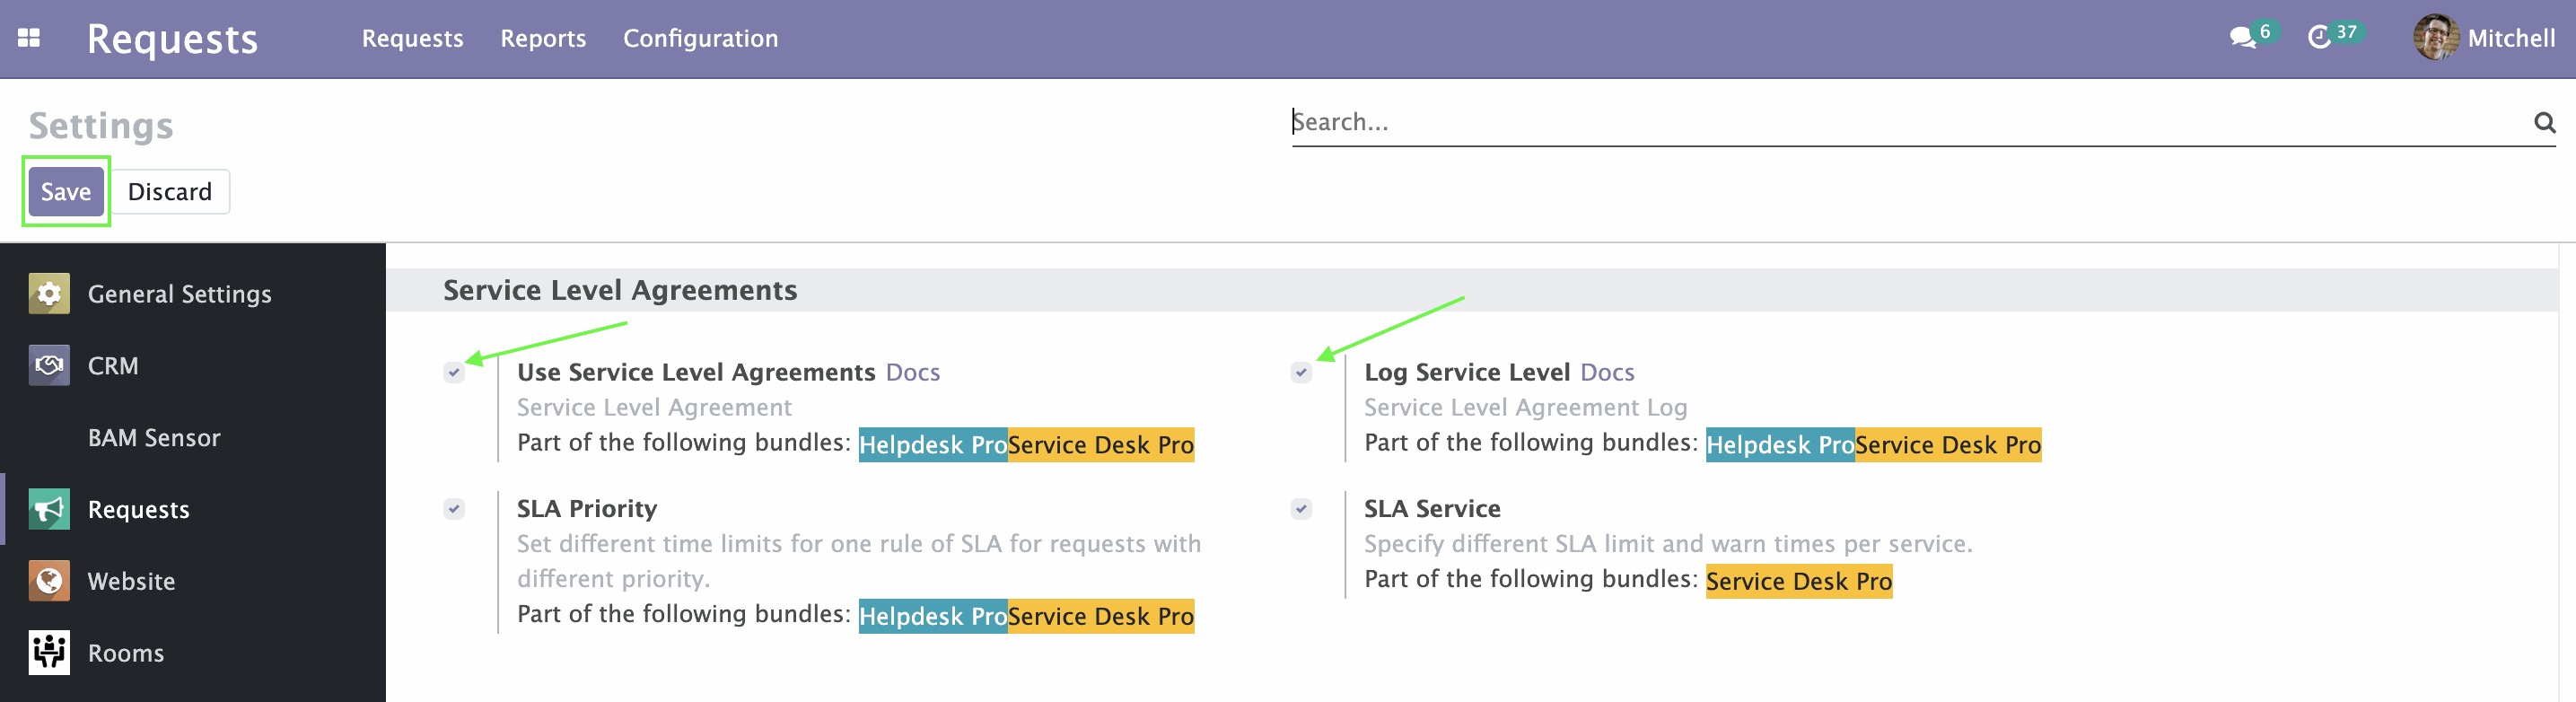
The Settings page opens. - In the Service Level Agreements menu group select or clear the Use Service Level Agreements checkbox. Also, to work with the module you need to tick the Log Service Level option.
- Click Save on the left at top.
Creating SLA Rule Types
After installing the Generic Request SLA module under the Configuration menu you will see a new SLA Rule Type option. Click on it.
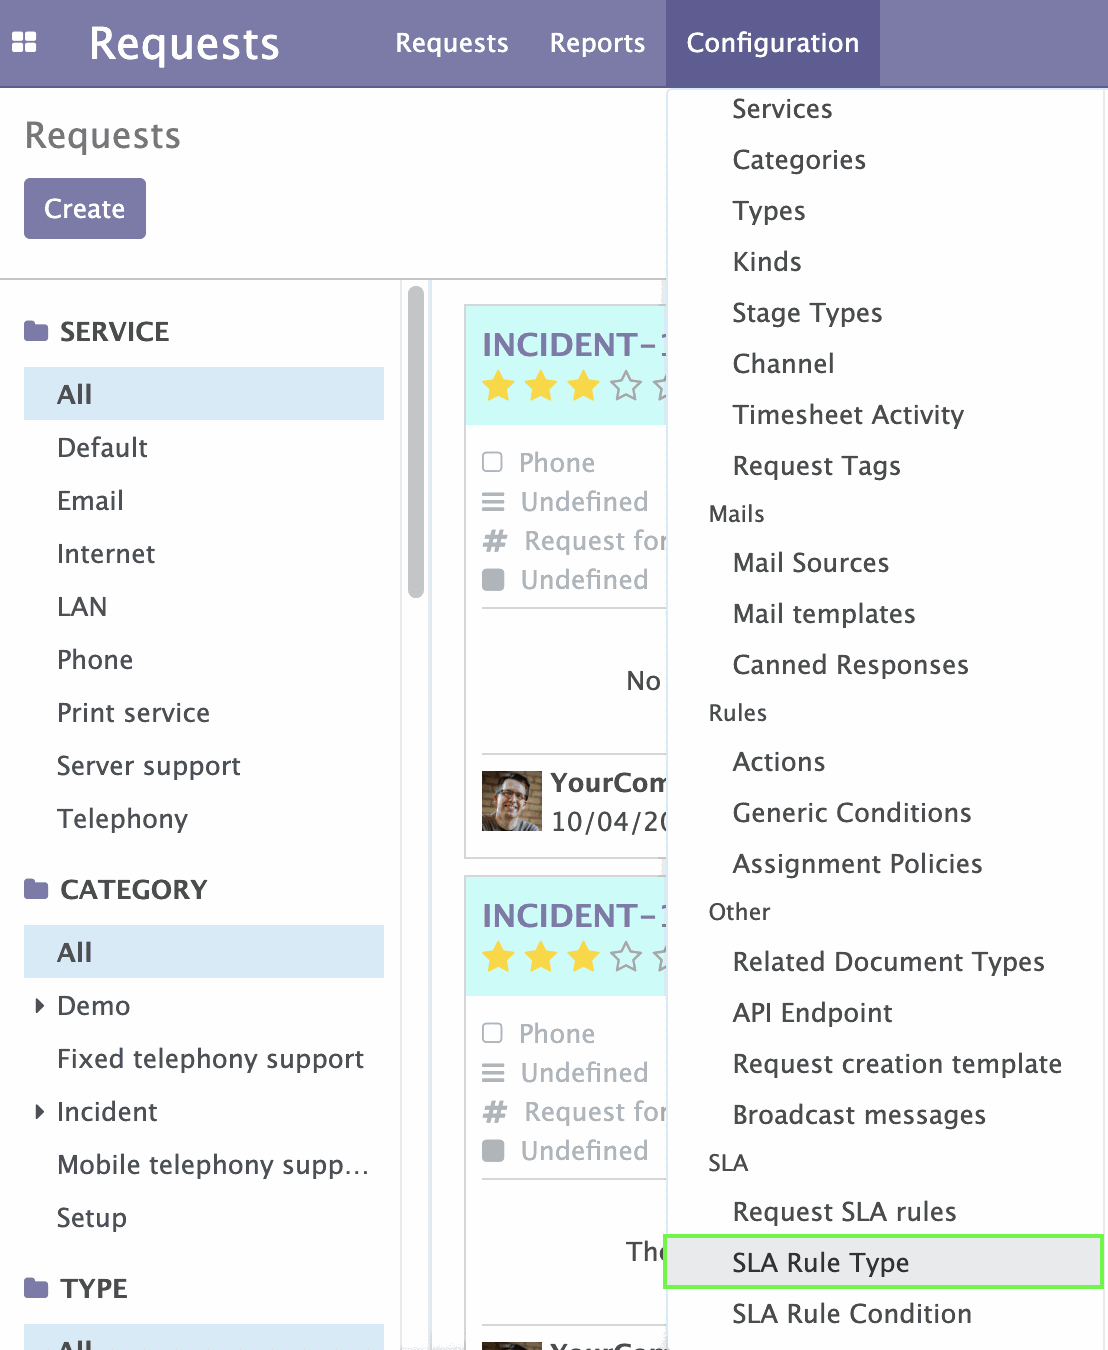
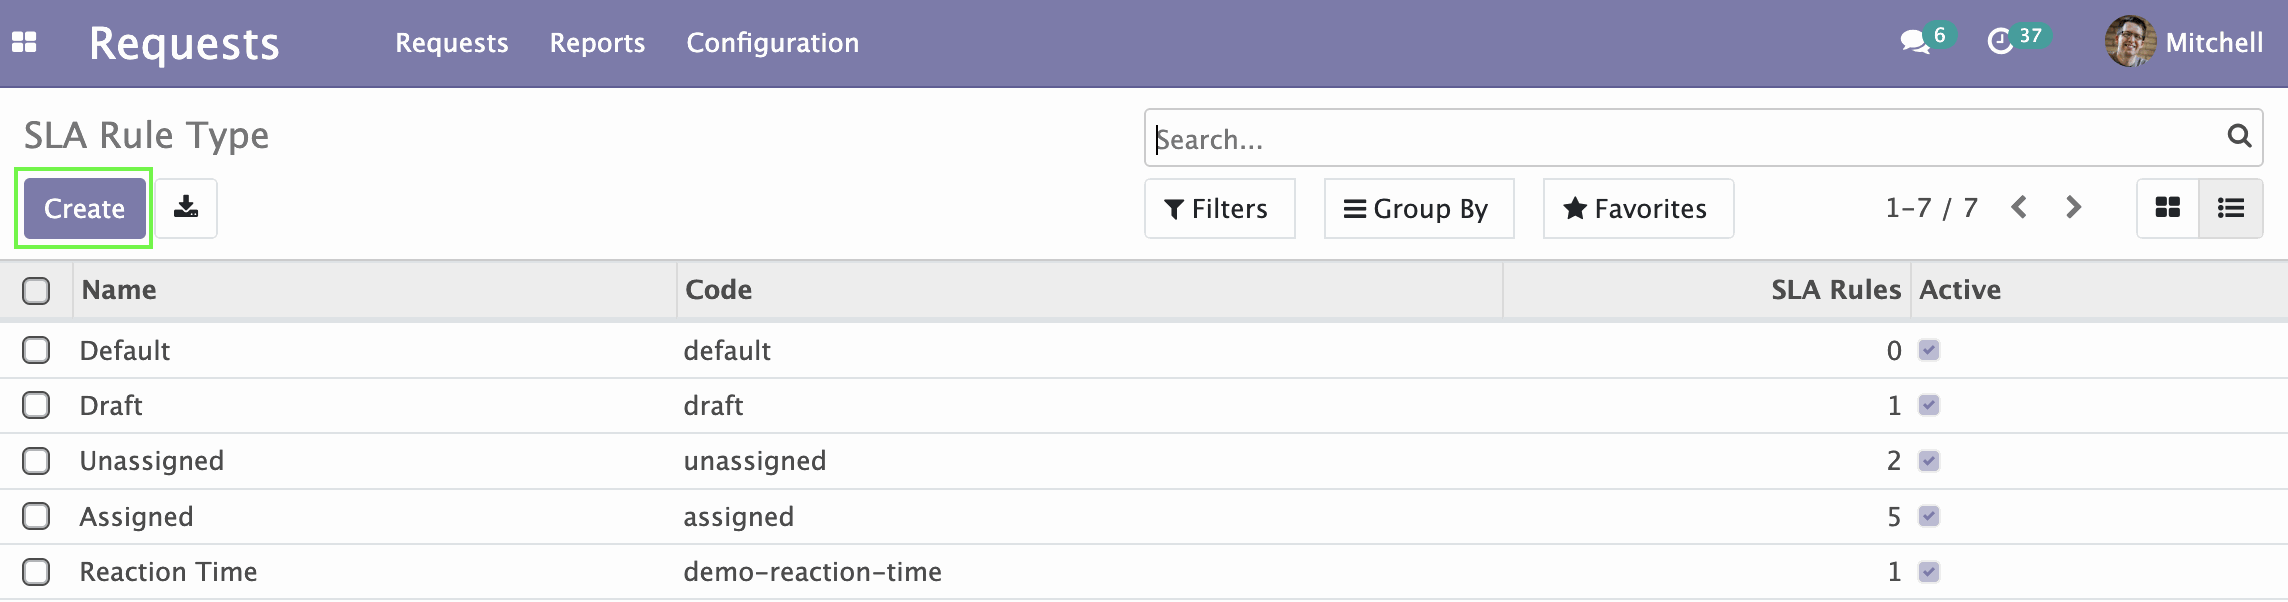
You will be redirected to the SLA Rule Type page. All created SLA Rule Types are displayed here. According to these types of rules, control and reporting will be carried out in the future. You can create, edit or delete rule types on the page.
To create a new Rule Type click Create on the left at top.
A form for creating a new Rule Type SLA opens.

Here, enter the Rule Type name. If necessary, click the Description field and provide additional information.
Click Save on the left above the form.
Configuring SLA in Request Types
Now, for request types, you need to define SLA rules that will act at the stages of the request along the route.
Under the Configuration menu click Types.
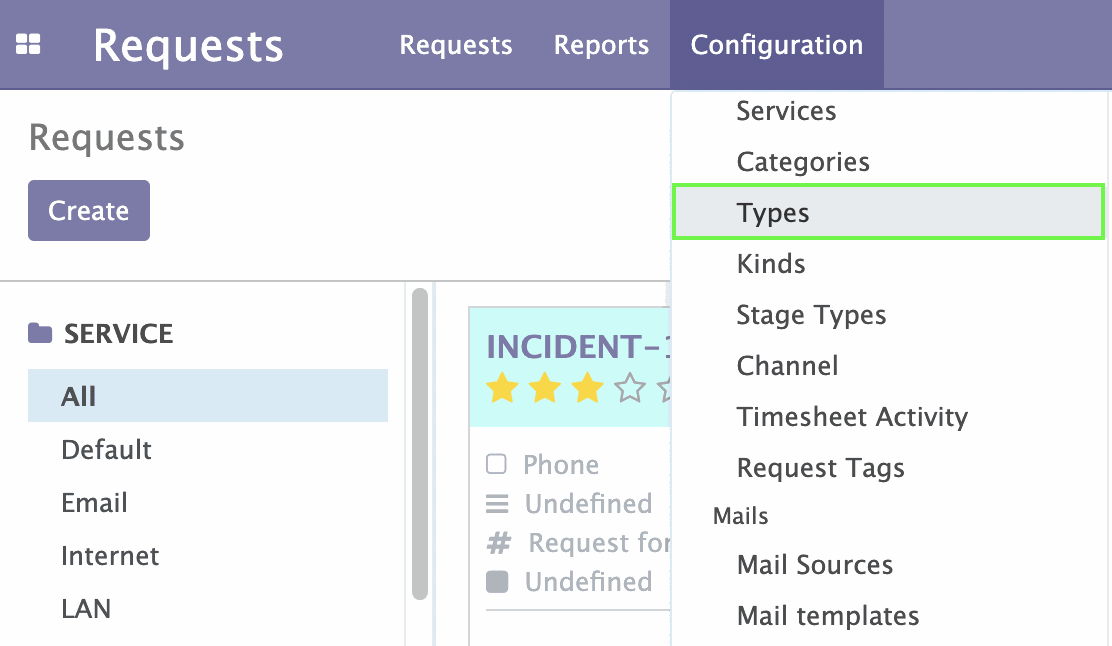
On the request types page, select the type from the list or click Create to create a new one.
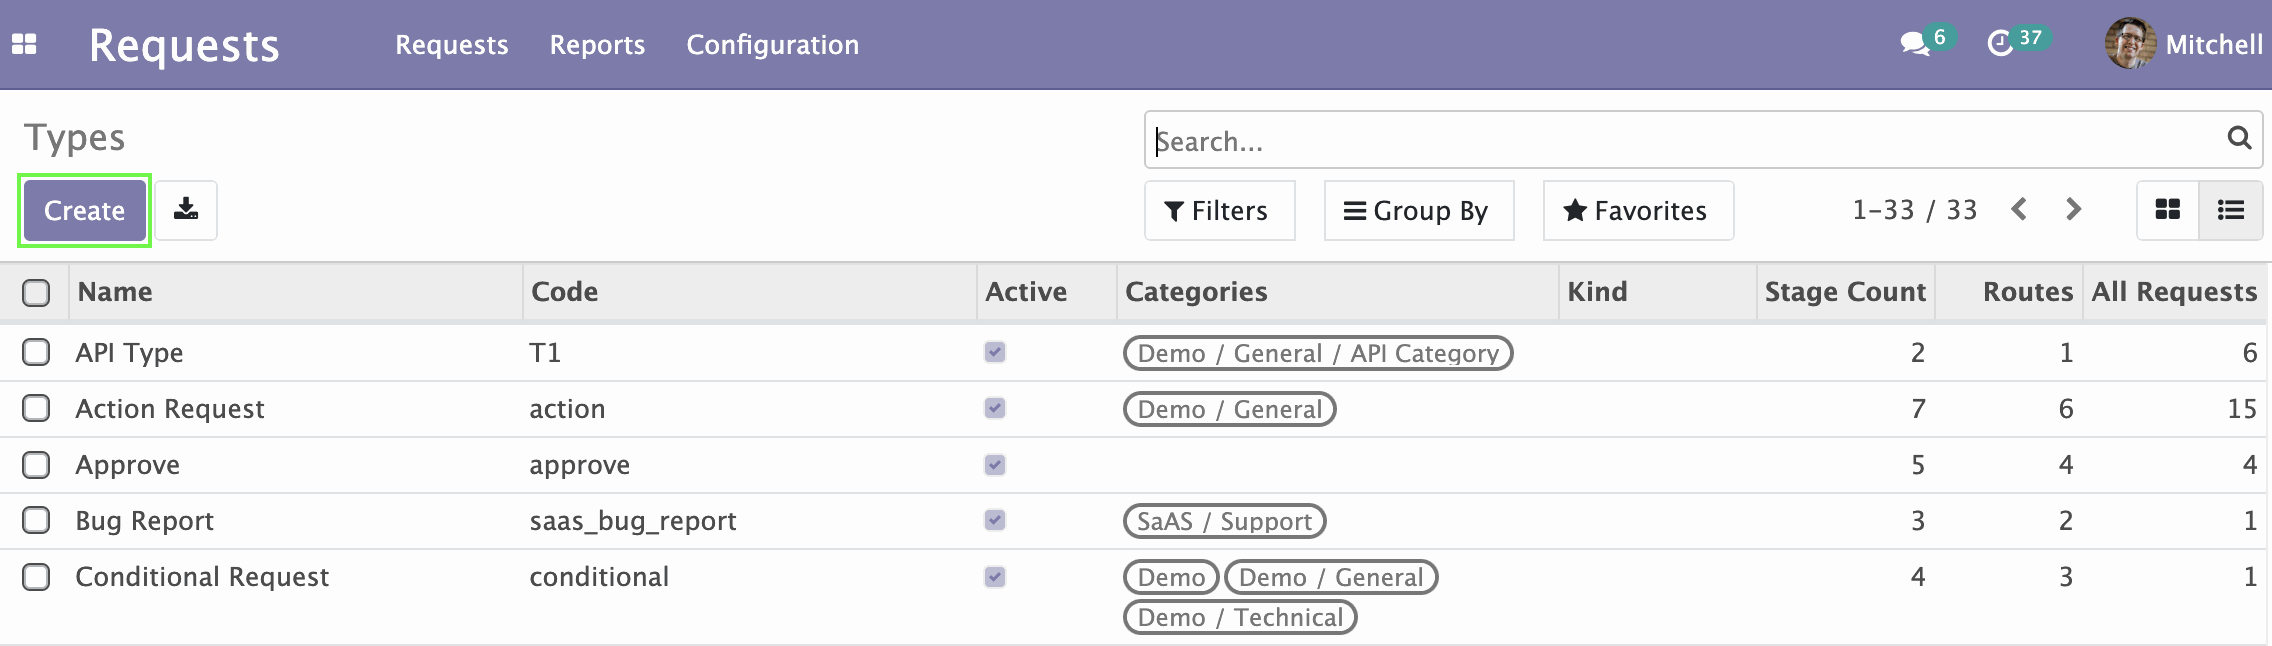
A form for creating or editing the type opens.
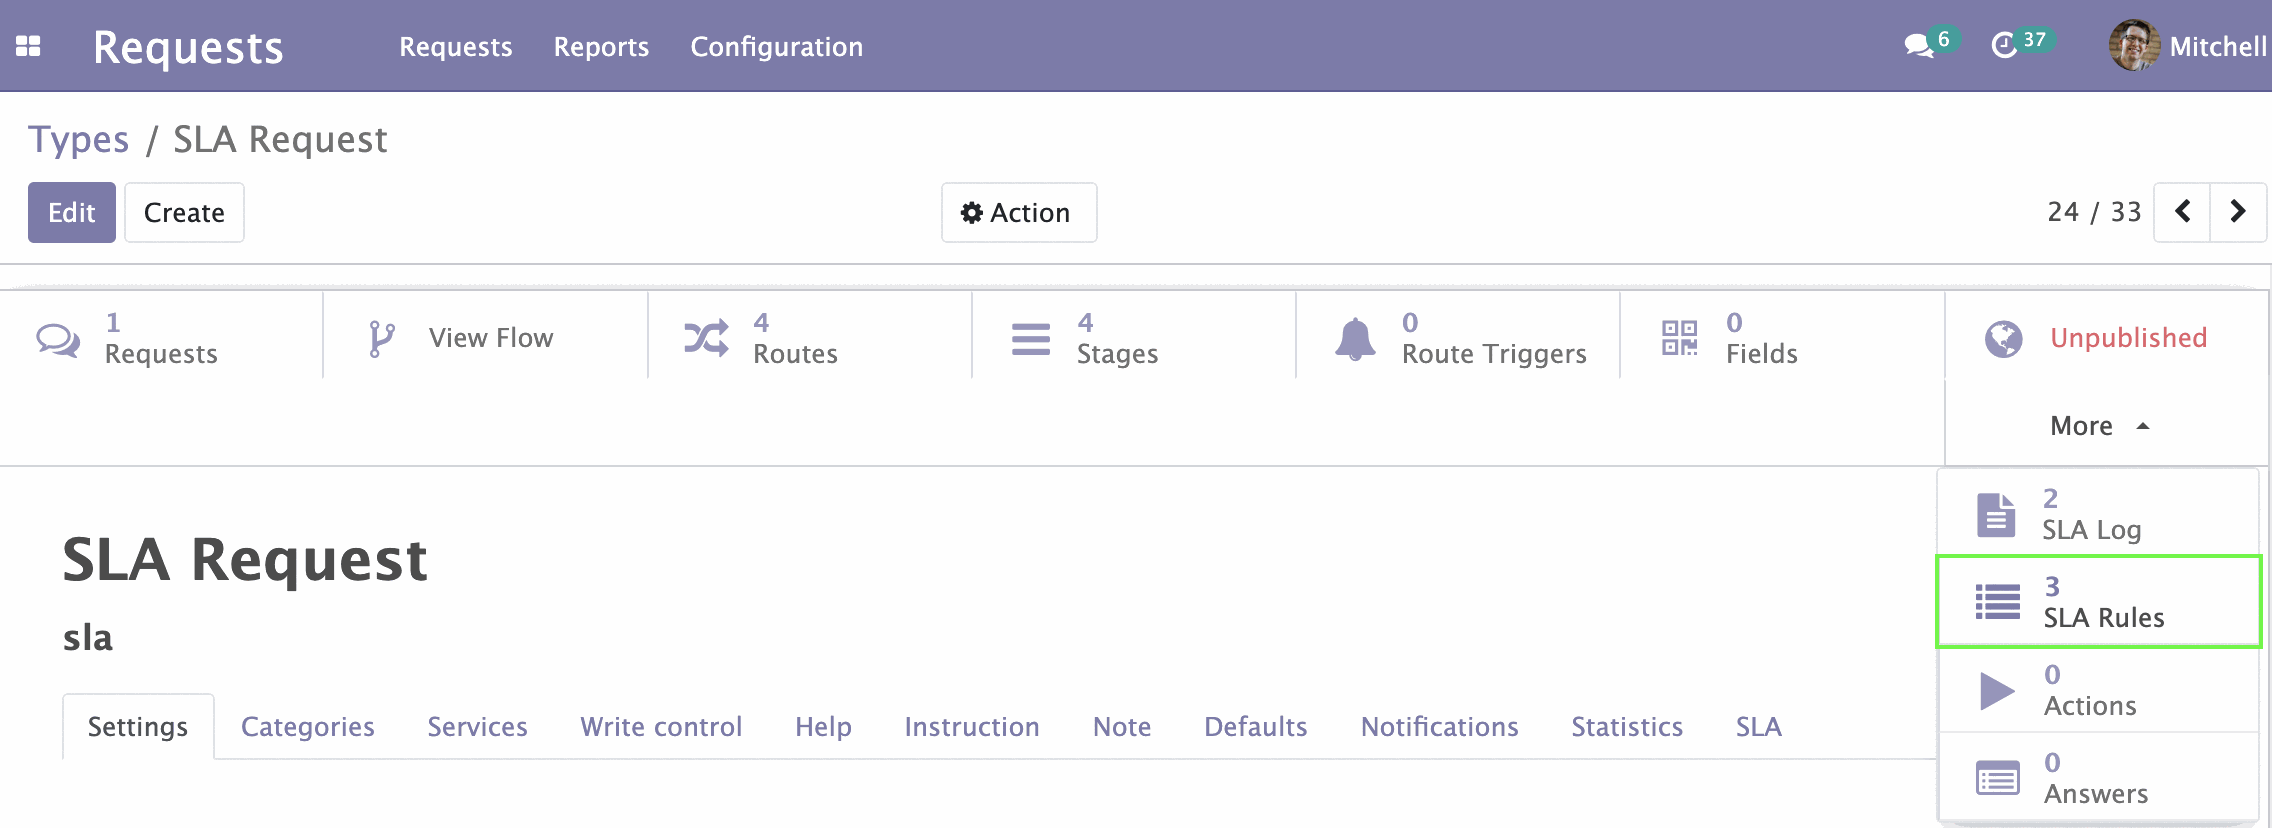
A new SLA Rules button appears on the right top. The digit next to it shows the number of created SLA Rules that are active at the selected stages when the request navigate along the route. Click SLA Rules.
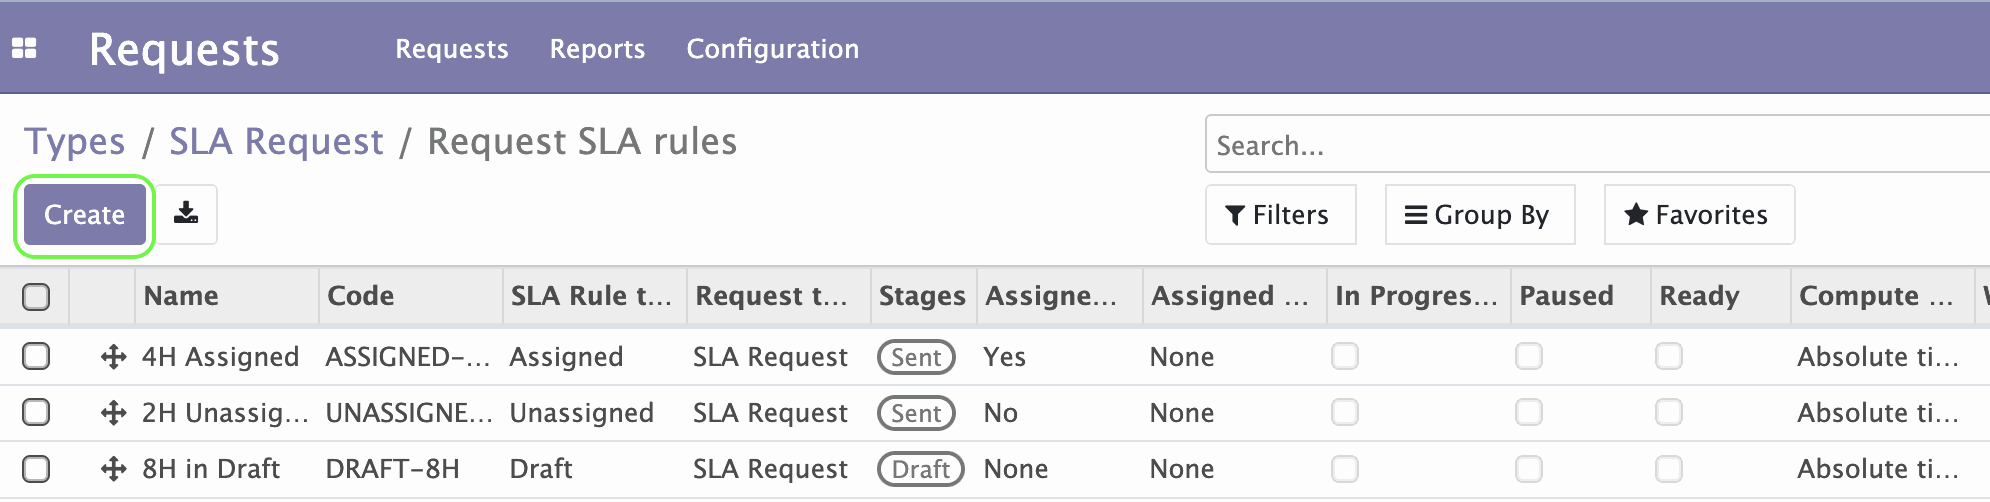
The SLA Rules page opens. Here, all the created rules for the current request type are displayed.
To create a new SLA Rule click Create on the left top.
A form for creating new SLA Rule opens.
Fill in the form fields:
-
In the _Name..._field enter the name of a new rule.
-
Code... field is filled in automatically.
-
Sequence determines position of this rule in the list on the SLA Rules page. The lower the number of sequence, the higher the position. The first active SLA Rule in the list will be the Main Rule for this type of request.
-
Click the SLA Rule type drop-down list and select one of the created SLA Rule Types.
-
Next to the Stages field, select request stages on which the new SLA Rule will operate.
-
In the Assigned field select one of the 3 options: None - the rule does not depend on whether the responsible person is assigned; No - the rule is valid until a responsible person has been assigned; Yes - the rule applies when the responsible person is assigned. Thus, at one stage of the request, two SLA Rules can be assigned - one will act until the appointment of the responsible person, the second one after.
-
Next to the Compute Time field, select one of the method for calculating time. Available options are absolute or working hours.
-
In the Warn Time field enter the time after which a warning will be displayed.
-
In the Limit Time field enter the time limit for completing this SLA Rule.
-
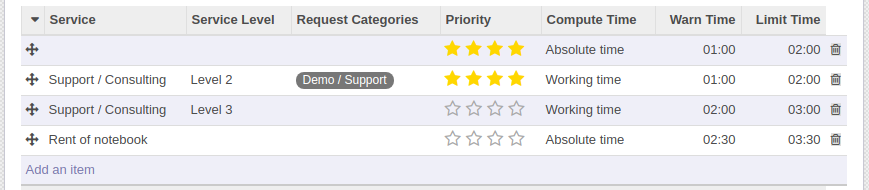
At the bottom of the form, SLA rule lines are located. They allow you to indicate special cases for this rule. In each line you can specify conditions (these conditions may vary depending on the installed addons). If all of the specified conditions in the line are met, this rule will use its time limits instead of timers of the general rule. If there are more than one line in the list, the first line that satisfies the condition (starting from the top of the list) will be active.
Request Categories: specify request categories. For requests of these categories, time limits of the new line will be used. If no category is selected, this condition applies to requests of any category.
Priority: select a priority. For requests of the selected priority, the current rule line will be active. If no priority is selected, this rule applies to requests of any priority.
Service: select a service of requests for which this rule line will be active. If no service is selected, this condition applies to requests of any service.
Service Level: specify service level. This rule line will be active for customers with a selected service level. If no service level is selected, this condition applies to requests of any service level.
Compute Time field allows to specify time computation method for each line. In order to use Working time, you need to set it on the SLA tab of the request type.
-
Click Save on the left above the form.


On the request form a new SLA tab will appear. Click on it.

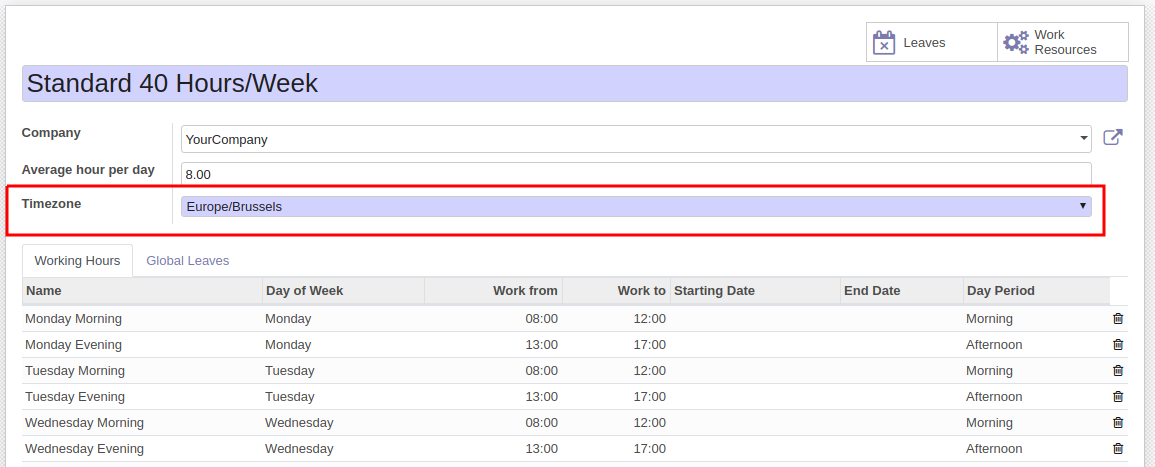
Here, next to the Working time field, you can choose a schedule for your company. Select one of the basic options or create your own by clicking Create and Edit.... The Main SLA Rule field displays the main SLA Rule. This is the first active rule in the list on the SLA Rules page. Position of the rule in the list is determined by the rule sequence - the lower the sequence number, the higher the position.
Be sure to specify the appropriate timezone on the Working Time form.
Requests with SLA
Now, if you select a request type with the configured SLA rules when forming a request, this request will have a Service Level Agreement.
On the requests page open the request with SLA.
On the request form open the SLA tab.
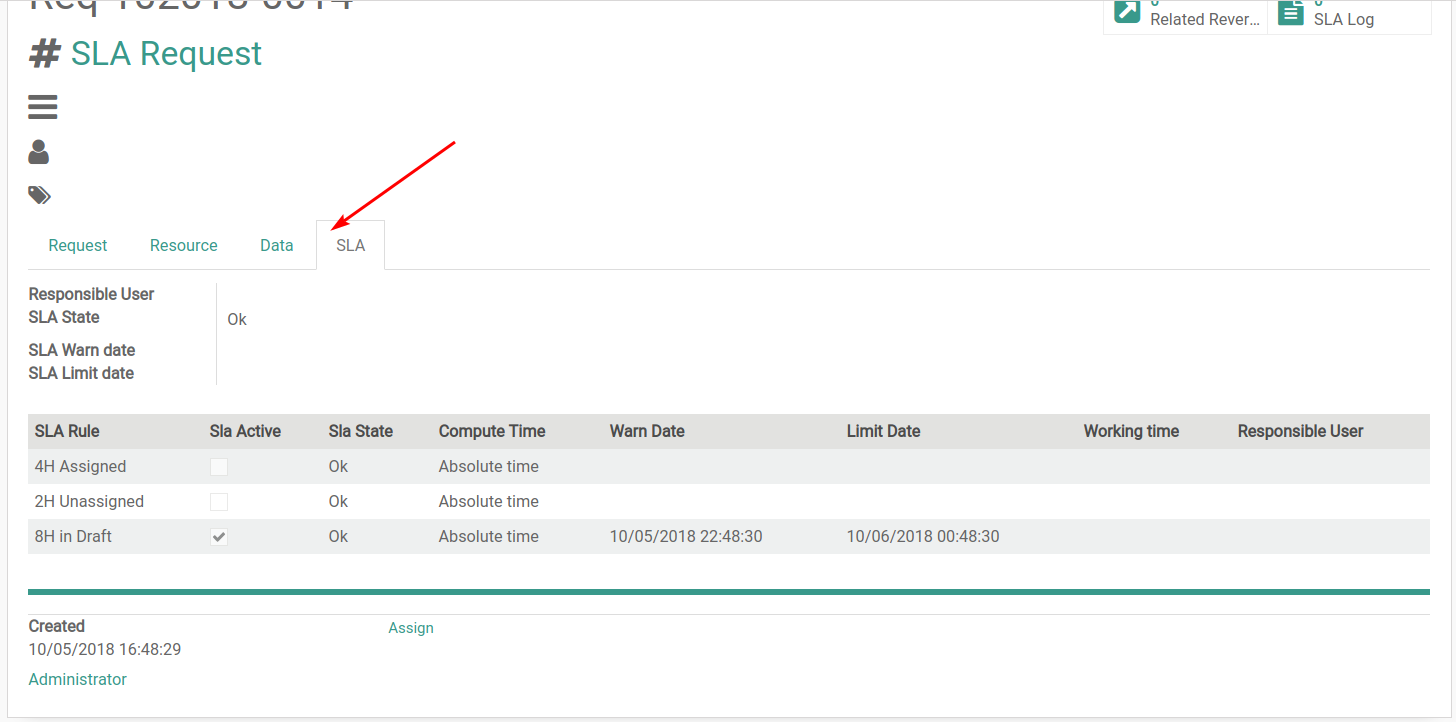
Here, all information on the SLA is displayed.
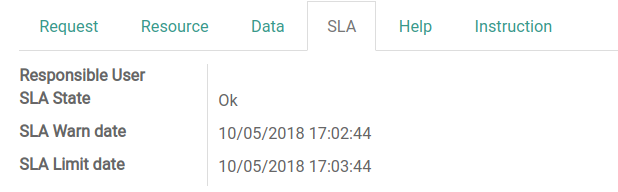
- Overall SLA completing status displayed next to the SLA State field. Here you can see OK in case of compliance, or Failed - if the scheduled actions are not completed in time.
- Next to the SLA Warn date field the warning date/time is shown.
- Next to the SLA Limit date field displayed the date/time to which actions at this stage must be completed.
Below is a table where you can see the following information: what SLA rule operates at this stage, the status of each stage, the time for warning and completing, assigned responsible person, etc.

On the requests page on kanban view mode the status of completing SLA will be displayed.
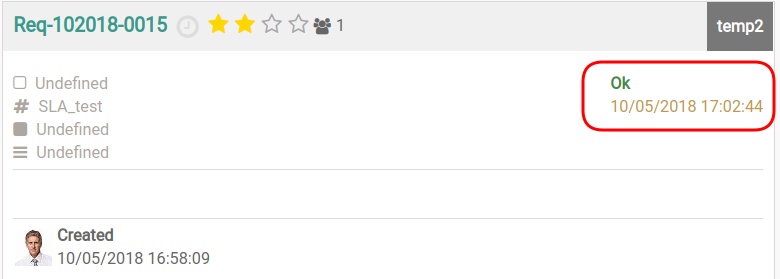
Here, you can also see Ok or Failed. The date and time under the status appear after the warning time has elapsed and indicate the time at which the planned actions should be performed at this stage of the request.
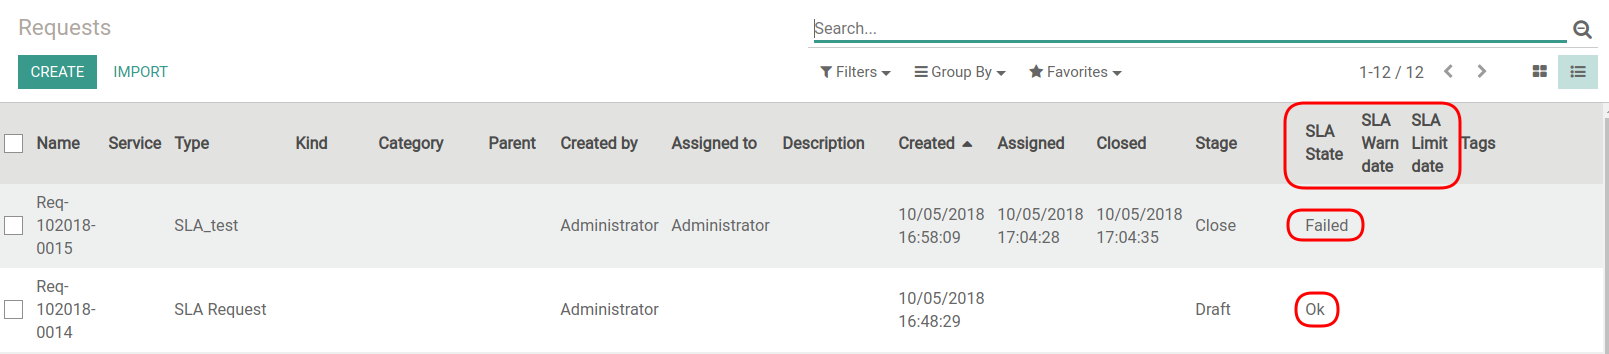
In the list view mode you can monitor the SLA status with the additional columns SLA State, SLA Warn date, SLA Limit date.
SLA Reports
You can view reports on using Service Level Agreement by clicking SLA Control option under the Reports menu.

Here you can see detailed information on everything related to the SLA. Table, list or graph view modes are available. You can switch this modes by clicking appropriate buttons on the right at top.

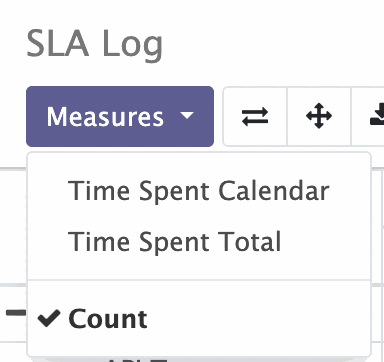
In the table view mode, click the Measures drop-down menu on the top left to select which data will be counted and displayed.
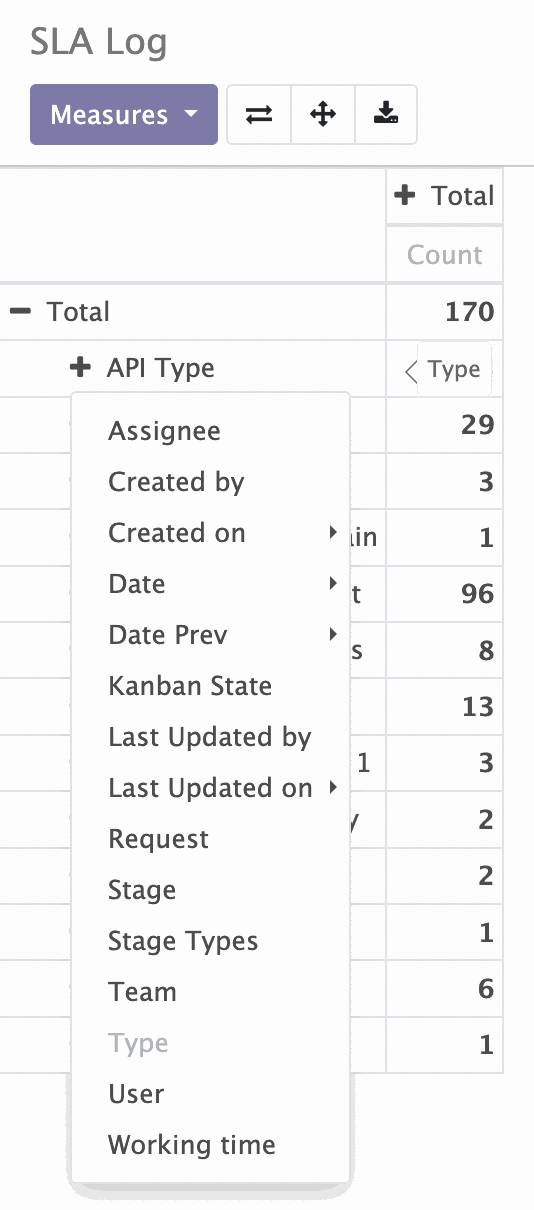
If you click the  sign next to any element in the table, a menu will appear where you can select more precise information to display.
By clicking the  sign next to the element you can hide additional information for this item.
You can save the custom table in xls format by clicking  .
.
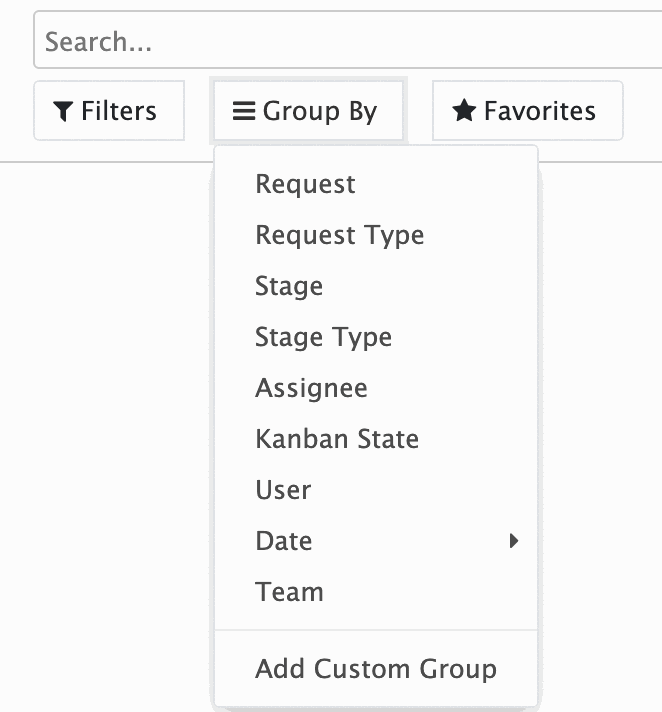
For more convenient work, click the Group by drop-down menu and choose options to group the entries.