How to Configure Request for Incident
Depending on the installed Generic Request modules, the appearance, menu structure and functionality of the application may vary.
Here are the list of installed Generic Request modules that were used when writing this manual:
- Generic Request (Dashboard) - this module visually and functionally optimize pages of the request categories and request types
- Generic Request (Actions) - allows you to assign actions that will be performed when the request moves along the route
- Generic Request (Auto route) - allows the request to automatically move along the route under certain conditions (by the trigger)
- Generic Condition - the module allows you to create generic conditions on which you can program some logic in Odoo objects
- Generic Request (Conditions) - allows you to use conditions while working with requests
Incidents occur constantly in everyday work. To simplify the incident submitting and handling mechanism, let's configure request for incident.
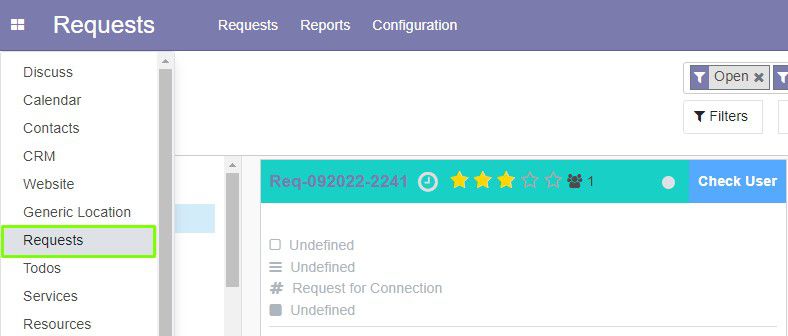
Open the Generic Request application. To do this, click Requests on the left menu.
Configure Request Type
Under the Configuration menu, click Types. The page of request types opens.

To create a new type, click Create. A form opens.
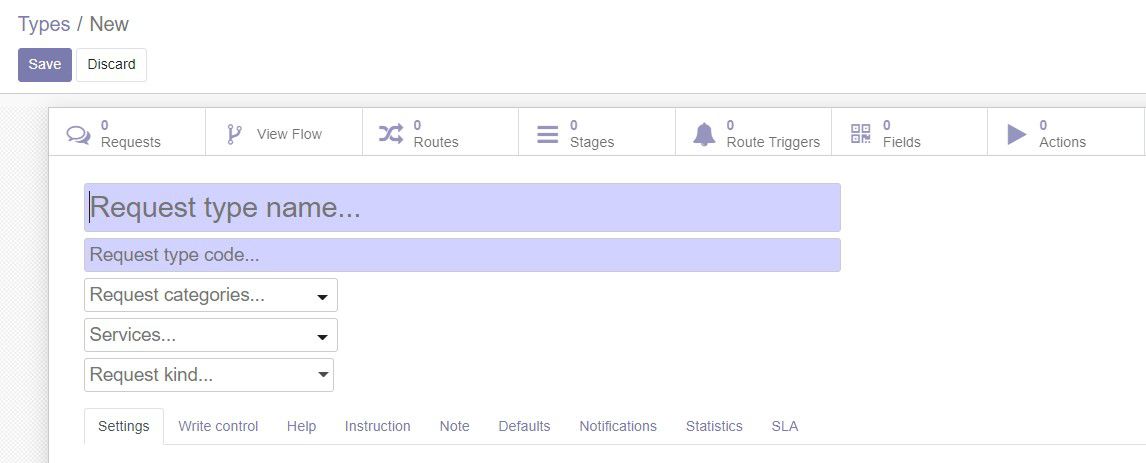
Do the following steps:
1. Enter the name and the code (technical name) of the request type in the fields. 2. You can select sequence in the appropriate field on the Settings tab. From the drop-down menu, you can choose sequence by default or create a new one. Click Create and Edit. A form opens. Here, specify the sequence name, select implementation. Select the sequence size and step, by which the next number of the sequence will be increased. Enter prefix (displays before sequence number) and suffix (displays after). Click Save. You can use the following example:
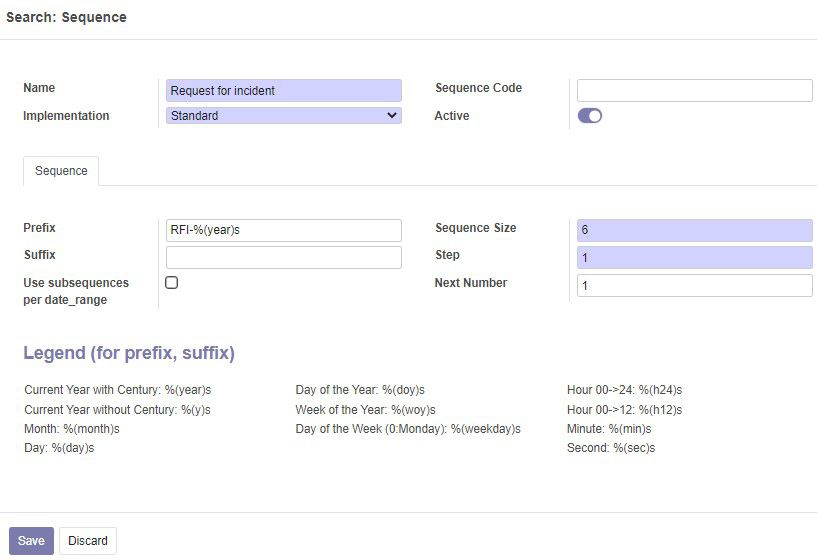
Now set up stages for requests of this type
- Click Stages on the right at the top.

- The stages page appears. This will save your type of request. Click Create to create a new stage.

- On the form, specify the name and the code of the stage in the fields that are highlighted in purple. Click Save. A completed form looks similar to this:

- The same way create all the necessary stages. A configured page of the stages looks like this:

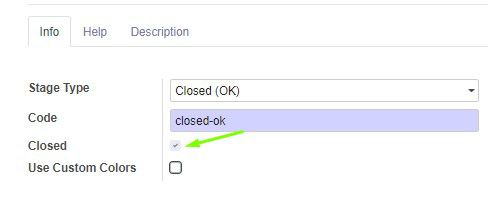
- Please note that on the stages when the request is closed (in our case: Closed (Ok) and Cancel), you need to select the Closed check box on the form.
- Return to the request type form. You can do this by clicking Request for Incident from the top, on the navigation bar. Or you can select it from the request types list.

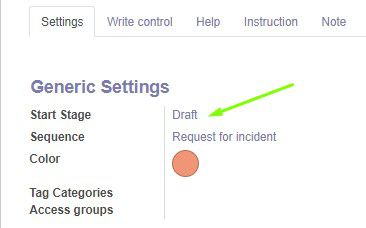
- Next to the Start Stage field, on the Settings tab, the stage that is in the first place on the list on the stages page automatically sets as starting stage.
Configure Request Routes
After creating stages you need to plan and configure routes for different cases of request handling.
In our case:
- created request falls into the Draft;
- from this stage it can be moved to the New stage;
- at this stage, the request will be reviewed and can be rejected (Cancel) or moved to the In Progress stage;
- next, the request may be rejected (Cancel) or Done;
- after execution, the request may be closed (Closed (Ok)) or reopened with a new data (Reopened);
- from the Reopened stage, the request again moves to the In Progress stage;
- At the Cancel and Closed (Ok) stages, the request will be closed.
You can view the route diagram below:

To configure request routes, do the following:
- Click Routes on the request type form.

- The routes page opens. Click Create to create a new route.
- On the opened form, enter the route name in the upper field.
- Next to the From field, select the initial stage from the menu.
- Next to the To field, select the stage that will be the next for this route.
- If necessary, you can select users or groups that will be able to move the request on this route.
- Click Save.

Now the route from Draft to New is created. Return to the routes page by clicking Routes on the navigation bar.

The same way, you need to create routes to link all stages of this request type according to the diagram above.
The configured routes page looks similar to this:

You can view routes diagram by clicking the appropriate button on the request type form.

Now the type of request for incident is configured and users can submit requests. You can go back and edit the necessary data at any time.
Configure Request Category
With a large number of different incidents, it is useful to divide requests by category of incidents. Let's create and configure categories for incident requests.
- Under the Configuration menu, click Categories.

- On the categories page, click Create to create a new category.

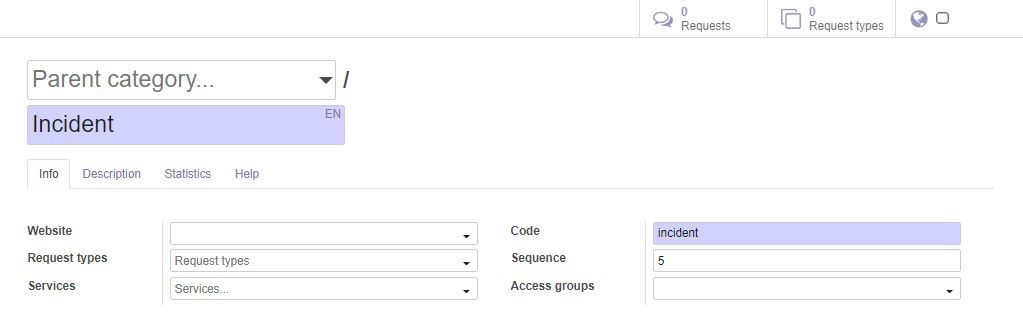
- Let's create a parent category for all incidents. On the form, enter the name (for example Incident) and code of the category. Click Save on the left above the form.
- Now we can create several subcategories for incidents. Click Create to create a category.
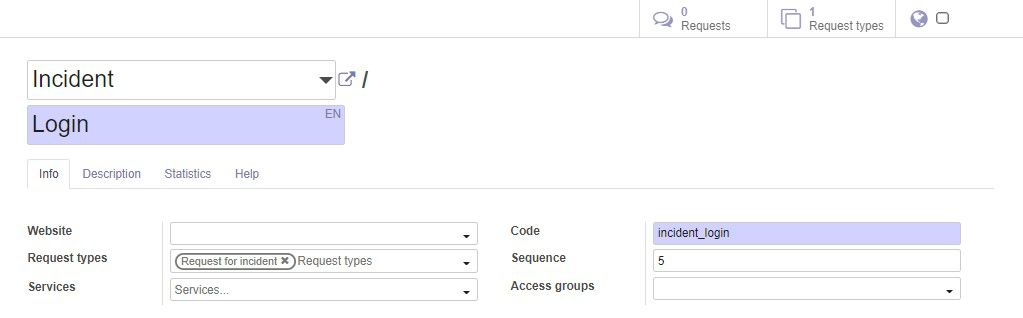
- On the form, select the newly created parent category. Enter the name (for example Login) and code.
- Next to the Request types field, select request types from the menu that will belong to this category. Select the ones created Request for Incident.
- The same way, you can create additional categories for incidents - Incident/Error and Incident/Other. Now the category page will look similar to this:

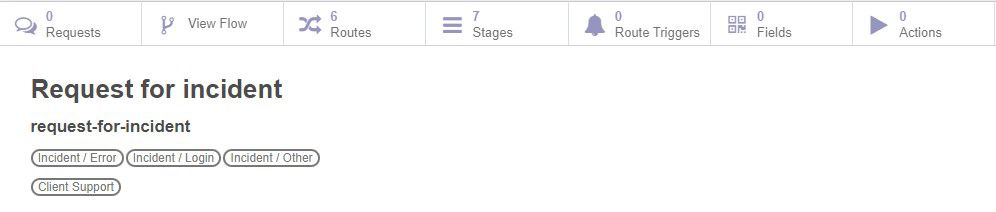
After we add request type to the category, this category will automatically be added to the request type. This can be seen in the request type form.
Users will now be able to select categories of incidents when creating requests for incident.
Configure Automated Actions
After setting up stages and routes of request, you can simplify the working operations for the request operators by making certain actions automated.
Let's do the action that automatically assign responsible person on the route from Draft to New.
To be able to do that, you need to install additional Generic Request module:
- Generic Request (Actions) - this module allows to assign actions that will be performed while request moves along the route
Now let's configure automated actions:
- After installing the module, go to the routes page of the Request for Incident type and select from the list the route from Draft to New.
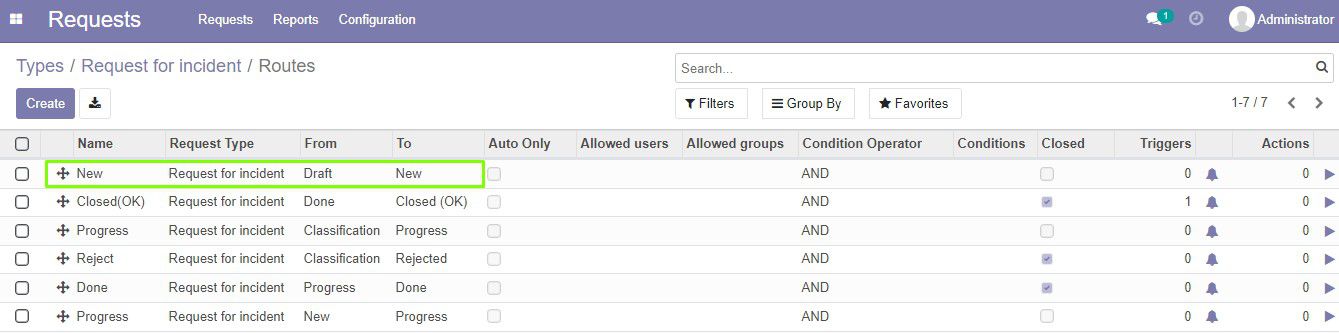
- On the route form, click Actions on the right at the top.
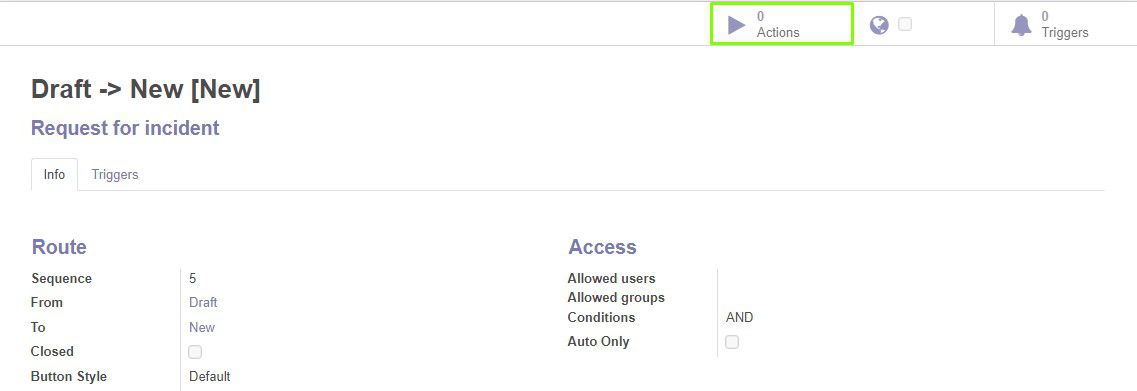
- The actions page opens. Here, click Create to create a new action. A form opens.
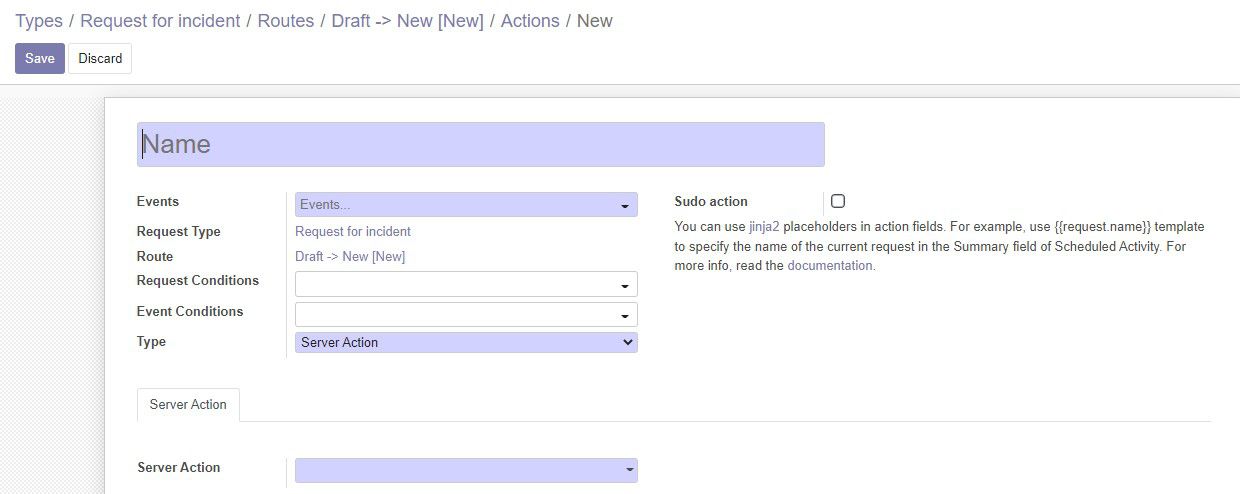
- Specify the action name in the upper field.
- Select the type of action. Depending on the selected type, different options will appear to continue configuring the action. Let's select the Assign action type.
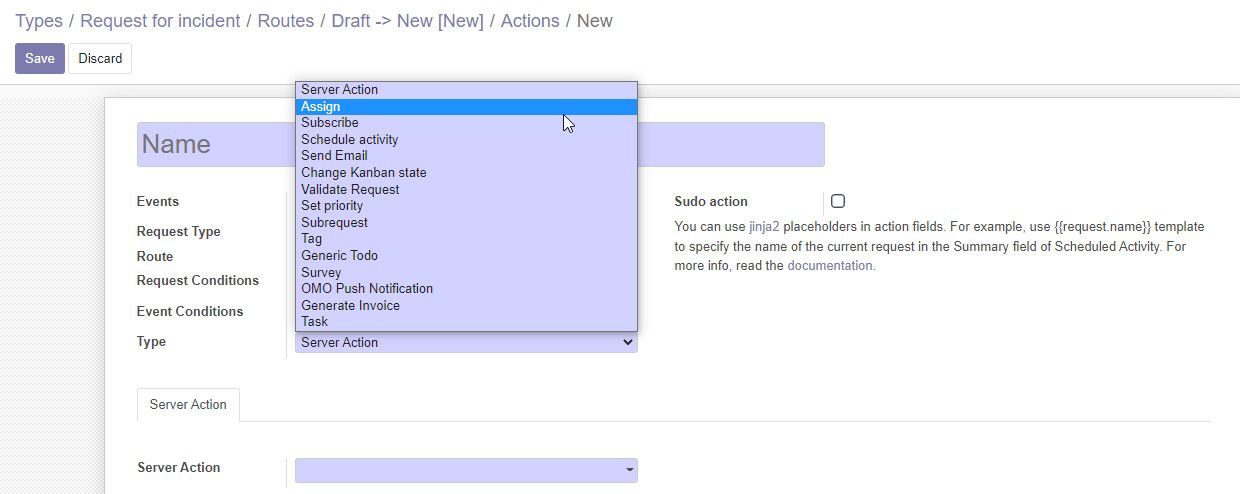
- Next, click the Assign tab that appears. In the Assign Type, select User. Next to the Assign to field, select the user that will be assigned when the request moves by this route.
- Click Save.

Now, when the request moves from the Draft to New stages, User1 will be assigned for this type of request.
Configure Automated Route
When working with requests, it would be useful if the request moves through certain stages automatically under determined conditions.
Let's configure the request for incident routes so that the request automatically moved from the Draft to New stages. And to automatically close the request if it was on the Done stage for more than 24 hours.
To do this, you need to install additional modules:
- Generic Request (Auto route) - this module allows request to automatically move along the route under certain conditions (by the trigger)
- Generic Condition - allows you to create generic conditions on which you can program some logic in Odoo objects
- Generic Request (Conditions) - allows to use conditions in requests
After installing necessary modules, you need to set up triggers on the route:
- Open the Request for Incident routes page and select the route from Draft to New.
- On the route form, click Triggers.
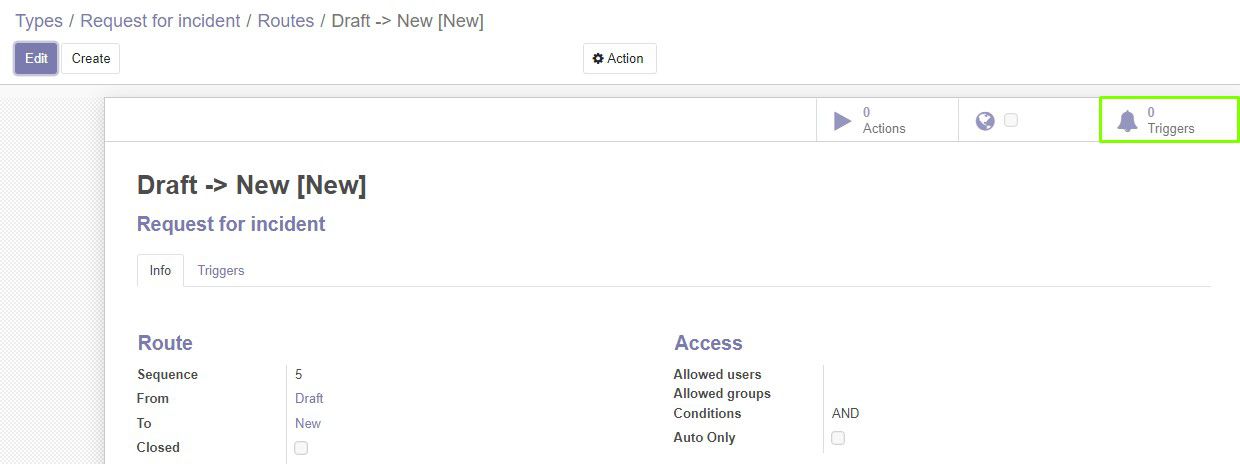
- The triggers page opens. Here, click Create. A form for creating a new trigger opens.
- Enter the trigger name in the upper field.
- Next to the Trigger field, select the type of the trigger. In our case, we selected Event.
- Next to the Event type field, select Request event/Created.
- In the Trigger Conditions menu, you can specify conditions for triggering. More information about conditions you can read in the instruction to the Generic Condition module.
- If you use several triggers, in the Sequence field, you need to specify the sequence of checking the triggering conditions. The lower the number the higher the priority. You can also change the triggers priority by changing their position in the list on the triggers page.
- Click Save. The filled form looks like this:

- Go back to the routes page by clicking Routes on the navigation bar.

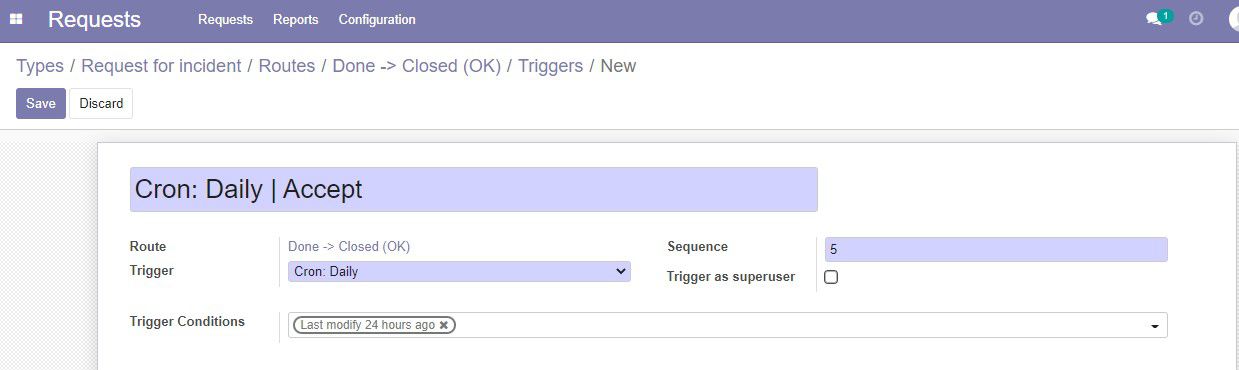
- Select the route Done -> Closed (Ok) and create the trigger for this route as we did above. Here, next to the Trigger field, select Cron: Daily. Now we need to create the trigger condition Last modify 24 hours ago.
- In the Trigger Conditions menu click Search more.

- In the open form click on Create.

- Type the name in the required field. In the Type field select Data difference. To estimate the date difference between certain events select Current date in the End Date field. In the Start Date field select Field in the upper menu. In the lower menu select Moved (request.request).
- Select
 sign.
sign. - Select 24 hours in the field Result.
- Click Save and Close.

Now after creating the Trigger Condition, select it and click Save.
Now requests for incident will move from the Draft to New stages automatically and will automatically close if they are Done for more than 24 hours.