Surveys are used for a range of purposes that can go from collecting customer feedback, measuring how pleased customers are with the services/products or evaluating the success of an event. We can develop new surveys or use the existing surveys for any company's purposes with the help of Odoo.
The description of all created surveys is viewable in the Odoo Surveys dashboard. Users can access the details of each survey, such as survey title, survey stage, success ratio, average score, etc., as specified in the screenshot below.
We can develop a new survey by choosing the Create button. In the Surveys window, apply the Survey Title as ''Feedback Survey".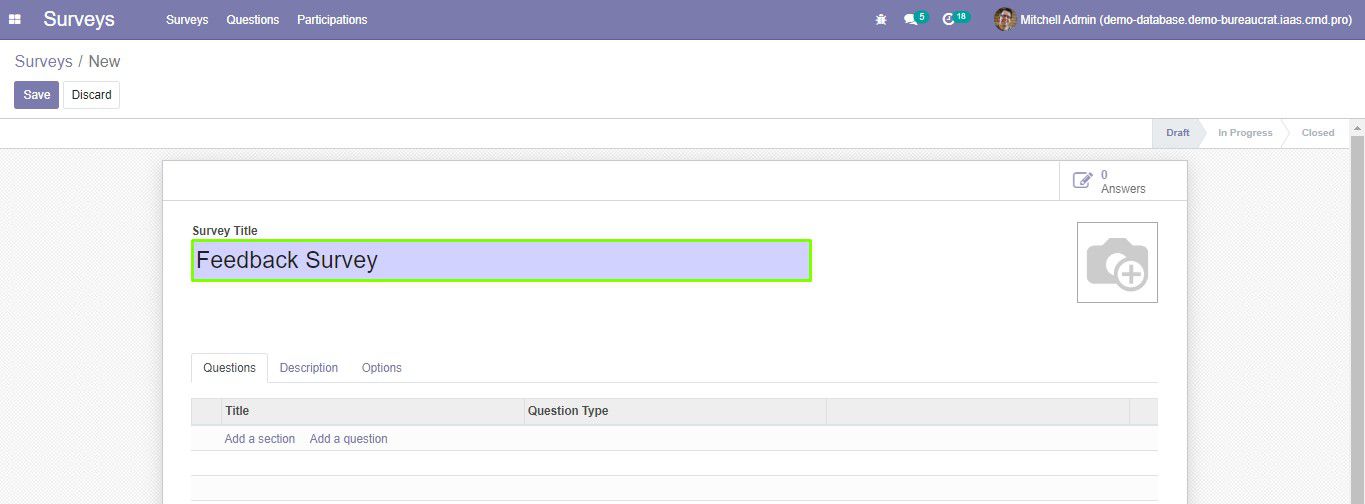
The Questions tab configuration
To apply a section, select the Add a Section option below the Questions tab, as portrayed in the screenshot below.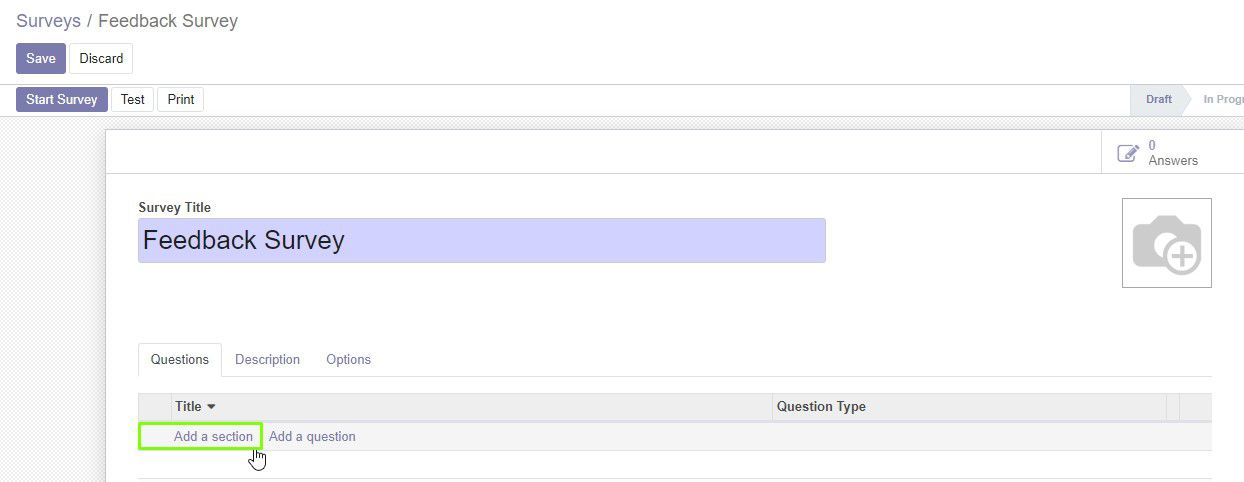
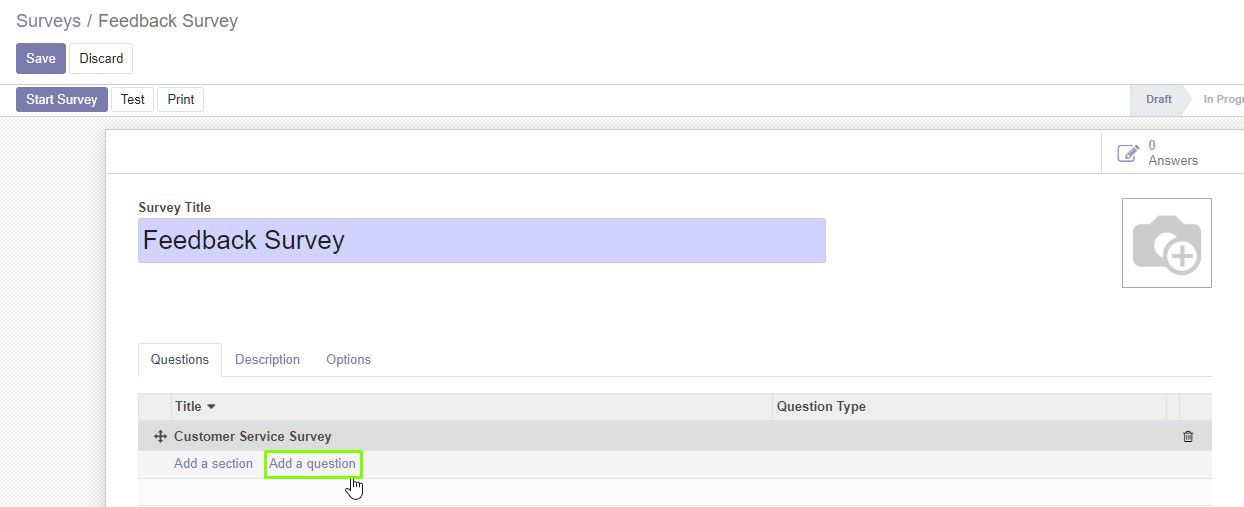
To apply questions, select the Add a Question option below the Questions tab.
After choosing the Add a Question option, a new Create Sections and Questions window is visible to you. Add the question in the Question field and select the Question Type from the given list as in the screenshot below. The Question Type is divided into Numerical values, Multiple choices: only one answer, Matrix, Date, Datetime, etc. We select a Multiple choice: only one answer as the Question Type, as shown in the screenshot.
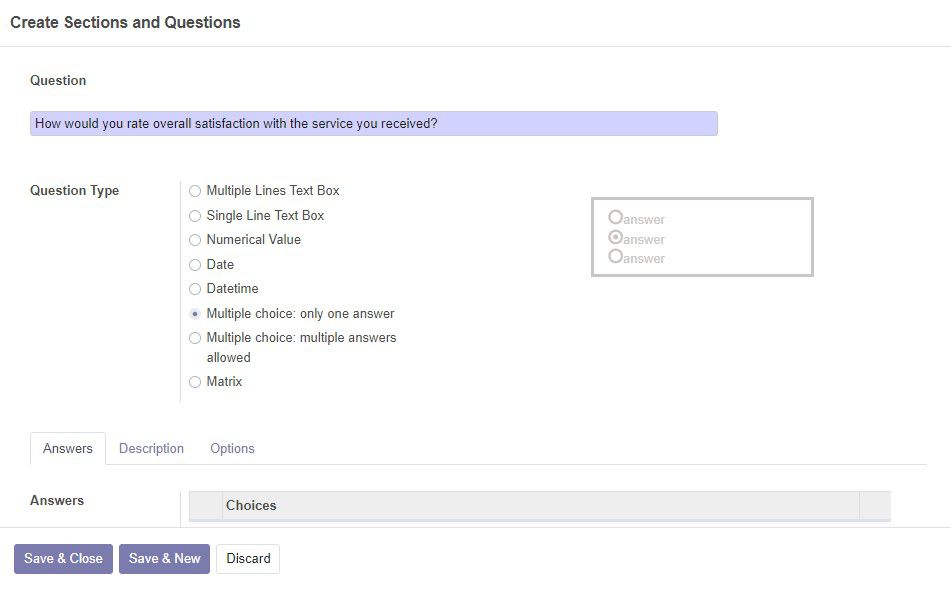
The option to add the answers is available in the Answers tab according to the chosen Question Type.
On the Sections and Questions form, once the question type is chosen and the answer added, under the tab Options, enable Mandatory Answer, and set an Error message to be shown when the user tries to submit the survey without answering the respective question. After all configurations are set, click the Save button.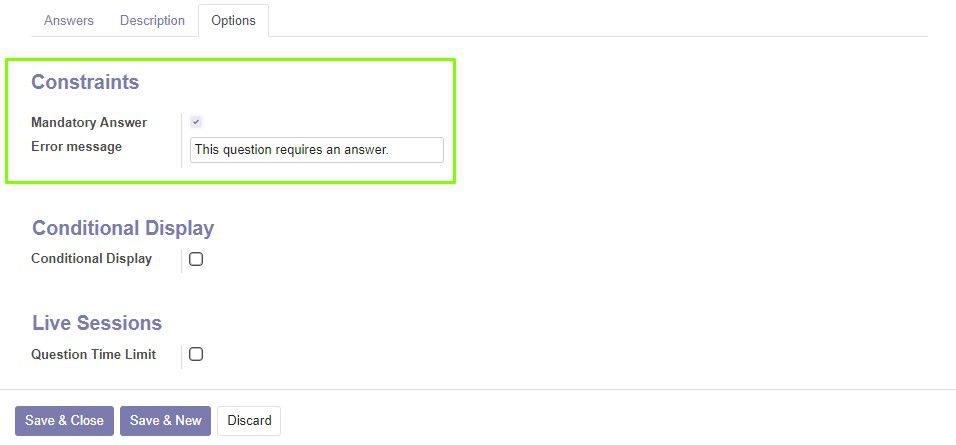

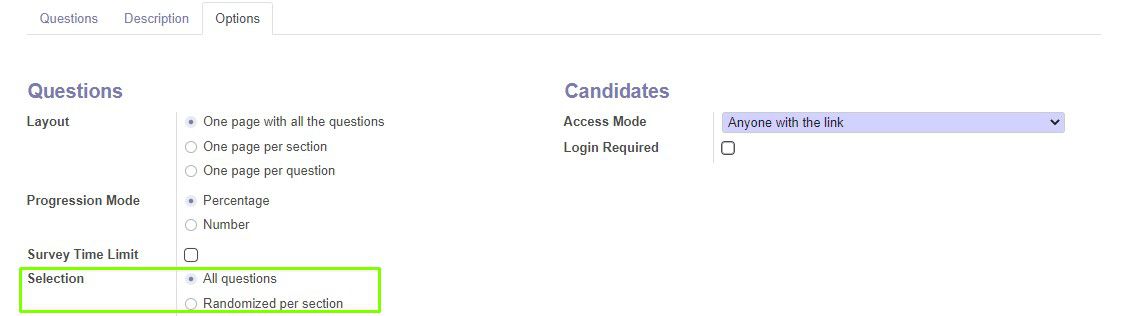
We can set additional questions-related features in the survey below the Options tab. The arrangement of questions on a page is selected from the Layout field. It is divided into One page per section, question, and all the questions. We set the "One page with all the question" option from the Layout field. If choosing One page per section or One page per question , an option Back Button becomes available, which allows the user to go back pages.
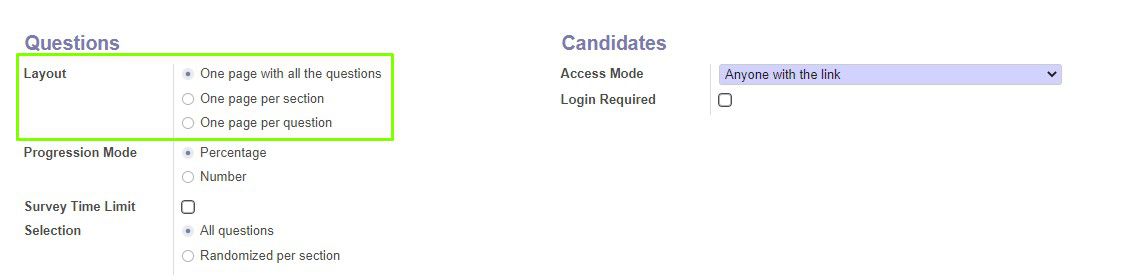
If choosing One page per section or One page per question, an option Back Button becomes available, which allows the user to go back pages.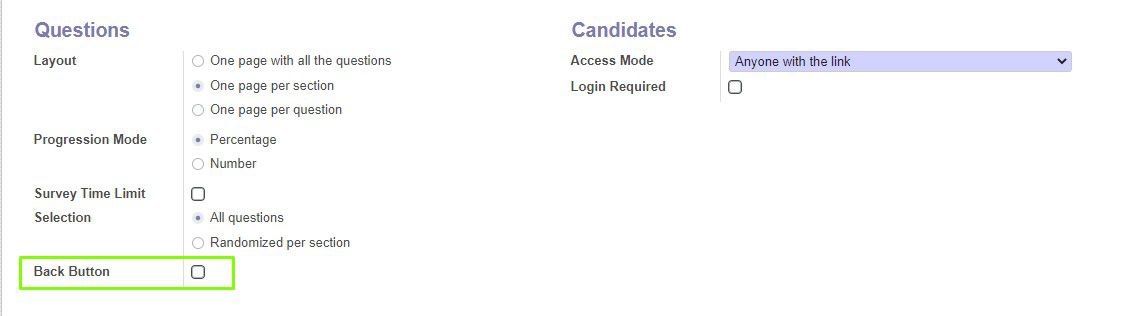
The Survey Time Limit option allows us to set the time limit for a survey.
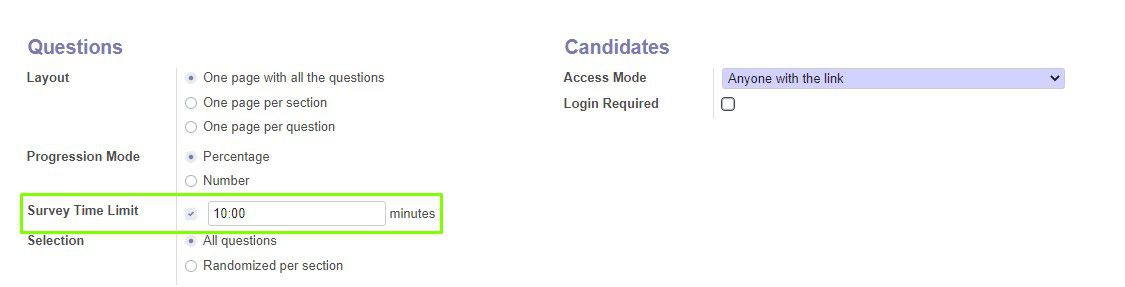
Next, we can set the selection of questions in a survey from the Question Selection field. The Question selection is classified into All Questions and Randomized per Section. Users can configure a count of random questions in a section by choosing the Randomized per Section option. We selected the All Questions option inside the Question Selection field for the survey.
Once the survey is ready, click the Start Survey button to move the survey from the Draft to In Progress stage. Also we can test the survey not to share it with errors or print it.

Now when the feedback was created, we can send it to the author of the request, creator, assignee or others.
We will send the feedback survey to the author of the request and others by email. To do this click the Send Survey button after the request was completed.

Select the Send Author and Send Others checkbox. After putting the tick mark in the Send Others checkbox, the new field Partners appears. Choose the necessary contact from the drop-down menu.

Choose the option Send by Email on the bottom of the form. Click the Save button.

The customer will receive a letter with the link to a survey on the mail .

After the survey is completed by the customer, the answers will be displayed in the Answers tab of the request.

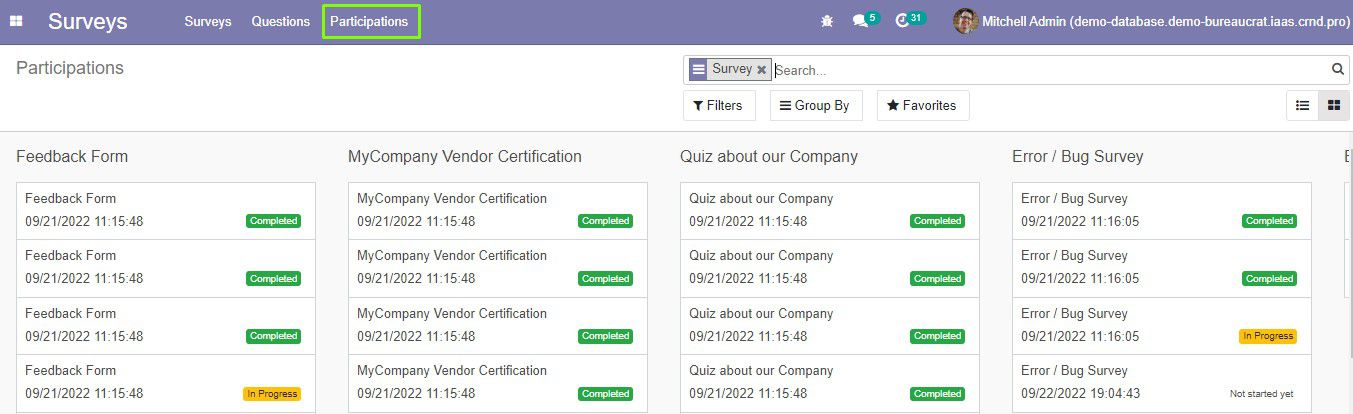
Another way to access detailed answers is by going to Surveys ‣ Participations.