Odoo Notification Management
In this article, we will explore the general mechanism of notifications in Odoo: how they work, in which cases they are sent and how not to send them (if you don't want to spam your clients with minor events, or your Odoo only for internal usage).
We used Odoo v.11 applications for this article.
All Odoo notifications are tied to the "followers". Followers are users or companies in Odoo that are linked with the current Odoo object (it can be Project, Task, Type of Request, Contact, Event, Analytic account, CRM lead, Discussion channel, etc). A follower can see linked object, create documents or new objects of that type, track stage changing of that object, see related discussion and receive notifications.
Usually, you can see followers on most of Odoo forms at the bottom-right.

You may need to track that icon, especially for new Odoo projects, or in case you are new to Odoo. This is all because the majority of Odoo apps at some stages of their workflow make automatic subscription of, for example, related partner, or a salesperson, or somebody else somewhat related to the current working object or document. And as an example - customer will see inappropriate messaging in the chatter, that is supposed to be internal from the beginning.
Manage Followers
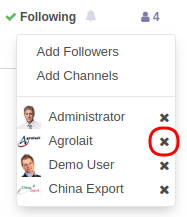
You can click the Follower icon and perform the following actions:
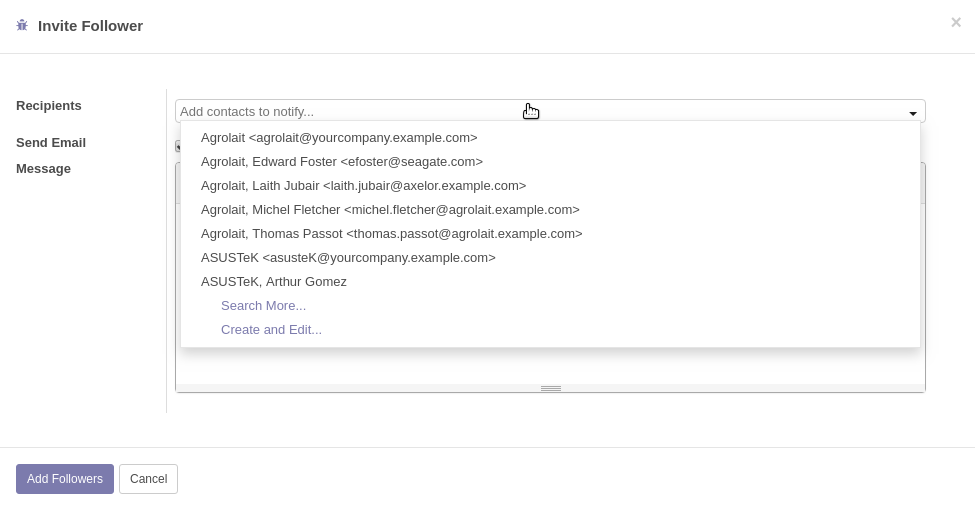
- Add Followers

In the opened window, you will be able to invite one or several recipients to follow the current document. They will be automatically subscribed.
- Remove followers by clicking the appropriate icon
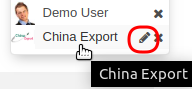
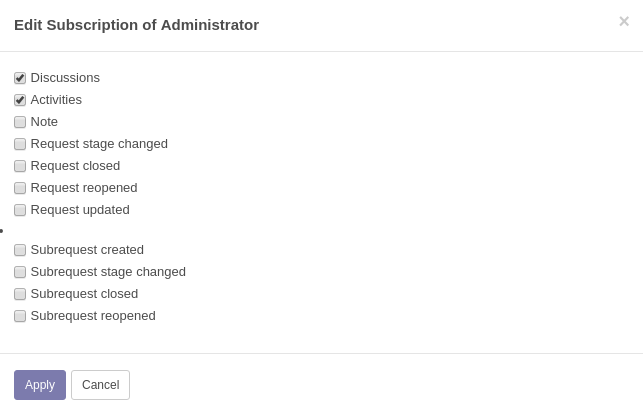
- Edit subscription (point the follower's name to see the appropriate icon)
Subscription defines visible content for the current user in this document, including notifications. Each subscribed follower can see different content depending on the provided settings. In the opened window, specify the desired options which will be visible for the selected follower. He will also receive notifications for that types of activities.
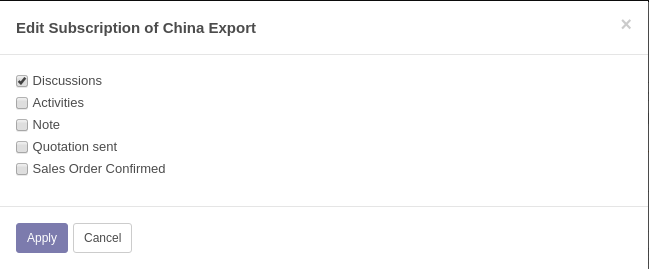
Each Odoo application can have its own workflow and, accordingly, its own options to subscribe.
If you uncheck all available subscriptions, this contact will be automatically removed from followers.
Notifications
The general rule for notifications can be as follows: contacts that aren't subscribed do not receive messages and emails. So, if you simply don't want to send any notifications to related partner - remove him from followers.
Automatic subscription usually subscribe followers only to Discussions (it may vary depending on application, so it's better to check this out for individual cases). So basically, they will not receive emails, for example, on changing stages of the project task, until you make an appropriate configuration. Followers receive notifications only in case of significant events, such as when you click Send by Email in Invoices to send a validated invoice to a customer.
Summing up, you manage notifications by managing followers and their subscriptions at each stage of the document's workflow.
Automatic Subscription in Odoo Apps
Further, we will expose cases for some Odoo apps when they make automatic subscriptions.
Sales
- Creating a new Sale Quotation or Sale Order will automatically subscribe a Saleseperson and the user who created this quotation / sale order (customer will not be subscribed at this stage). Salesperson will receive an email about the assignment. Subscription is to Discussions and Activities. If no salesperson is specified, the system will only subscribe the user who created this quotation / sale order.
-
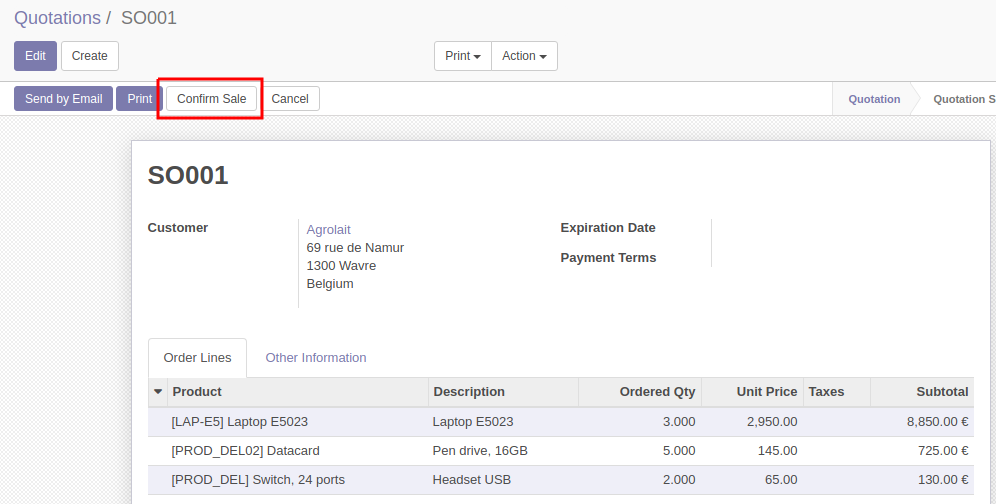
When you Confirm Sale, it will automatically subscribe a customer, no email to the customer at that stage. The customer will be subscribed to Discussions.
-
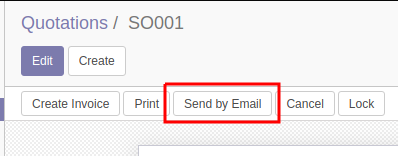
When you Send by Email sale order, emails with this sale order will be sent to the customer and a salesperson. This action will also automatically subscribe the customer to Discussions and Activities if the customer is not subscribed. Please note that the Send by Email button will automatically subscribe the customer every time you click it, even if you have previously removed the customer from the followers.
Invoices
- When you create an invoice, a Salesperson and the user who created this invoice will be automatically subscribed as followers (customer will not be subscribed at this stage). Salesperson will receive an email about the assignment. Subscription is to Discussions and Activities. If no salesperson is specified, the system will only subscribe the user who created this invoice.
-
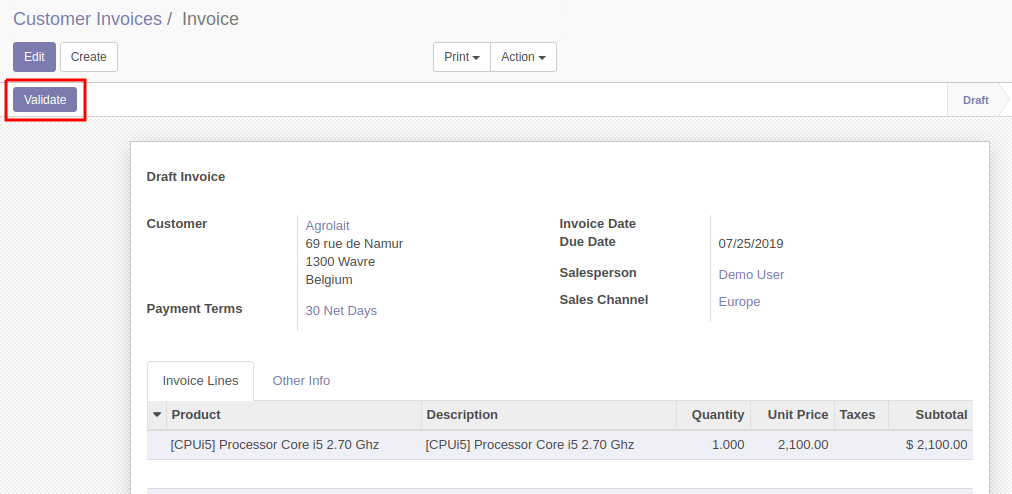
When you Validate the invoice, a Customer will be automatically subscribed to Discussions. No email will be sent to him at this stage.
-
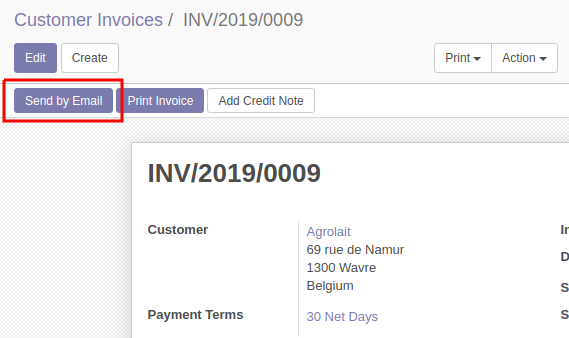
When you click Send by Email, emails with invoice will be sent to a customer and a salesperson. This will also subscribe a customer to Discussions and Activities. Please note that the Send by Email button will automatically subscribe the customer every time you click it, even if you have previously removed the customer from the followers.
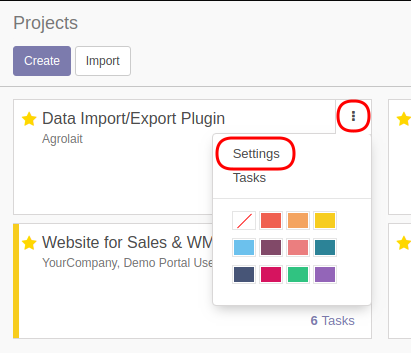
Project
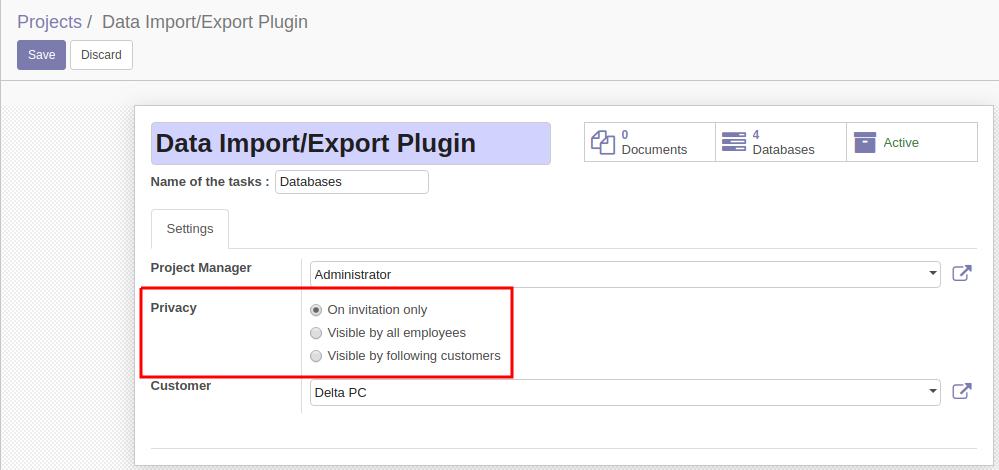
On the project settings page, you can set the privacy for this project.
- On invitation only - will subscribe only the project manager for this project by default
- Visible by all employees - subscribe project manager's employees
-
Visible by following customers - you can select a customer to subscribe. Customer will be subscribed to Discussion and Task Opened. He will receive emails on creating a new task, but won't receive messages about changing stages.
-
User who created a task and the assigned person will be automatically subscribed to Discussions and Activities for the current task.
- Project Manager will be automatically subscribed to Discussions, Activities and Task Opened for tasks of this project.
- You can subscribe additional users for each task, but these users must also be subscribed for the current project to see task-related content and receive notifications.
Basically, you can see sent emails and notifications in the log at the bottom of the page. Here you can also see a sender and a receiver of these messages. This will help to control notifications. For new projects, you can also previously create a demo document and carry out full document cycle to track sent messages, they're mostly logging in the chatter.
Notification Management in the Bureaucrat System
In this section we will explore notification management in the Bureaucrat system. We have allocated a separate section for this, because it has much more possibilities for configuration and can not be fully regulated by standard rules.
Bureaucrat system has 3 different groups of settings to set up notifications: 1) standard Odoo notification settings; 2) group of settings that applies to the specific type of request; 3) notifications that can be configured to send using automated actions.
Standard Odoo Notification Management
Requests has standard notification settings described earlier in this article. The only exception is that there is more options to subscribe followers.
Some cases of default automatic subscription:
- System Administrator is automatically subscribed to Discussions and Activities for all requests
- The user who created a request is automatically subscribed to Discussions and Activities for the current request
- Assigned person is automatically subscribed to Discussions and Activities for the current request
- You can add a follower to a specific type of request, in that case he will be subscribed to Discussion for all requests of that type
- If you subscribe a follower using automated action (see more info about automated action in the Docs), he will be subscribed to Discussions for that request
Request Type Notification Settings
These are the configurations for the selected type of request and apply to all requests of that type.
To configure notification settings, open the Notifications tab of the required type of request.

You can select default notifications and their content - whether to show the request or response text.
Created, Closed and Reopened notifications are sent to the user who created the request.
Assigned, SLA Warn and SLA Limit notifications are sent only to assigned person.
Notifications Using Automated Actions
You can also set up automated actions to send custom emails on certain events.
This settings are for the selected type of request and apply to requests of that type.
To configure automated action, click Actions on the form of the required request type.
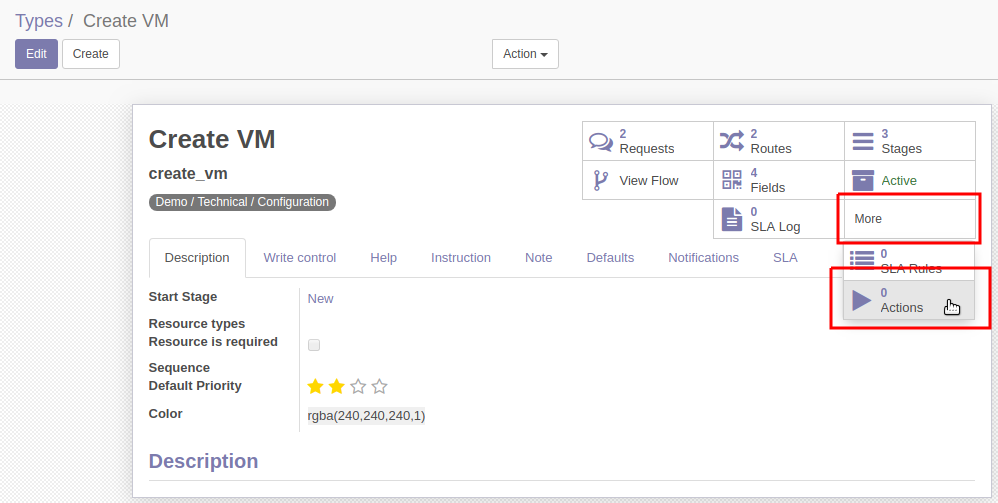
Click Create to create a new action.
On the Form:
- Enter the Name of the action
- In the Events field, select events that will trigger the action for requests of the current type
- Select the Send Email action type
- On the Send Email tab, select or create a template to send email. In the template, you can specify email content, recipients, etc.

More info about automated actions you can read in the Documentation.