Generic Condition Module
Generic Condition is a module developed by the Center of Research & Development company. The module allows you to create generic conditions on which you can program some logic in Odoo objects.
Generic Condition module is integrated and can be used with other Odoo applications with additional modules.
To open the Generic Conditions page, click Rules on the left menu and then click Generic Conditions.
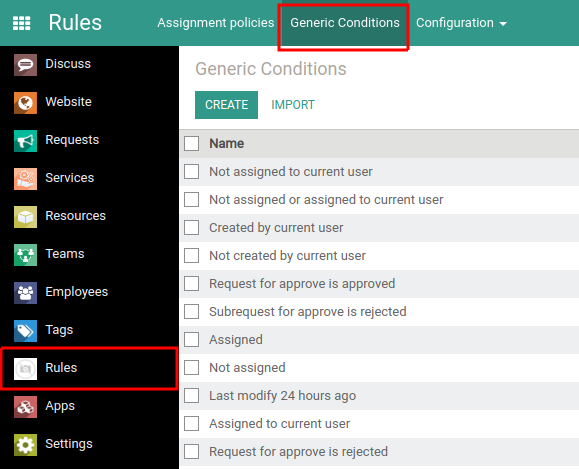
The page of Generic Conditions appears.
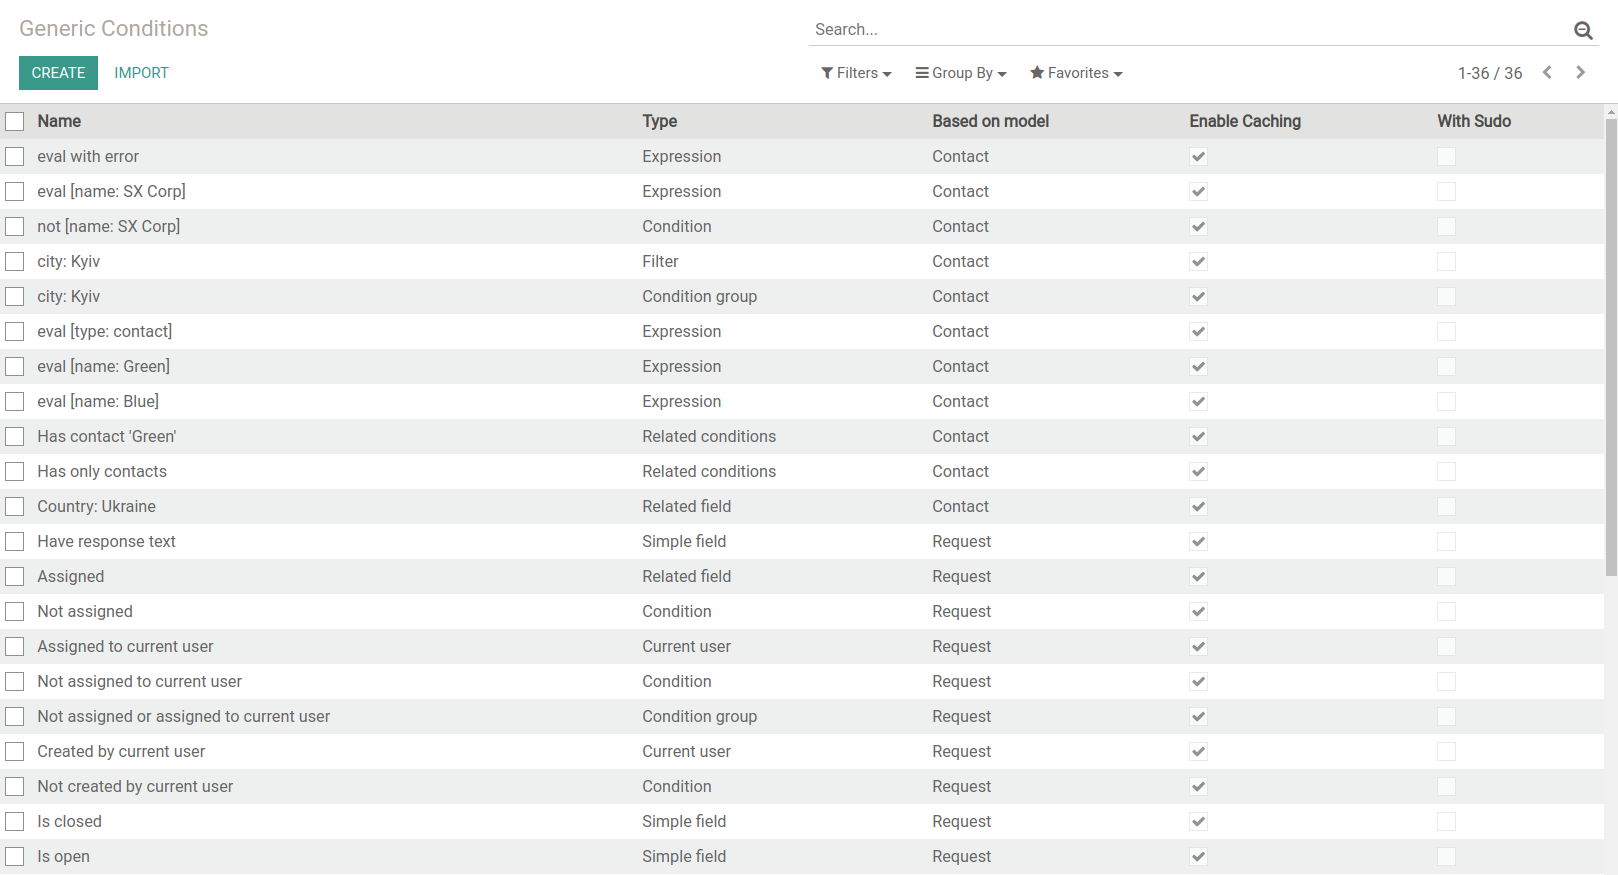
Here you can see all the created generic conditions. Basic conditions are already been created and available by default.
You can create, edit or delete conditions on this page.
Create and Configure a New Generic Condition
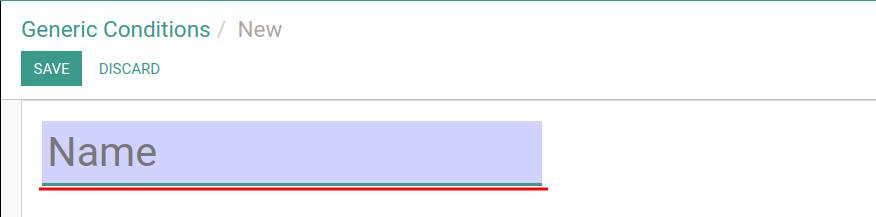
To create a new generic condition click the Create button left at the top.

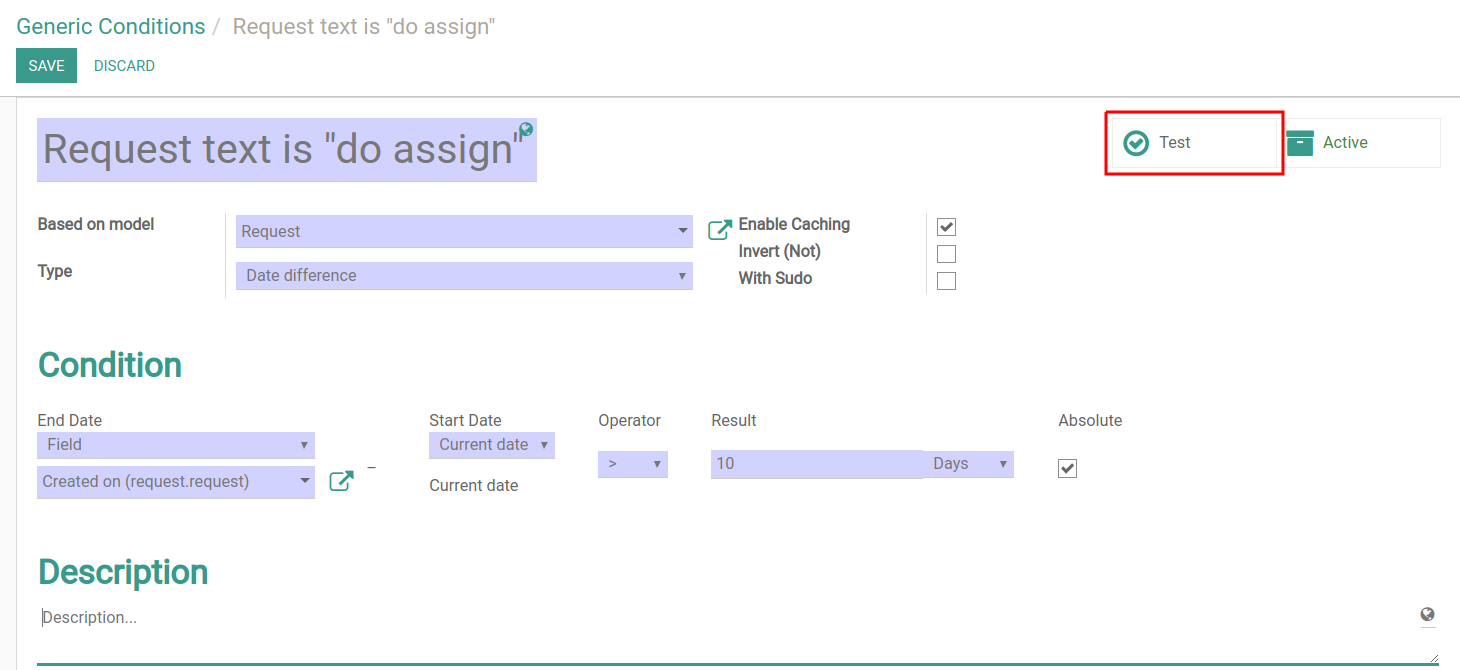
The form for creating a new generic condition appears. Fill in all the fields in purple.
Enter the name of the new condition in the upper field.
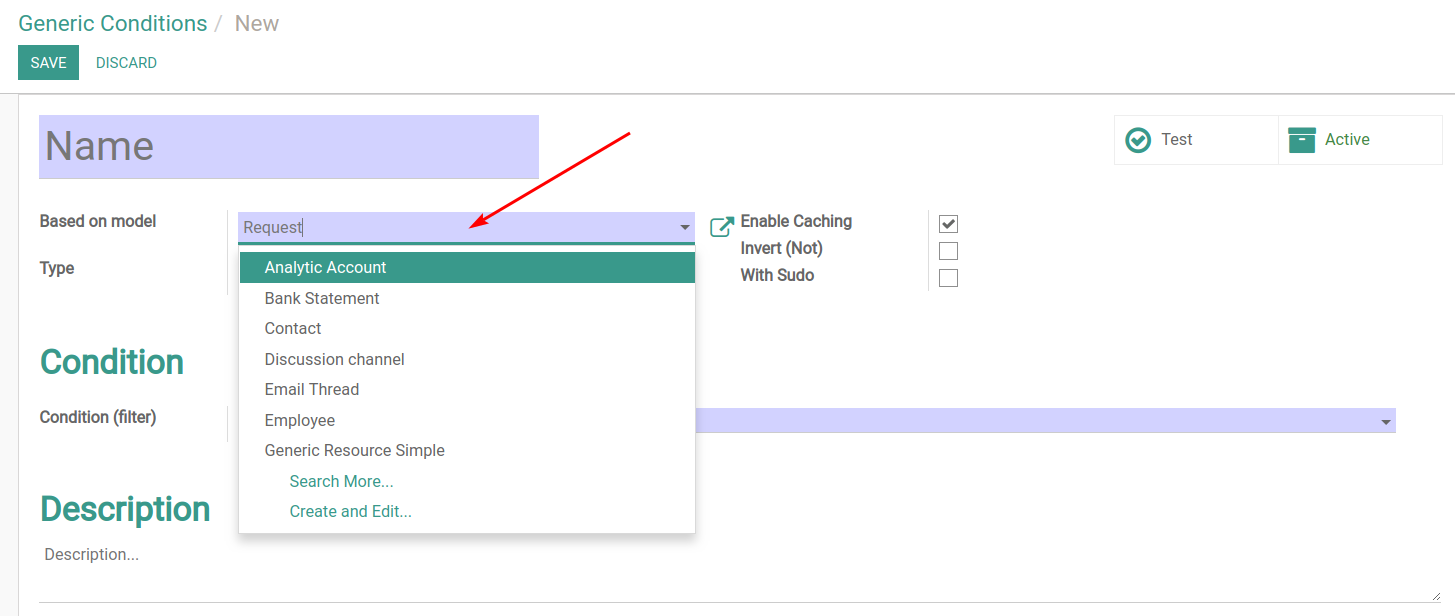
Click the drop down menu next to the Based on model field and select the model on which the condition is based. The model can be any Odoo object you need to work.
Click the Type drop down menu and select the type of condition.
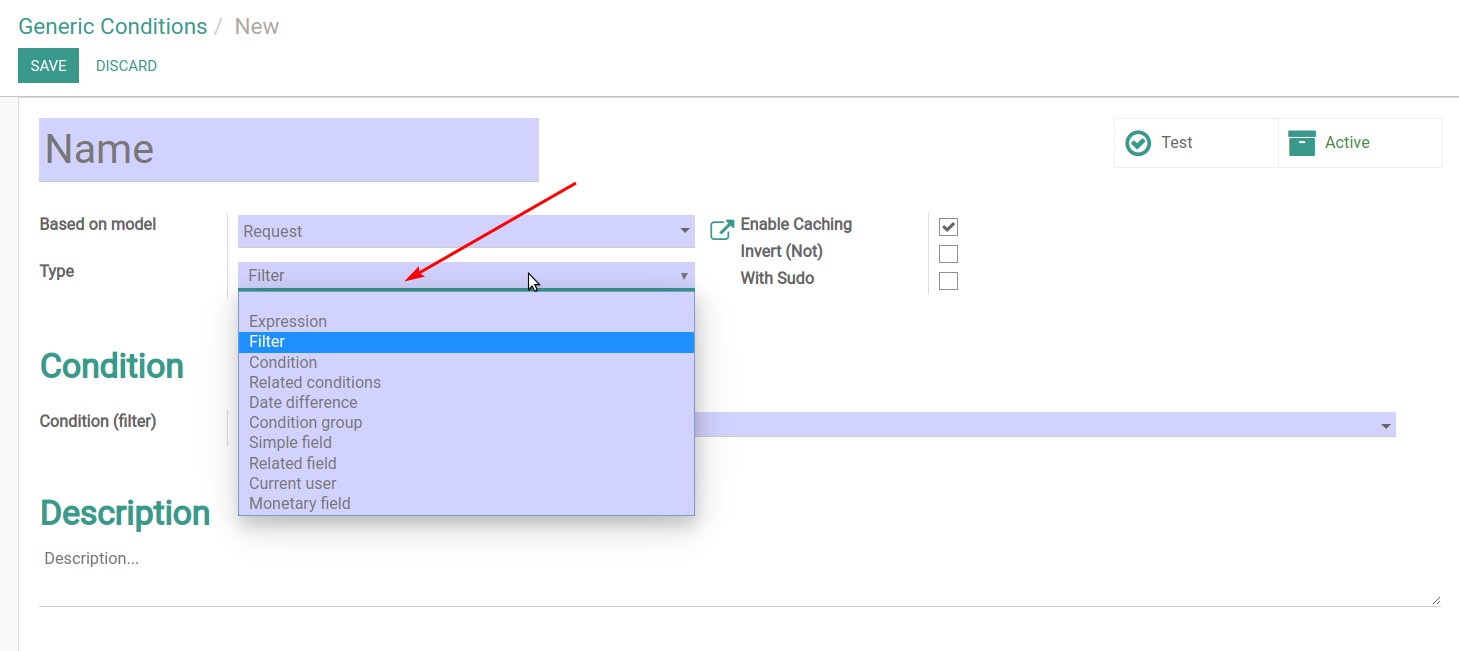
Depending on the selected type, different options for further programming of the condition will appear.
-
If you choose the type of the condition Expression:
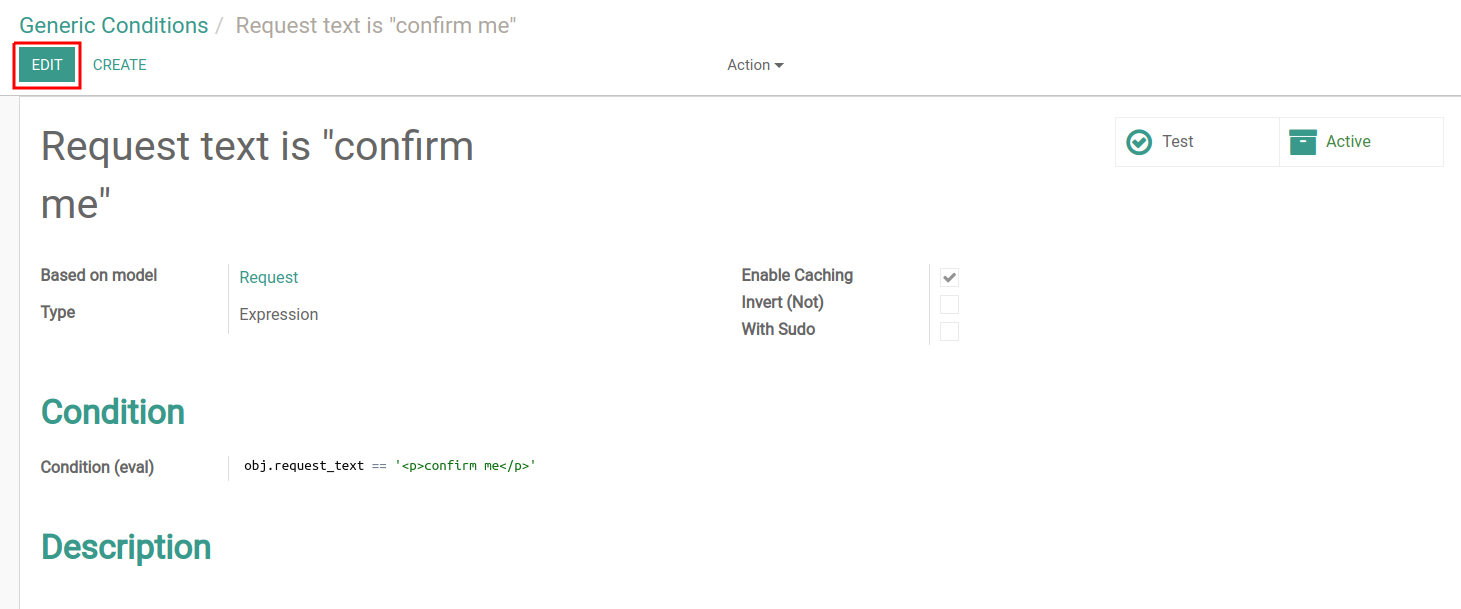
You can describe the condition as an expression in the Python programming language (For example the expression "obj.request_text == 'do assign'" means that the text of the request should be equal to "do assign")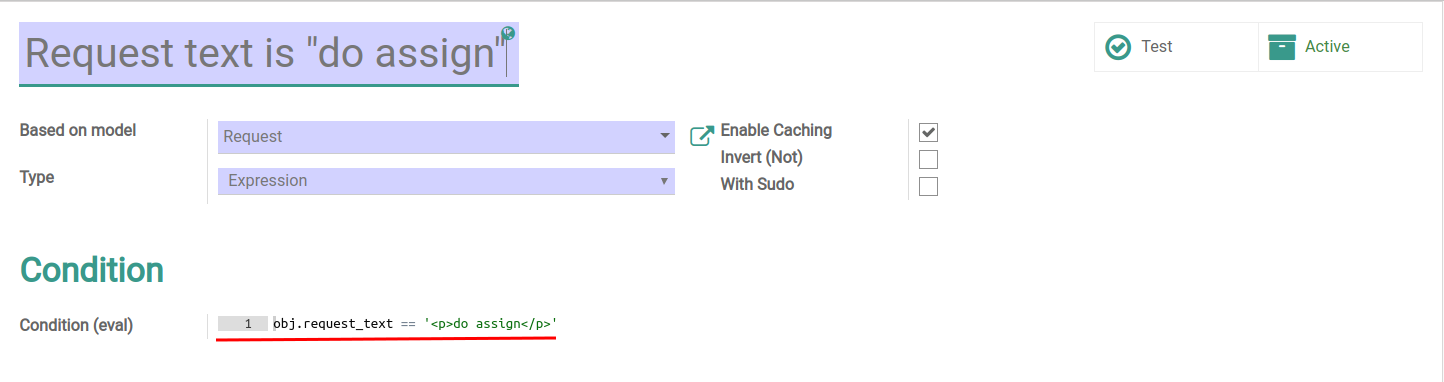
The expression is not limited to one line, you can write a large snippets of the code simply by pressing the Enter key in the end of the line.
You can use the following variables:- obj - object that is checked
- record - record of the object that is checked (same as obj)
- env - environment
- model - model
- uid - current user id
- user - current user
- time - python module "time"
- datetime - python module "datetime"
- dateutil - python module "dateutil"
- timezone - python module "timezone"
-
Filter:
Here, next to the Condition (filter) field, you need to specify the filter for the verification. This type of condition is used to work with custom Odoo filters.
Click the drop down menu and select filter from the list or click Create and Edit... to create a new one.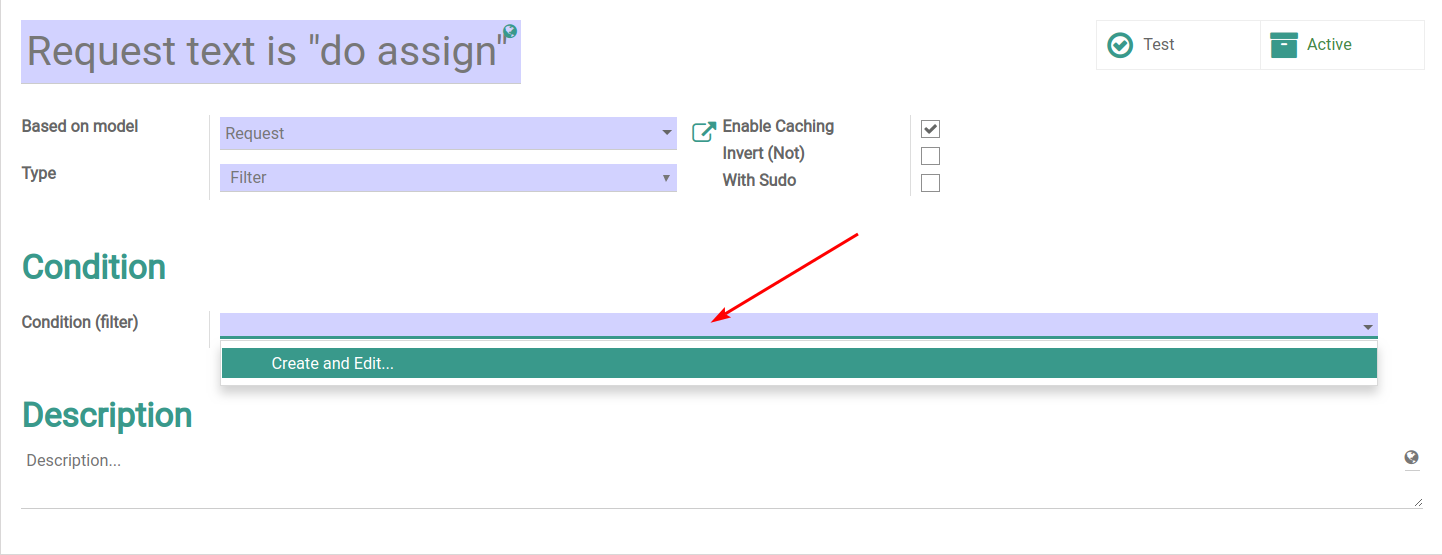
-
Condition:
In that case you can select one of the already created conditions (this could be useful if you use the same condition but with inversion or as a superuser). Click the drop down menu next to the Condition field and select from the list. To see more options click Search More.... To create a new condition click Create and Edit....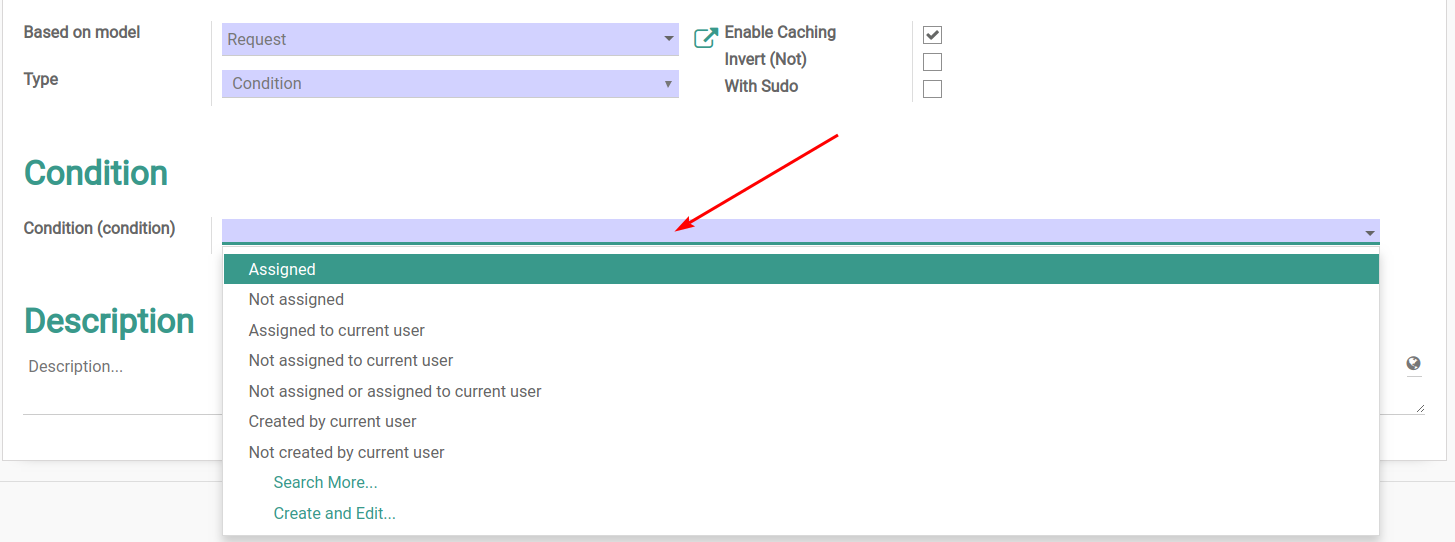
-
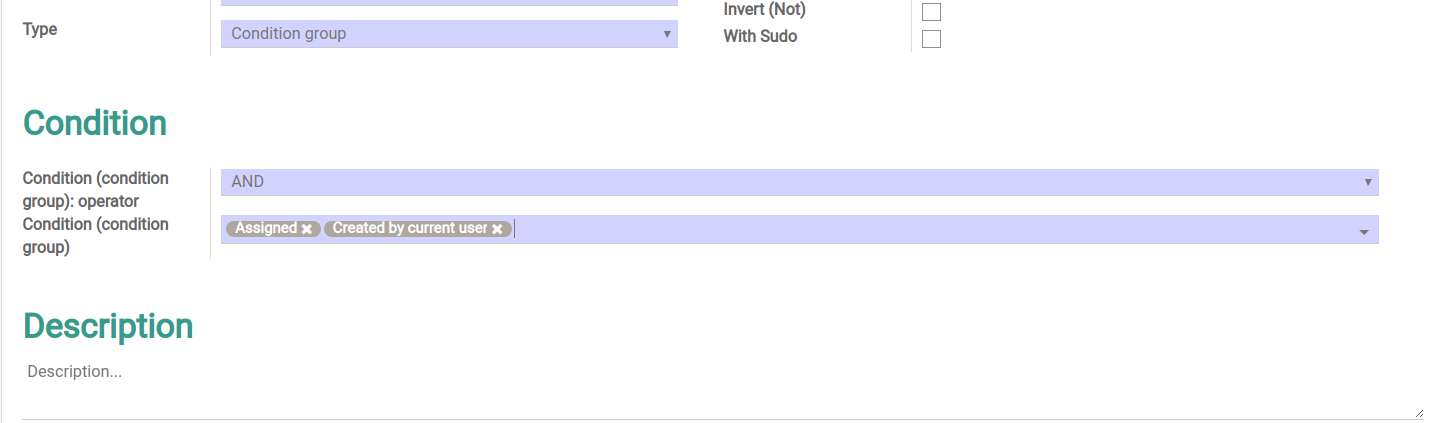
Condition grop:
With this type of condition you can use multiple conditions simultaneously.- Next to the Condition (condition group): operator field select one of the two logical operators ("OR" - the general condition will be fulfilled if at least one of the above conditions is fulfilled; "AND" - general condition will be fulfilled if all of the conditions are fulfilled).
- Next to the Condition (condition group) field select all the necessary conditions or create a new one by clicking Create and Edit....
-
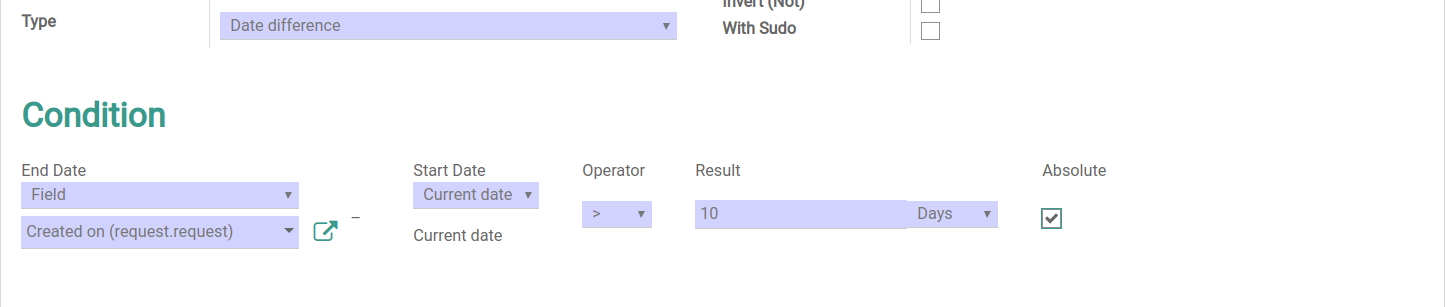
Date difference:
This type of the condition allows you to estimate the date difference between certain events:- In the End Date and Start Date fields you can specify the date, time, current date or attach the date to the field with date (created, assigned, moved etc).
- In the Operator field select comparison operator.
- In the Result field enter the necessary digit.
- In the next field select the units for the date difference.
- To ensure that the date difference is always positive, check the Absolute field.
-
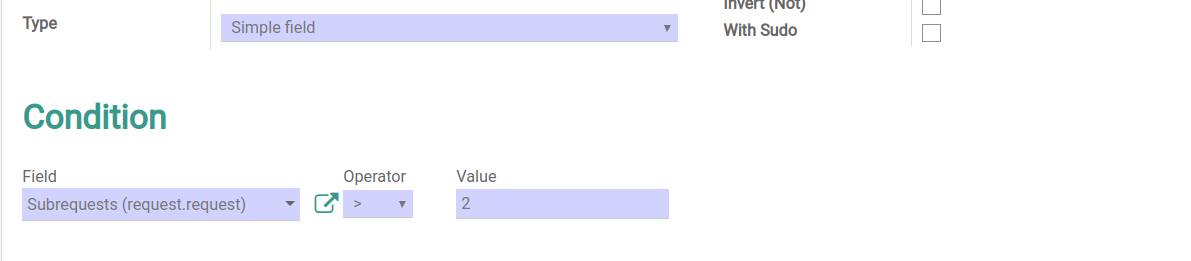
Simple field:
Here you can create a condition that relates to the simple field of the Odoo object.- In the Field drop down menu select required field.
- Click the Operator drop down menu and select required operator. Depending on the selected field, it can be mathematical, boolean, etc. If selected field contains text, with the operator you can search by text with given parameters (regardless of the case, search using the regular expression).
- In the Value field, specify the required condition value or text (regular expression) to search and compare.
-
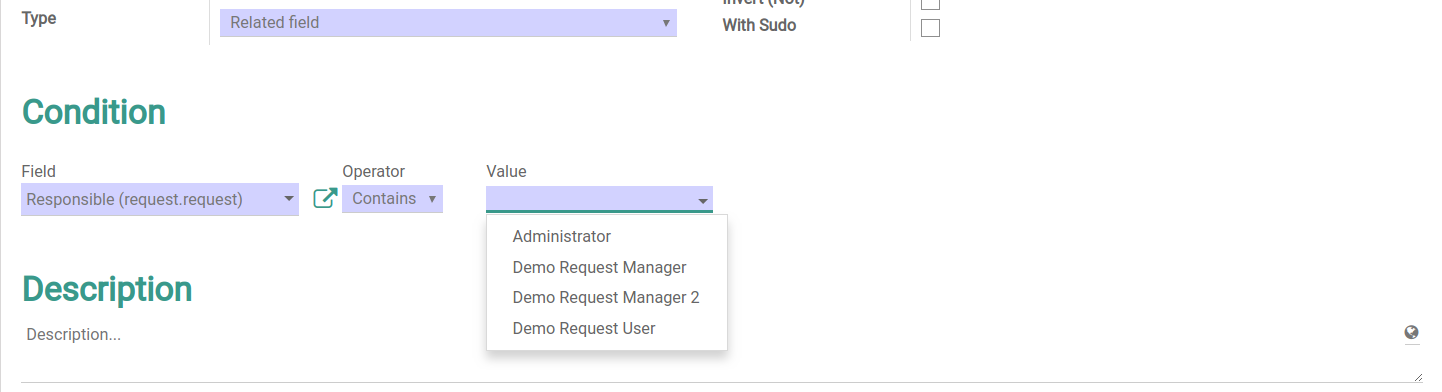
Related field:
This type of condition applies to related fields.- Click the Field drop down menu and select the required field.
- In the Operator menu select one of the three operators (Set, Not set. Contains). If you select Contains as an operator, another Value field appears, select the desired value here.
-
Current user:
This type of condition allows you to perform checks related to the current user. You can select one of Check Types in the appropriate field.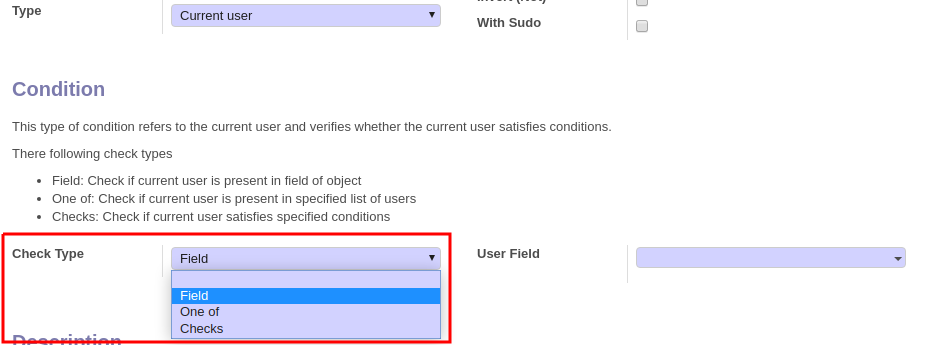
-
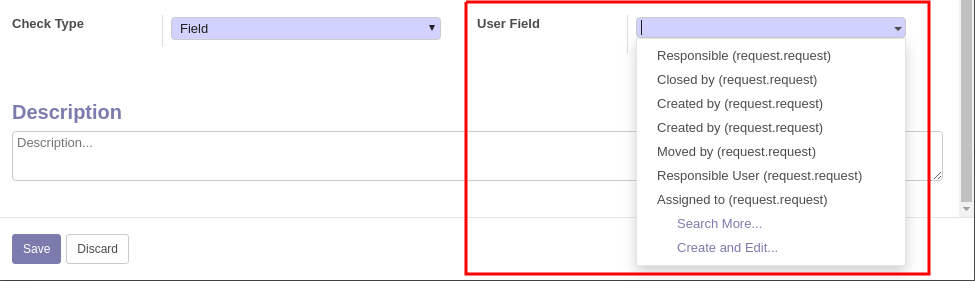
The Field check type allows you to specify the field. The system will check if the current user is written in the selected field.
-
The One of check type allows you to specify users and verify if the current user is one of them.

-
The Checks type of check allows to verify multiple conditions for the current user. Specify these conditions in the Conditions field. All the specified conditions must be met in order to meet the general condition.

-
-
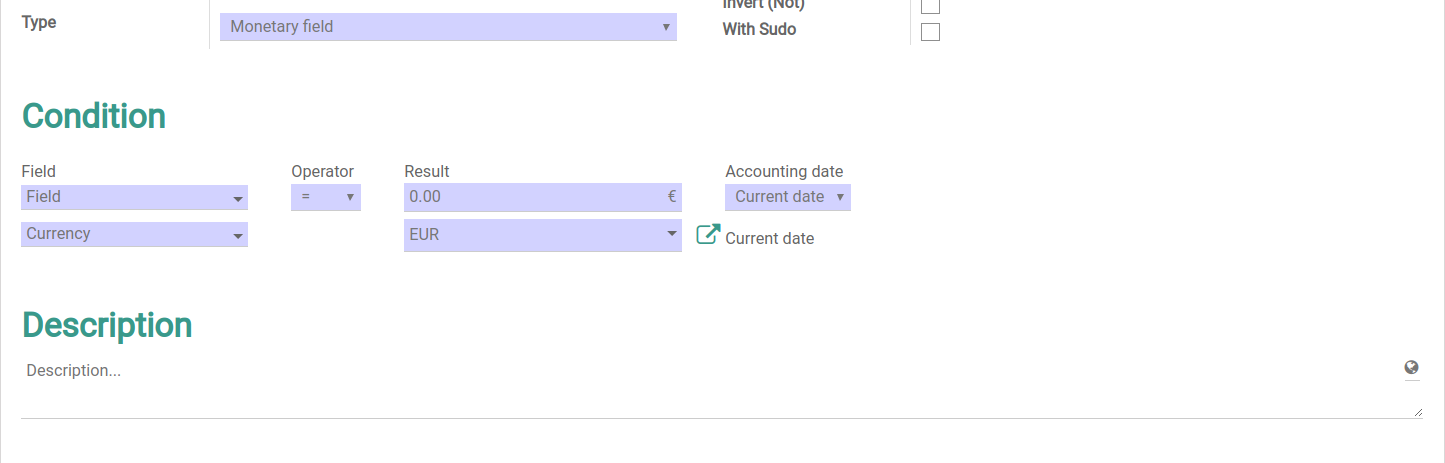
Monetary field:
By this type you can create the condition to compare monetary indicators.- Click the Field drop down menu and select the field from which the information will be taken. Below choose a currency.
- In the Operator field, select the comparison operator.
- In the Result field specify the result for comparison and below the currency.
- Click the Accounting date field and select the date of the account or the date field.
-
Related conditions:
Used to check the properties of related objects.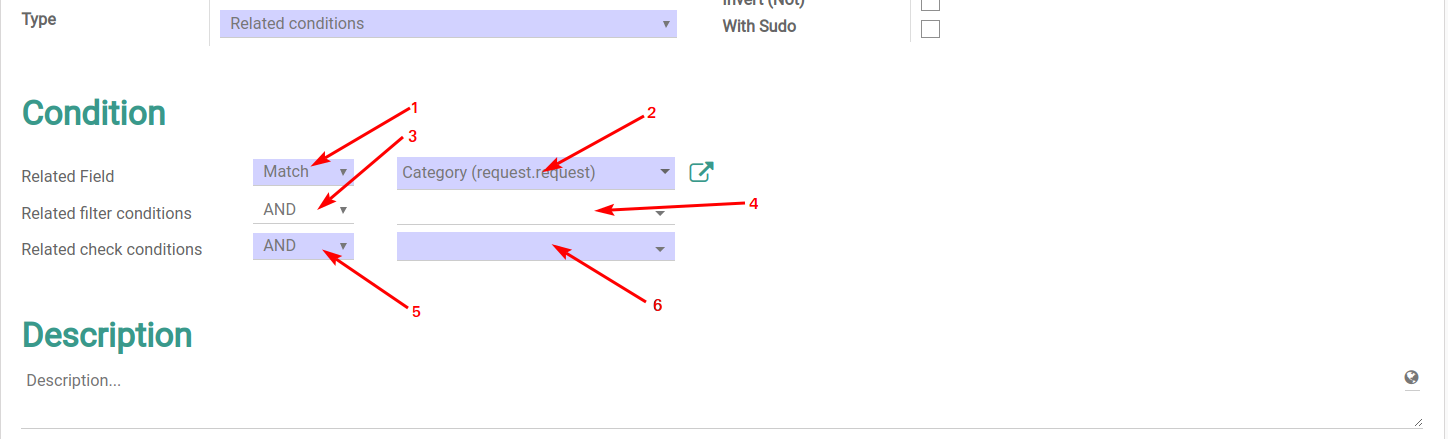
Here you need to enter the following data:- A way to check related records:
- Match - when all the selected entries match the conditions of the check
- Contains - when at least one of the entries match the condition
- The field by which we will search for the related object
- Operator of the filter condition:
- AND - valid when all filter conditions are valid
- OR - Valid when at least one of the filter conditions is valid
- Related filter conditions
- Operator of the related check conditions:
- AND - valid when all filter conditions are valid
- OR - Valid when at least one of the filter conditions is valid
- Related check conditions
- A way to check related records:
The form for creating condition contains additional options that can be set by ticking.
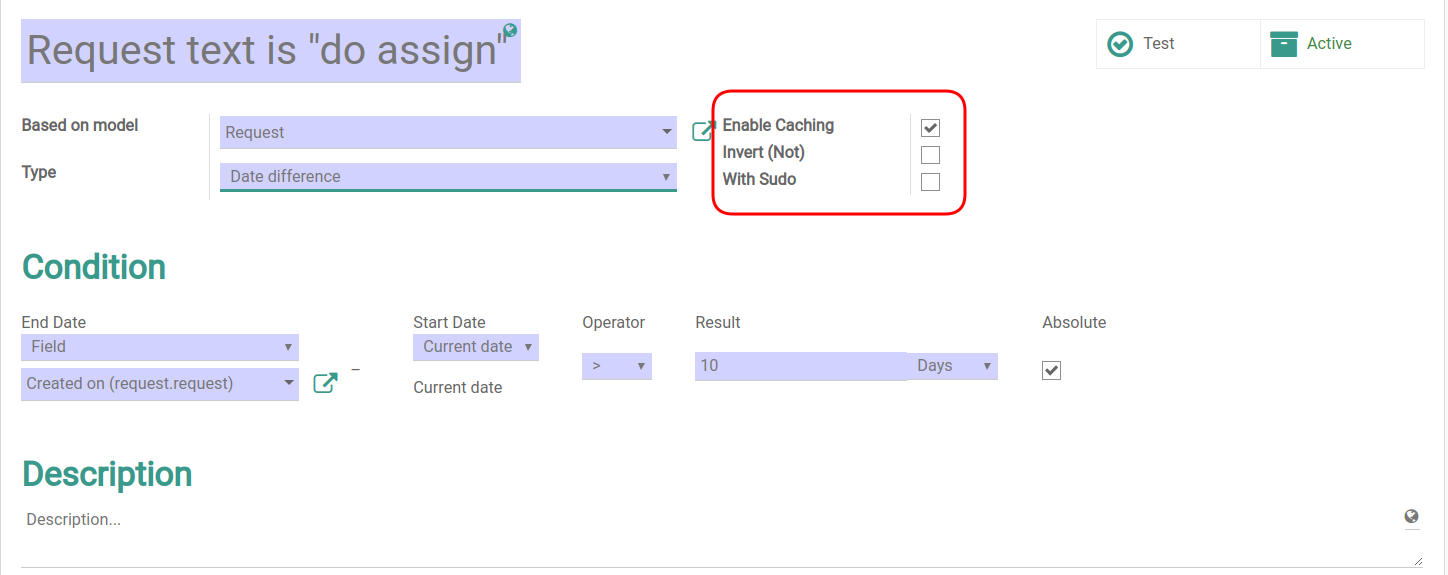
The Enable Caching option means that the condition result for a specific object will be cached during one condition chain call. This may speed up condition processing.
The Invert (Not) option is used when you want to invert the condition (to acquire the opposite of the current condition).
The With Sudo option means using by a superuser.
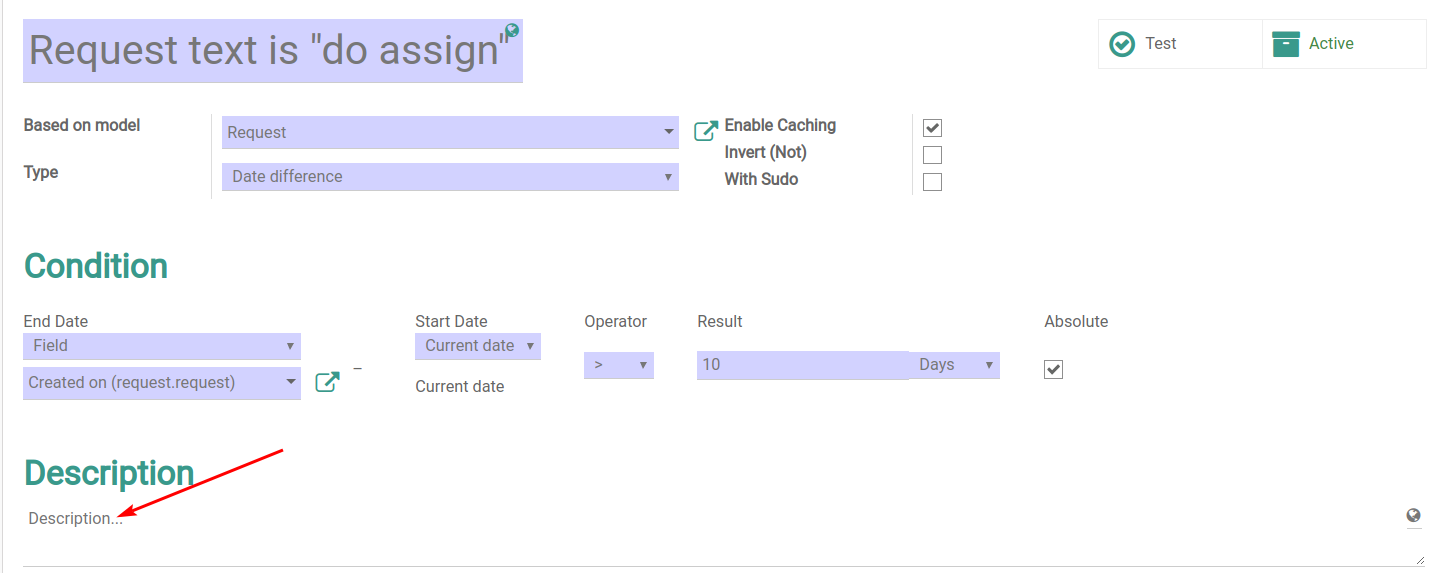
At the bottom of the page you can add description for the condition by clicking the Description field.
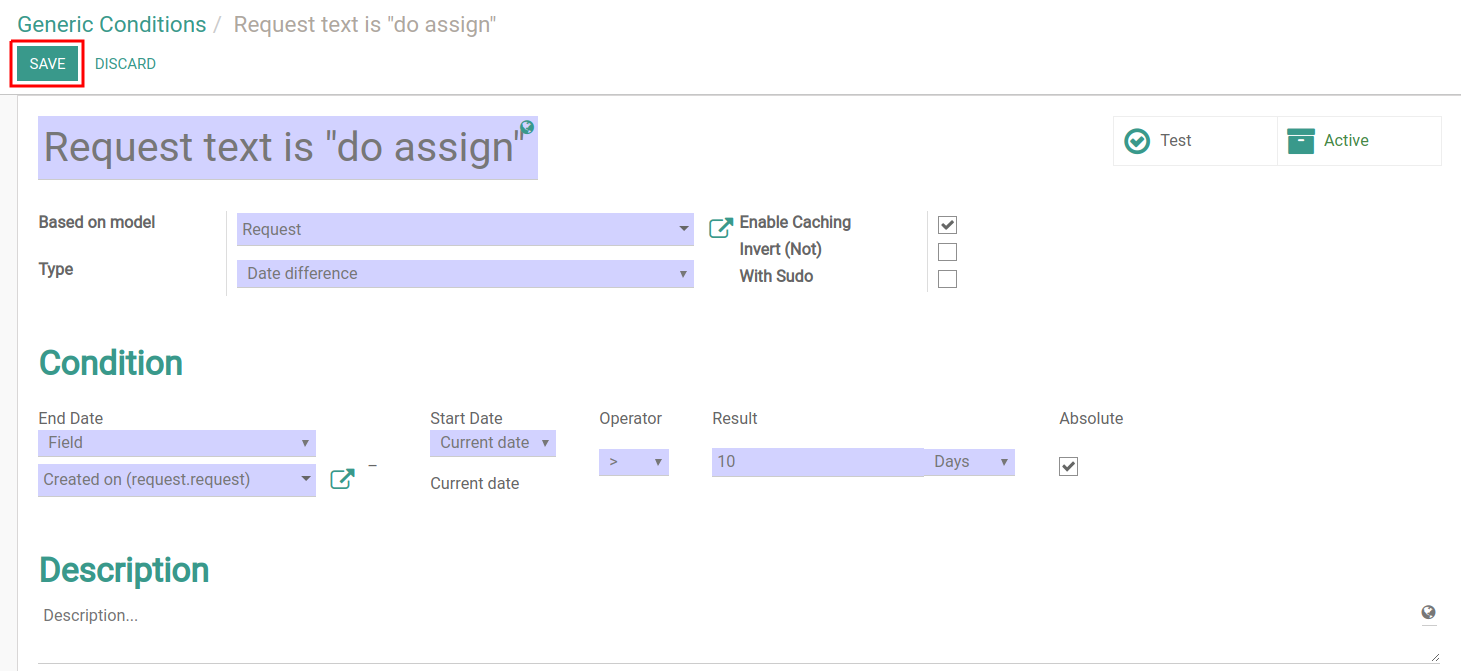
Click Save above the form to save created condition.
In the upper right part of the form the Test button is located. It is used to check the created generic conditions.
Click the Test button. The window for checking created conditions will open.
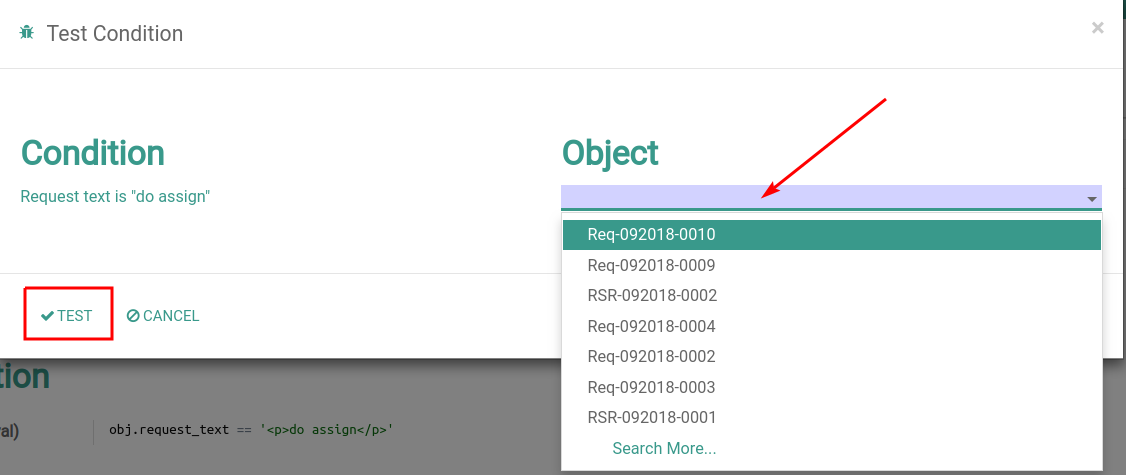
Under the Condition label you can see the name of condition, by which you will check the object.
Click the drop down menu under the Object label. Here you can see all your documents (objects) created during the work with Odoo. They are displayed on their ID. Select the object from the list that you want to check under this condition.
Click TEST on the bottom left to start the test.
After passing the test, a window with the results will open.
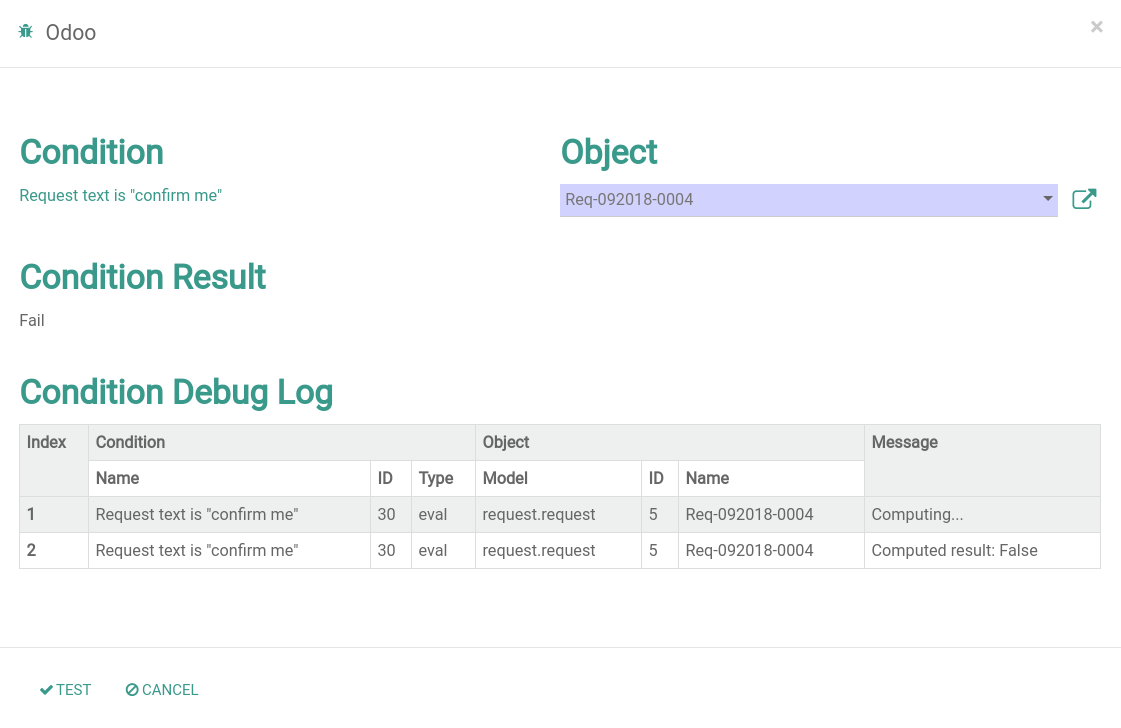
Under Condition Result shows the total result of test. In the event of a successful result, you will see a message Ok. Otherwise you will see Fail.
Under the Condition Debug Log you can see a step-by-step checking of the condition with the result for every step.
To edit the condition click on its name. Click Edit above the form that opens.
Then repeat the steps from the previous section.
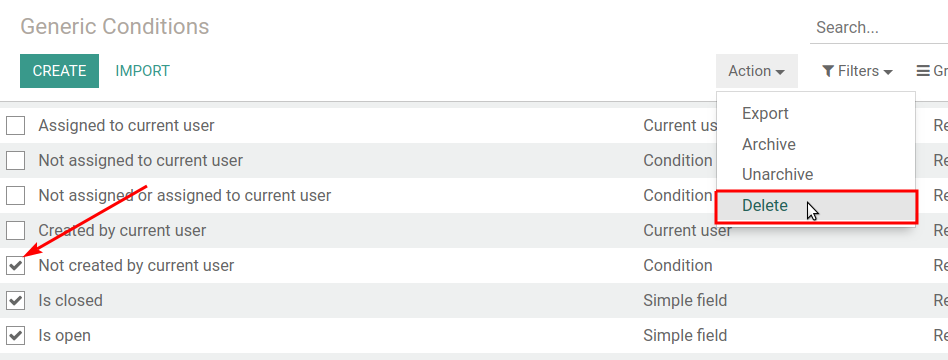
To delete the conditions, select them from the list by ticking. Next, on the Action menu, click Delete.