Generic Resource Role Module
Generic Resource Role is a module developed by the Center of Research & Development company. It extends the functionality of the Generic Resource application and provides the ability to organize resources by roles.
For the Generic Resource Role module, the following applications and modules must be installed:
- Generic Resource
- Generic Mixins
Resources Roles Types
Click the Generic Resources app in the main dashboard menu on the left.

To begin with, you need to create types for future resource roles. Under the Configuration menu click Roles Types.
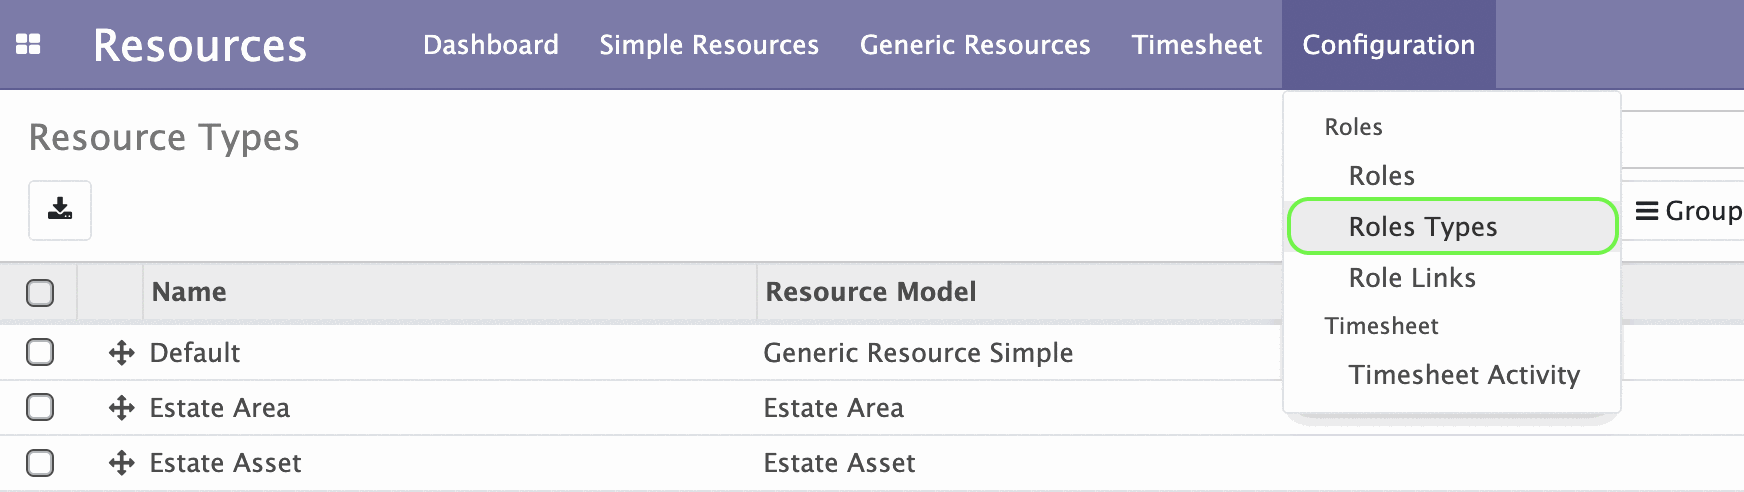
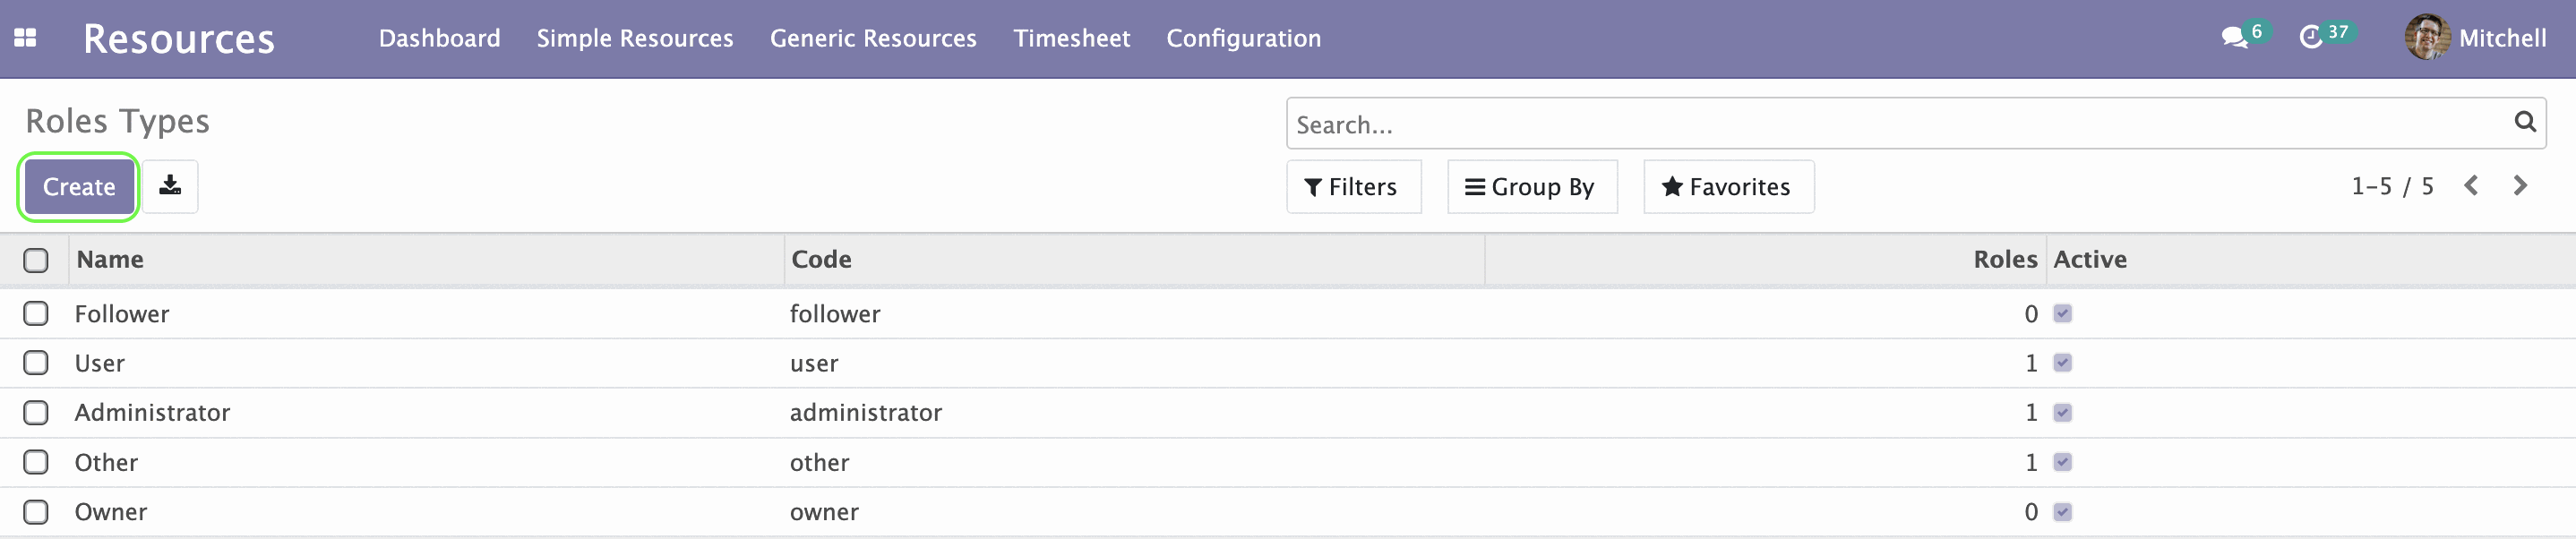
The page of the Roles Types opens. Here you can create, edit or delete roles types. In the Roles column displays the number of roles that have already been created for this type.
To create a new Roles Type click Create.
A form opens.
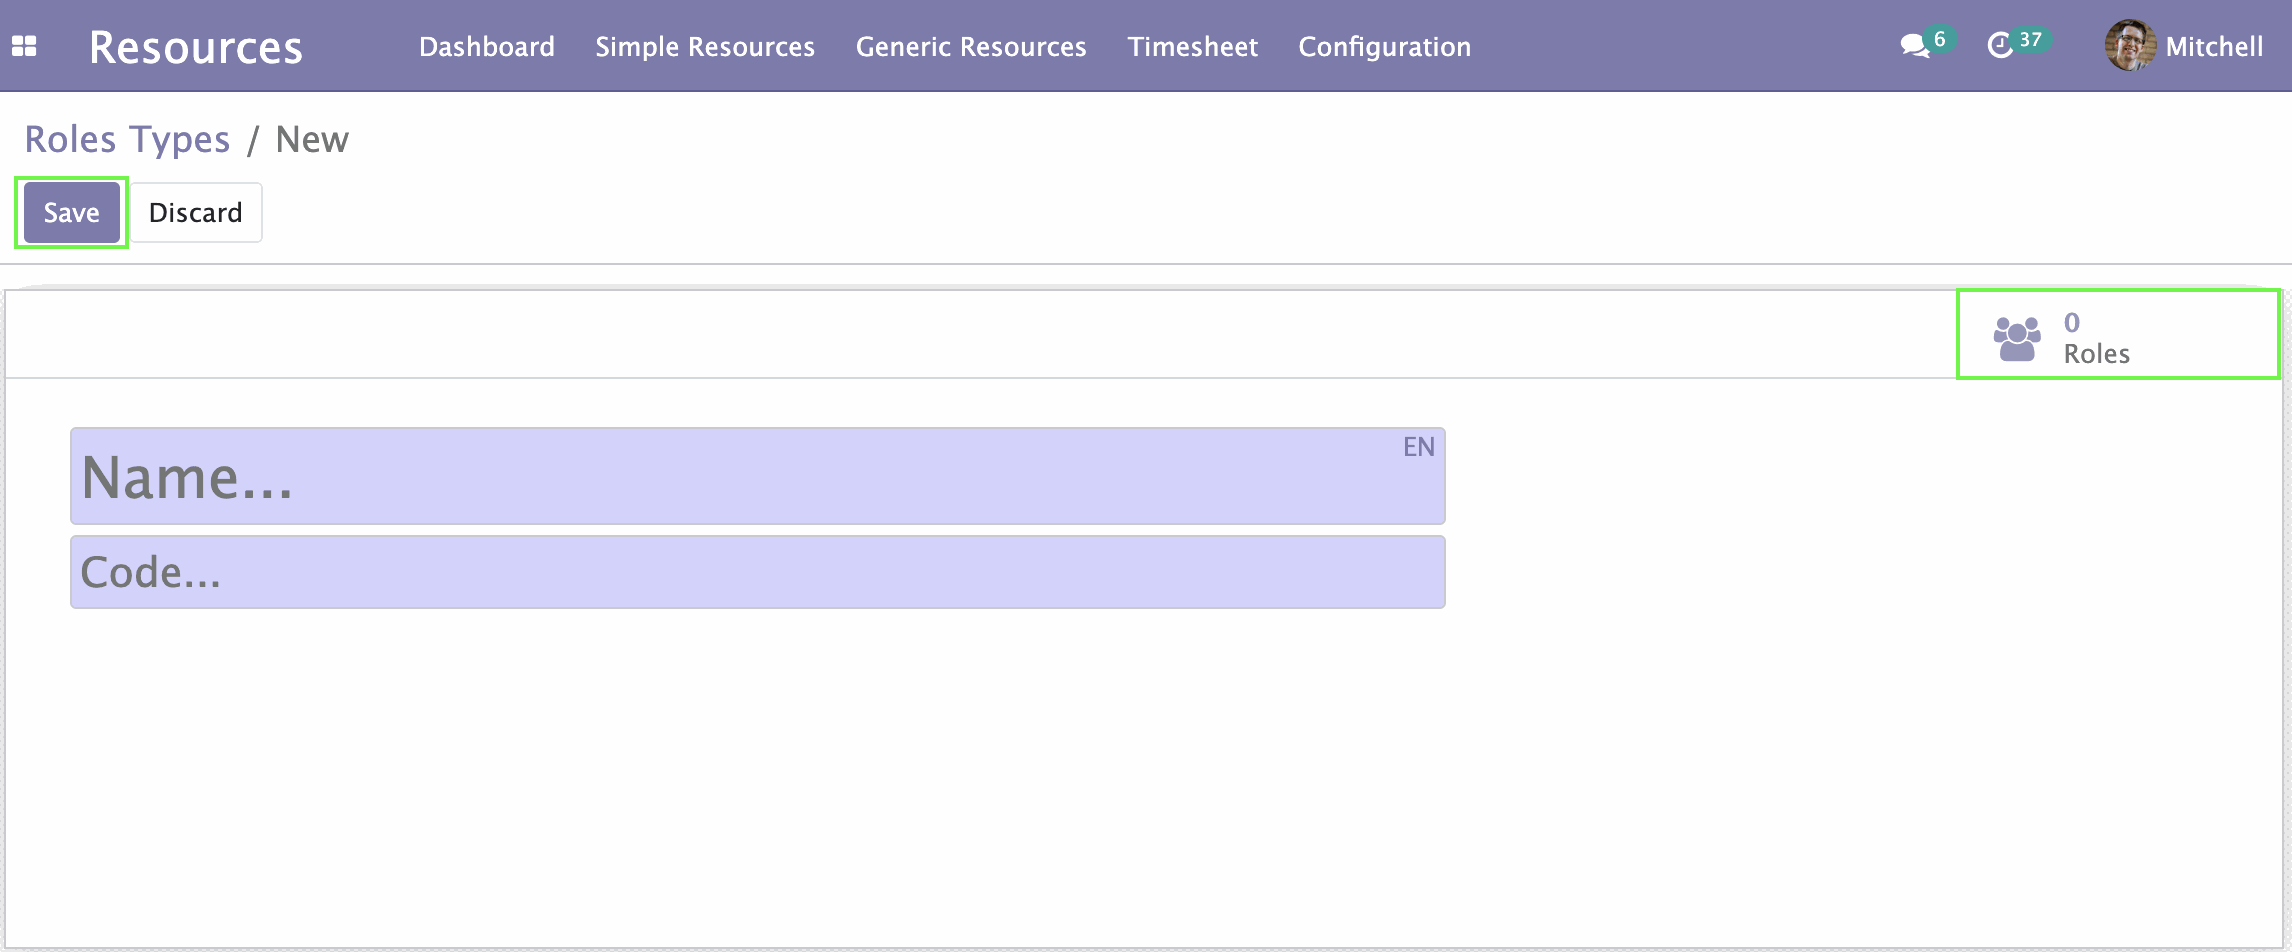
In the single field for filling, enter the name of the role type. The Roles button at the top right shows the number of created roles of this type, click it to view, edit, or create new roles of this type.
Resources Roles
Now you can create roles for resources. Under the Configuration menu click Roles.

You will be taken to the roles page.
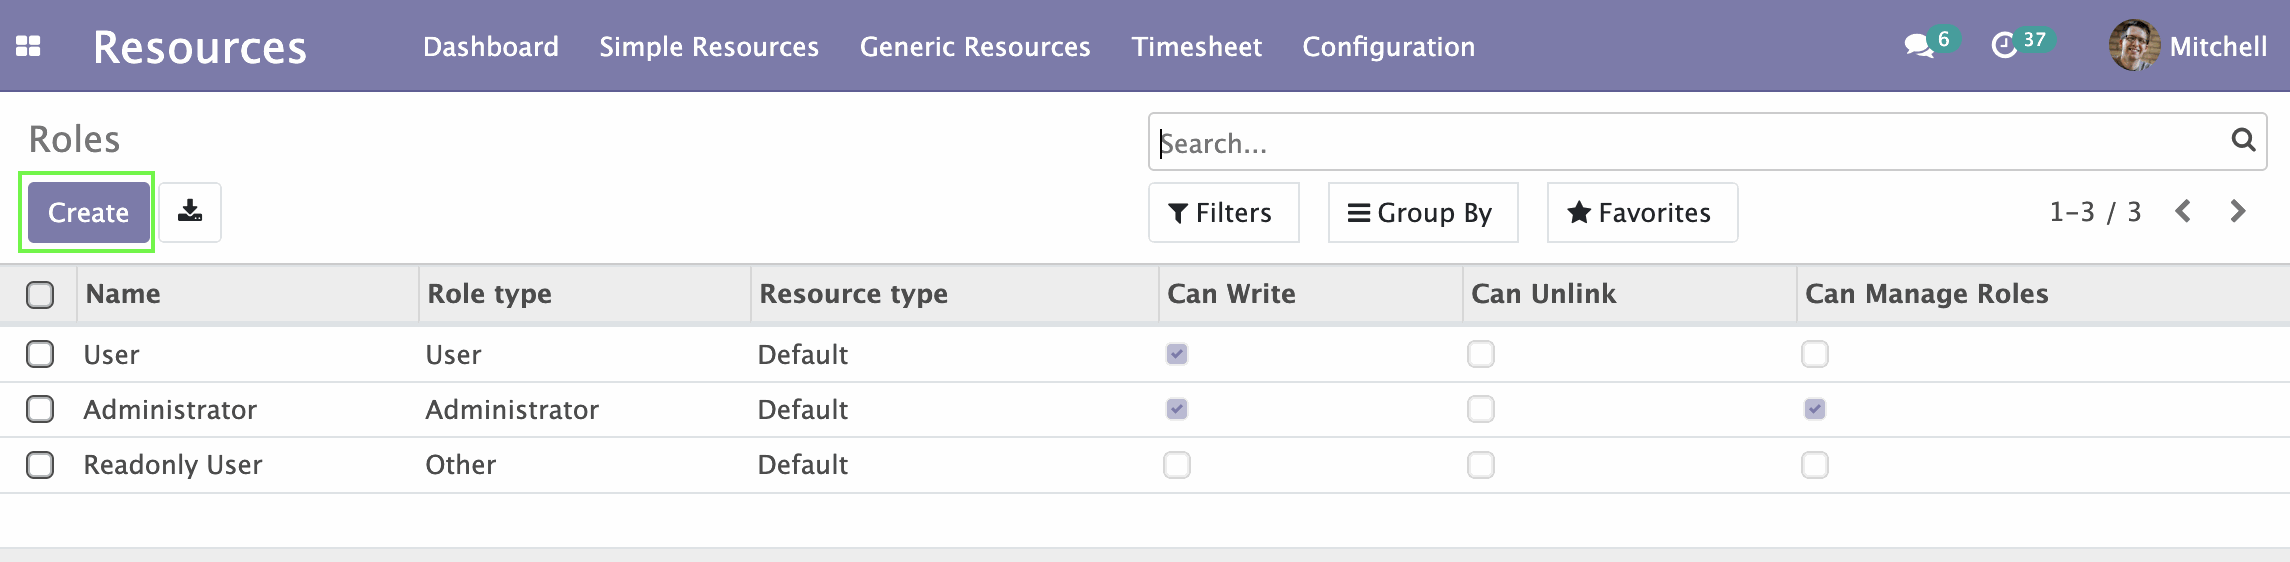
Here you can create, edit or delete resource roles. In the Name, Role type, Resource type and Can Write columns you can see the name, role type, resource type, and permission of the user to write to the specific roles, respectively. To crate a new role, click Create on the left at top.
A form for creating a new role opens.
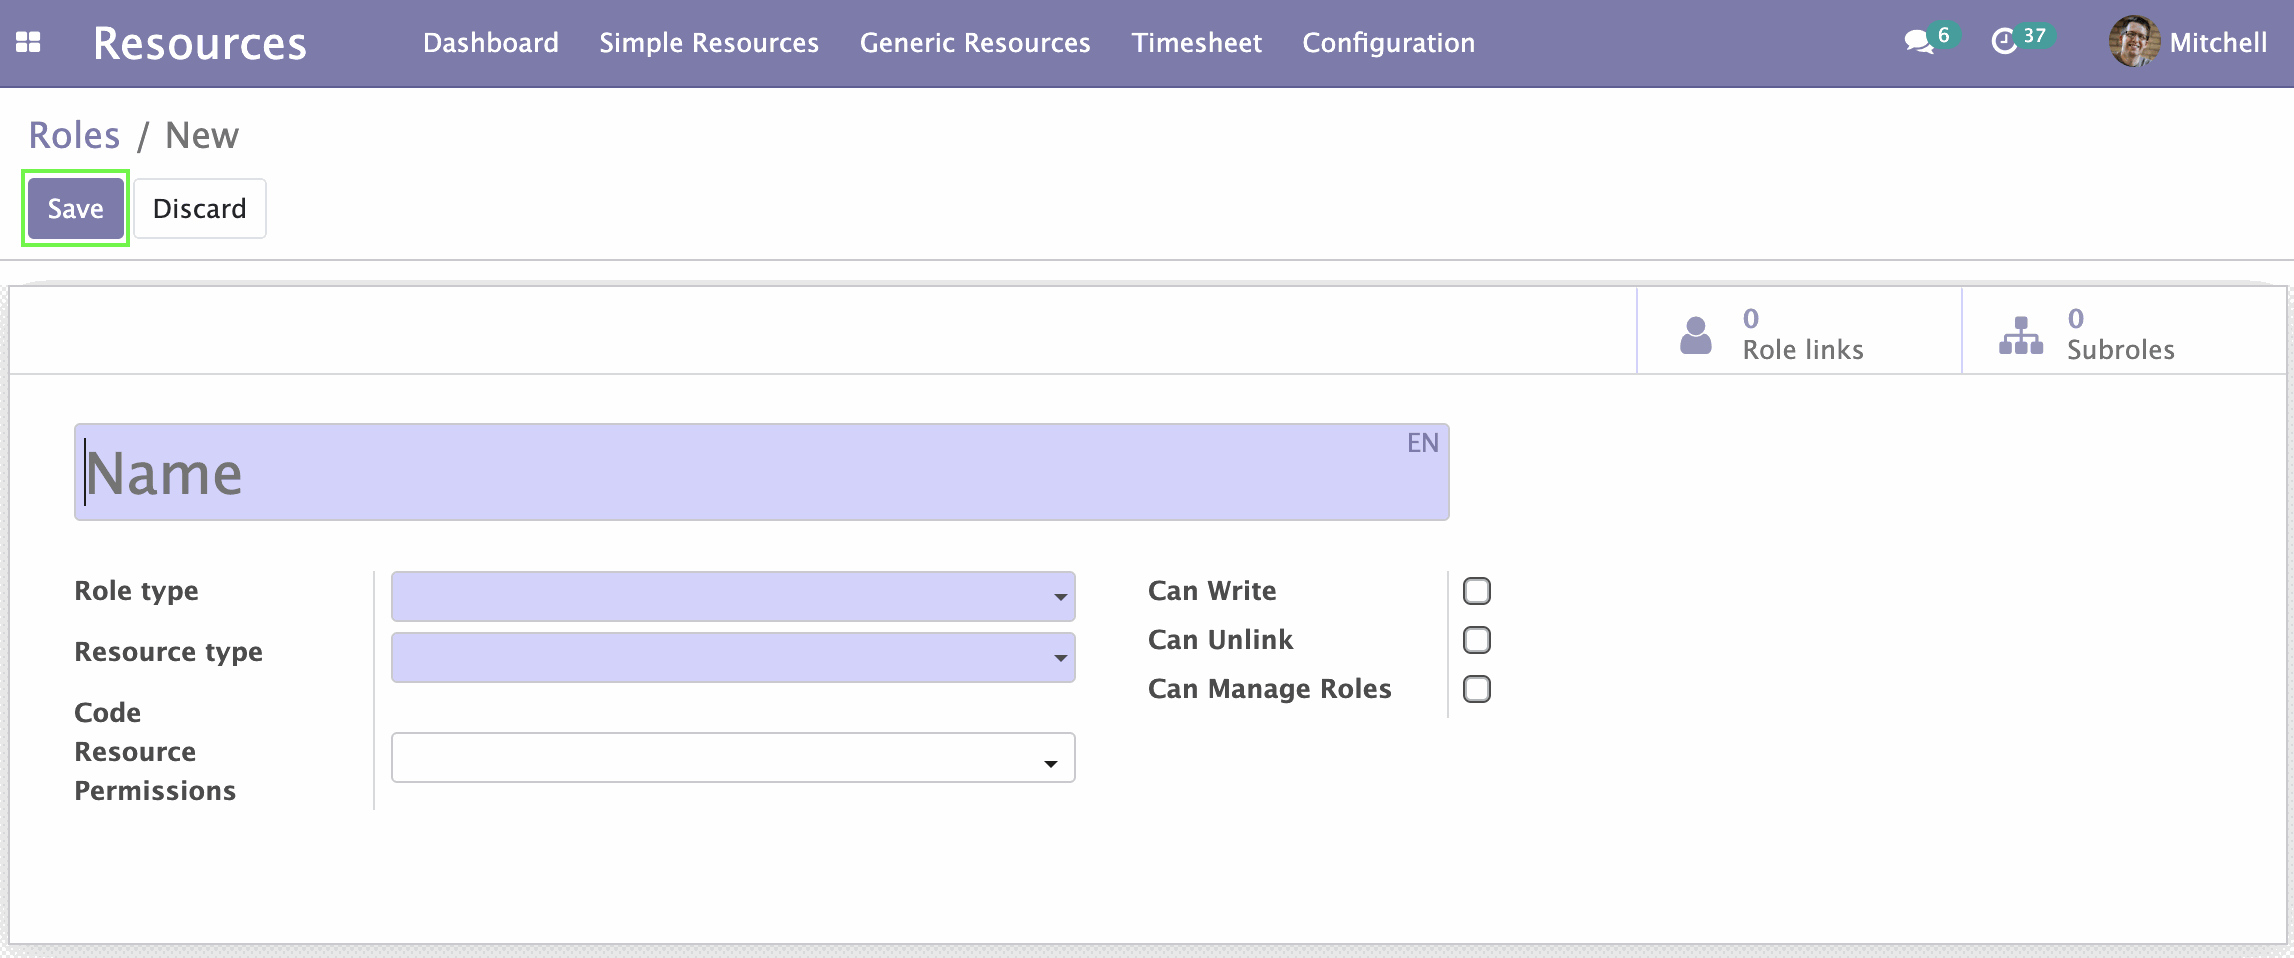
- In the top field, enter a role name.
- In the menu next to the Role type field, select one of created roles types or click Create and Edit... to create a new type.
- Next to the Resource type field, select the type of the resource from the menu.
- Select the Can Write checkbox if necessary.
- Click Save on the left above the form.
Link Resources by Roles
Now we can establish a link between certain resources and employees or companies through resource roles.
Under the Configuration menu click Role Links.
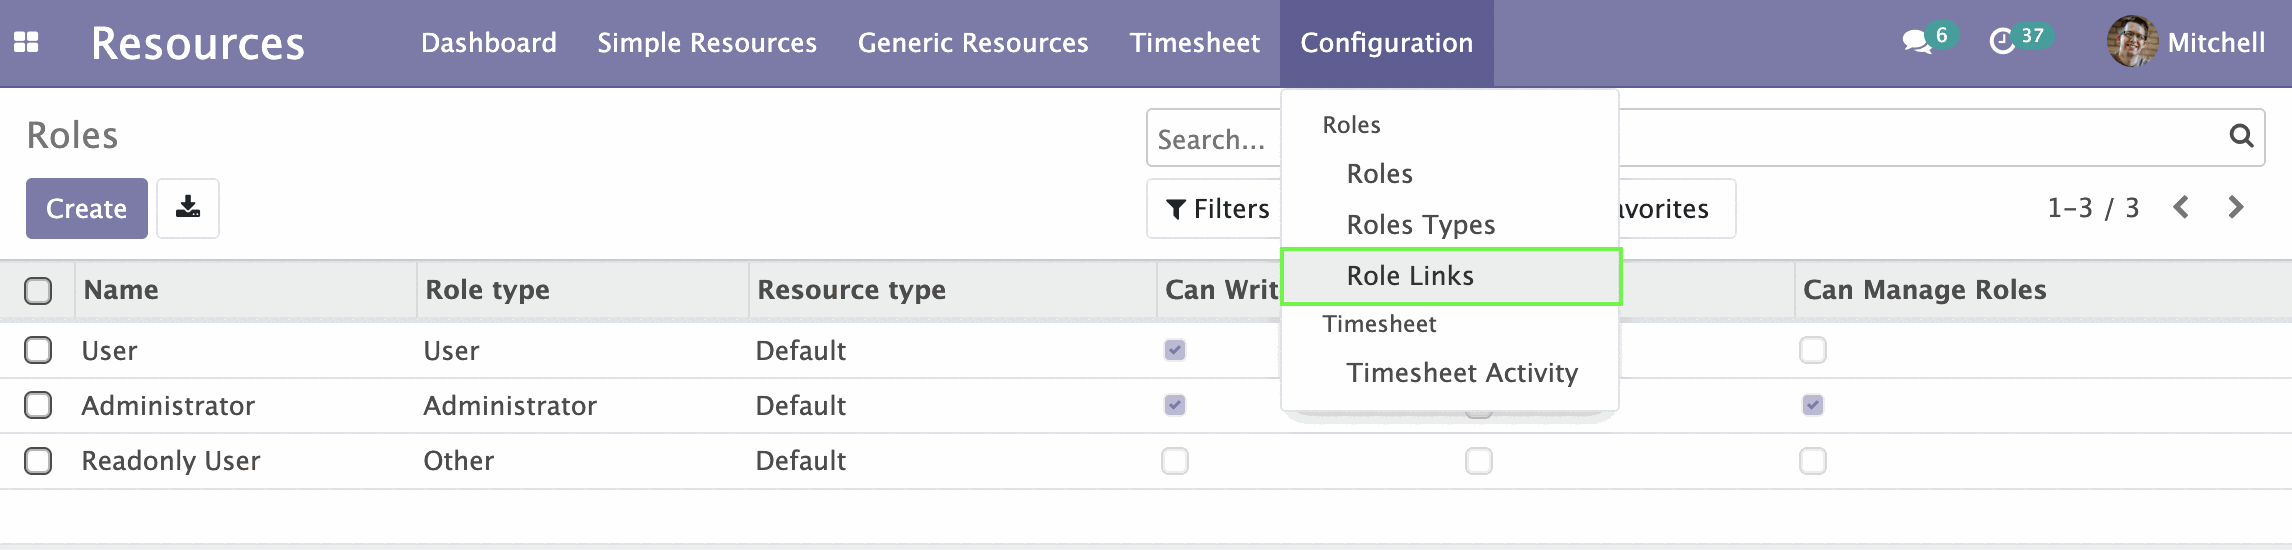
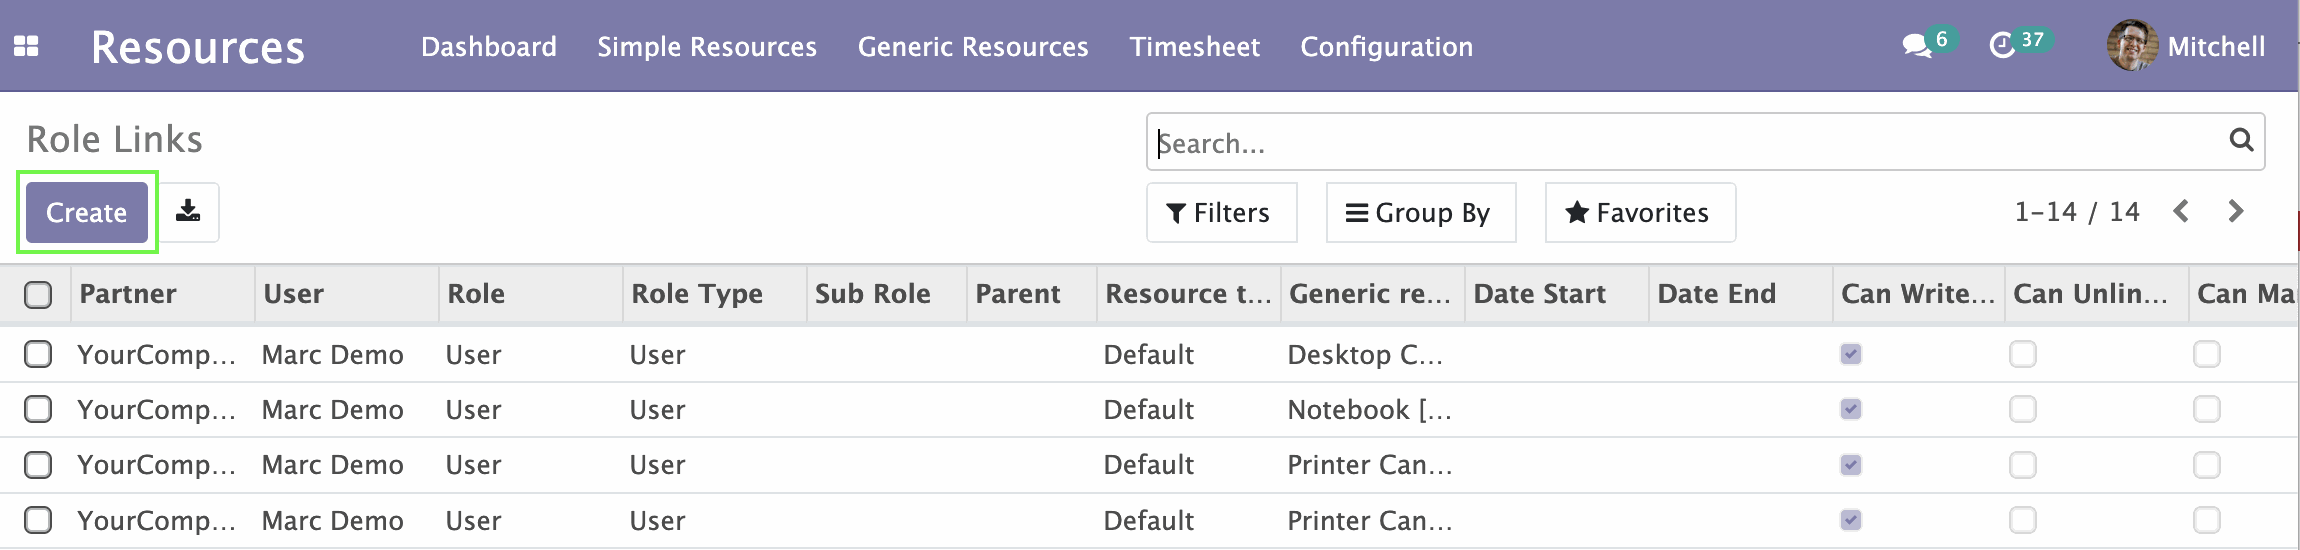
The Role Links page opens. Here you can create, edit or delete role links.
Click Create to create a new Role Link.
A form opens.
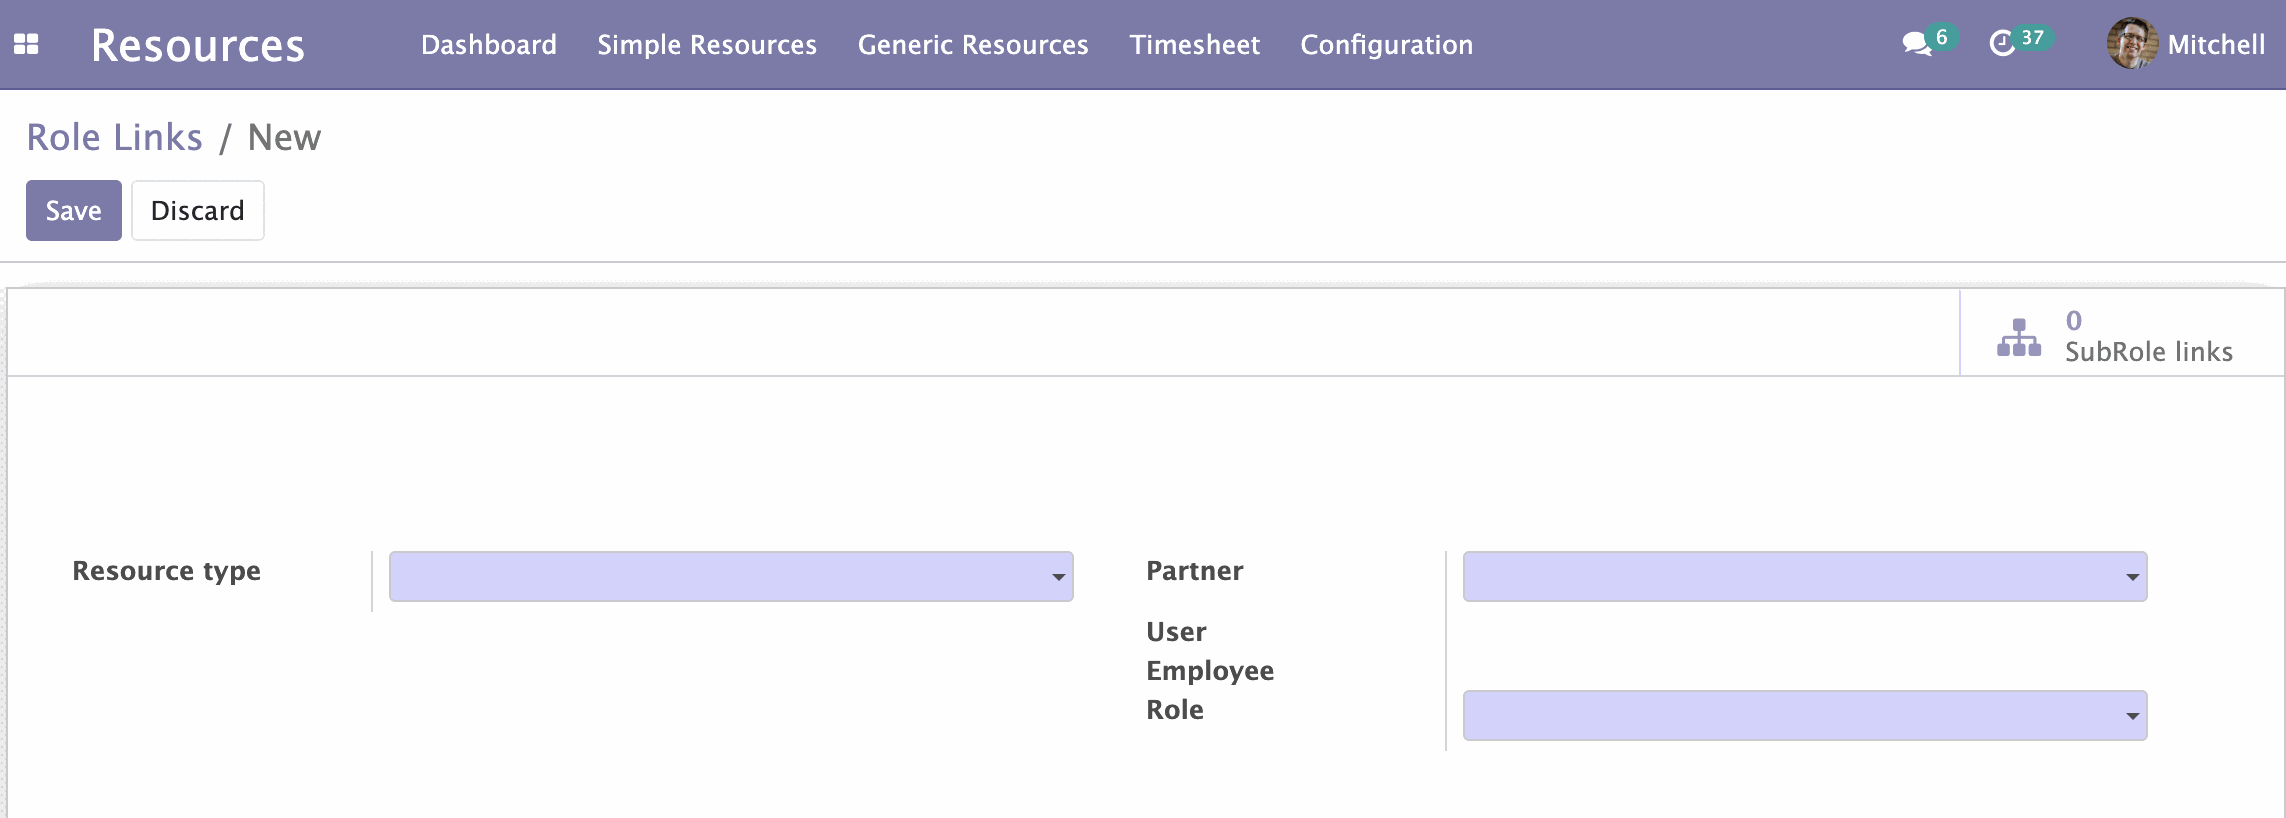
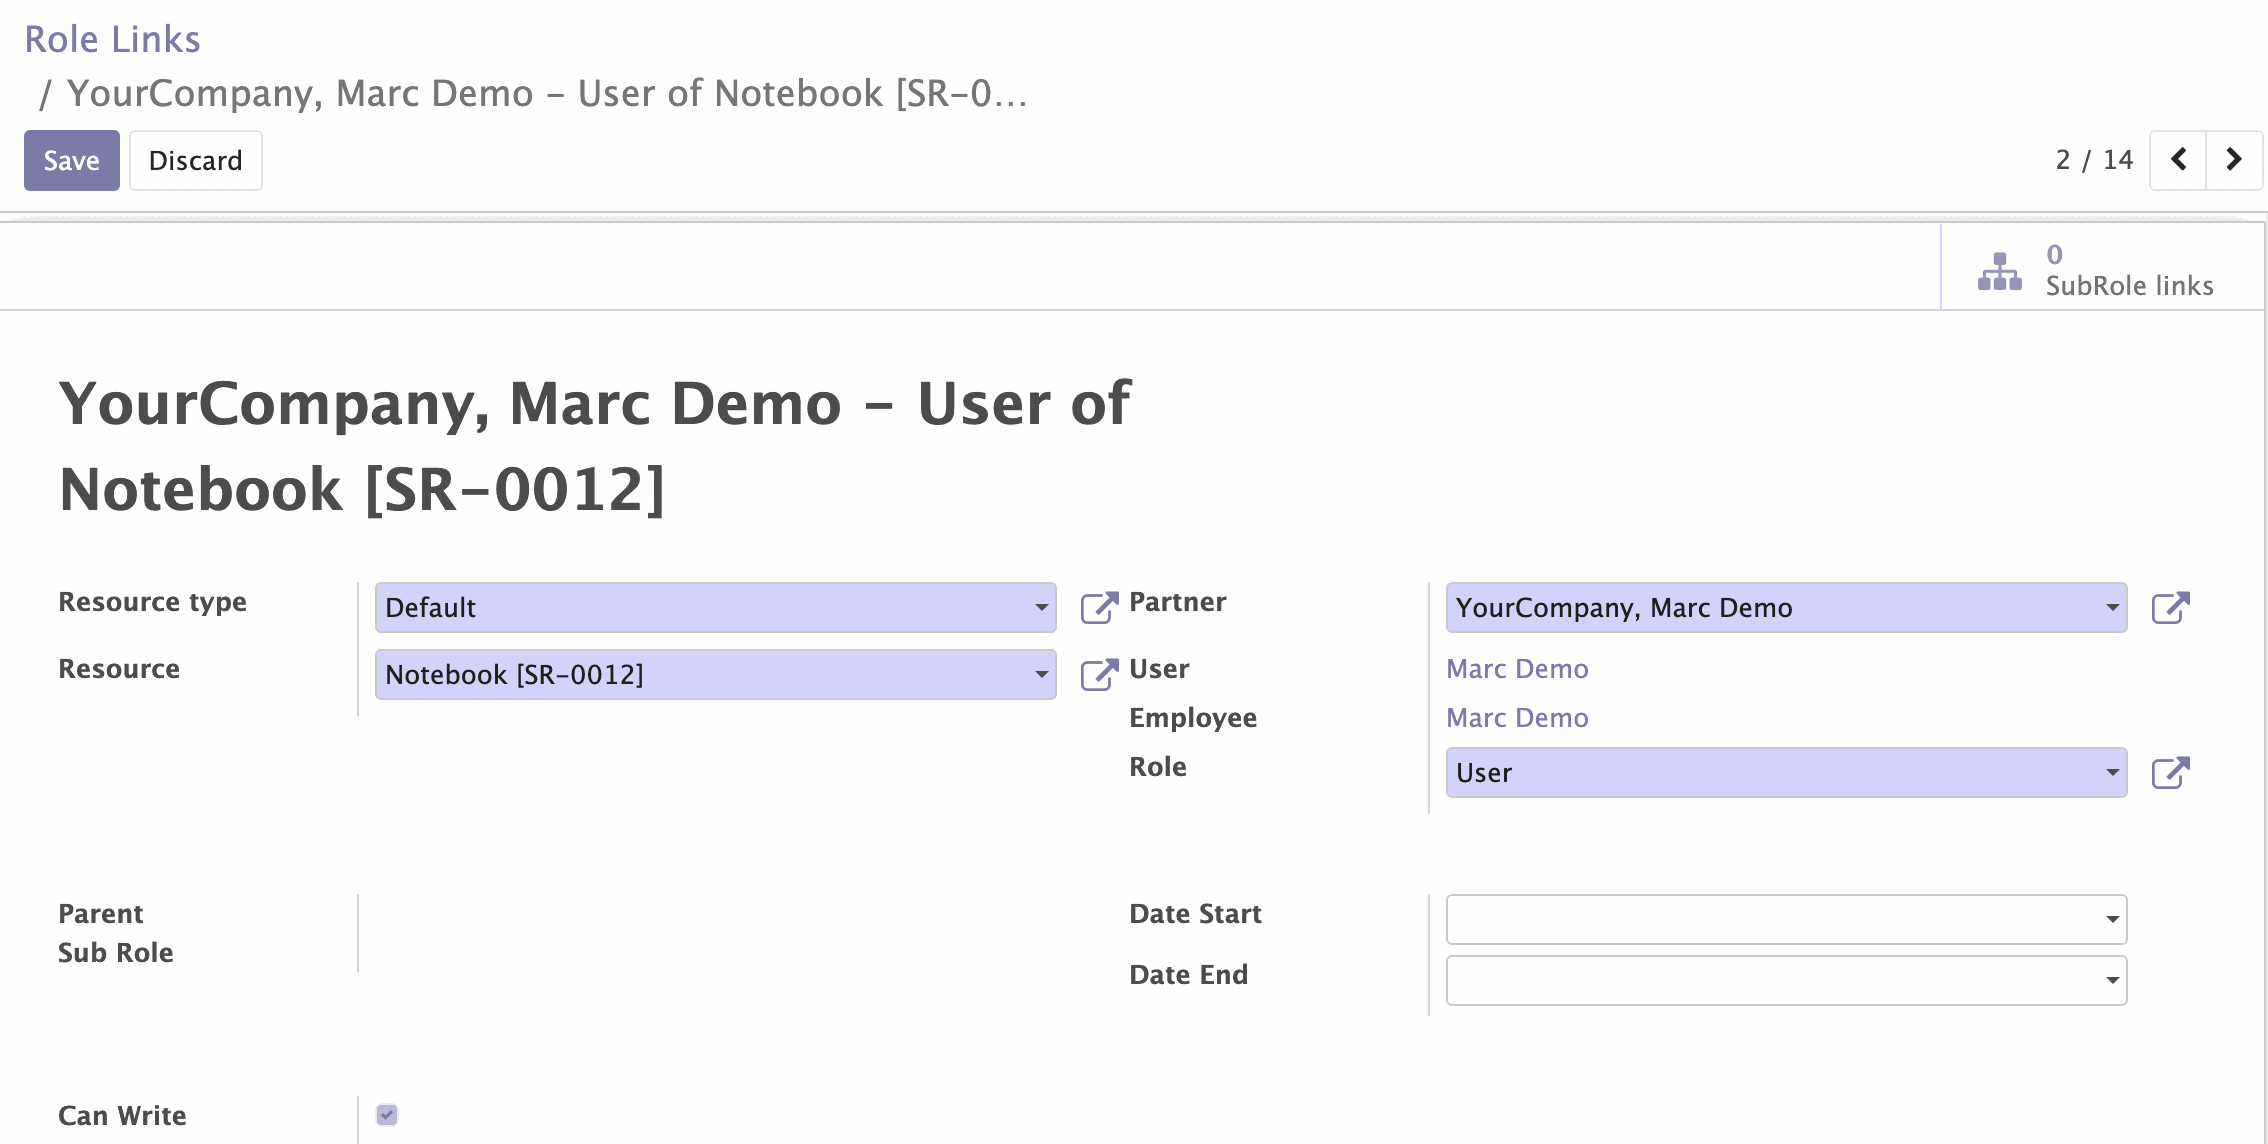
Next, fill out the form:
- Next to the Resource type field, click the drop-down menu and select the type of resources. A new Resource field appears.
- Next to the Resource field, select the resource you want to link from the menu.
- Next to the Partner field, select person or company with which you want to link the resource.
- Next to the Role fields, select one of the existing roles for the resources.
- The check mark next to the Can Write field is checked automatically, depending on the settings of the selected role of the resource.
- The Date Start and Date End fields are not required. Here you can select starting and ending dates.
- Click Save on the left above the form.
The filled form looks similar to this:
Now, if you select any resource, you can see the new Role links button.
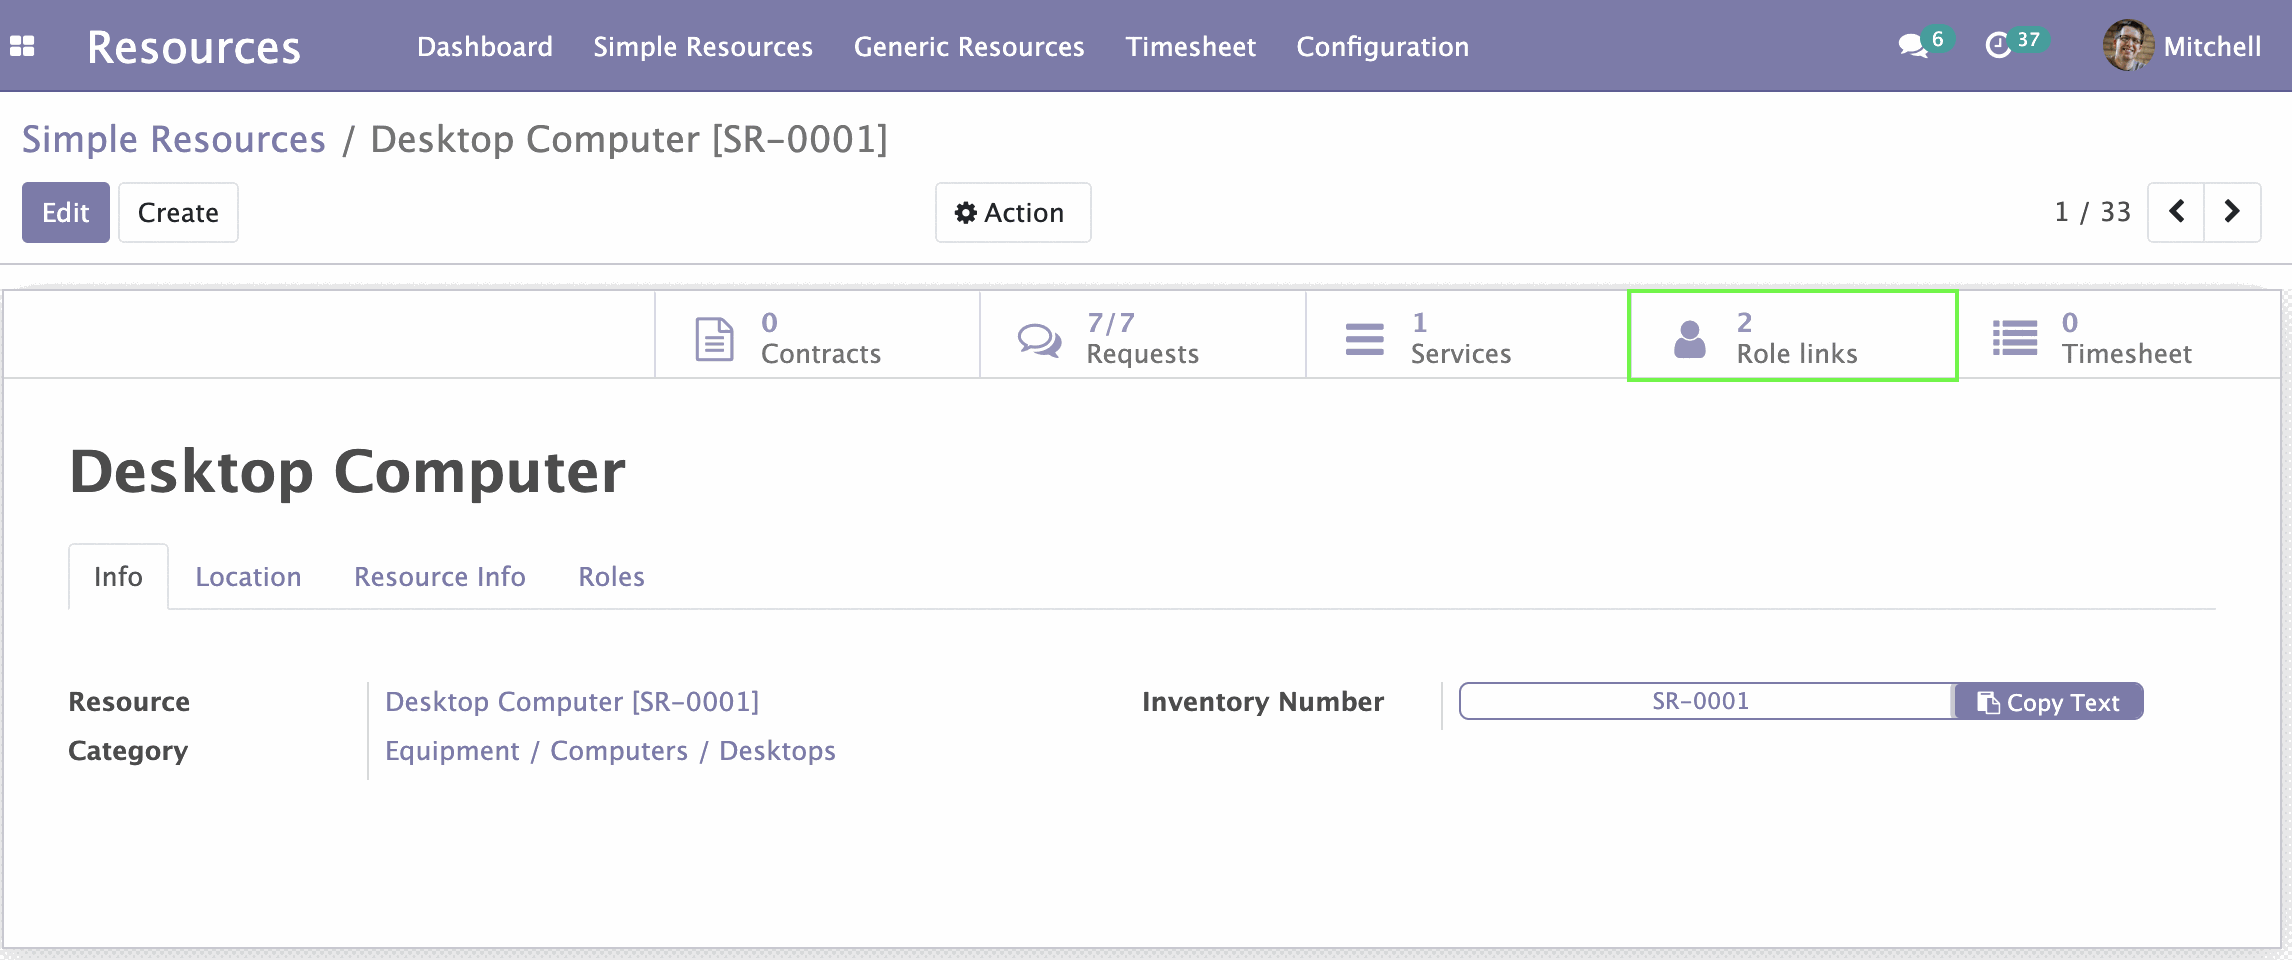
The number next to it shows the number of links created with this resource. By clicking Role links you can see the list of resource links and information for each link (with whom the resource is linked, what role it plays for it, etc.). You can also create, edit, or delete links of resource roles here.
